On average an Android user installs almost 20-40 apps on their Android smartphone. If you have been using Android for a while, then you might know that the OS wasn’t made with bilingual users in mind.
Let’s admit, we all now know more than 1 language. However, when we set a default system locale, every app on your phone uses that region’s language.
After that, every app that we install uses the default region’s language. Another thing is that apps are generally written in the developer’s native tongue, so, even if you choose to change the in-app language through some third-party app, it will be poorly translated.
Steps to Set different languages For Each of your Android Apps
So, to deal with such issues, we are going to share an easy method that would help you set different languages for each of your Android apps. Let’s check out.
Using App Locale
App Locale is an Xposed module that allows users to set language on a per-app basis. To set up and use this module Android users need to have the Xposed framework installed on the device. Here’s how to use App Locale.
Step 1. First, you need to root your Android device because the app that we are going to discuss right here only works on rooted Android and for that see our tutorial on Root Any Android.
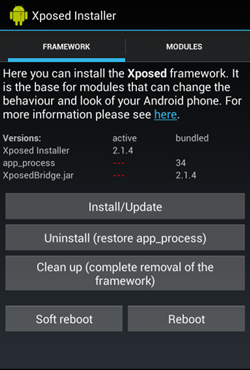
Step 2. Now after rooting your device, download and install the app Xposed Installer.

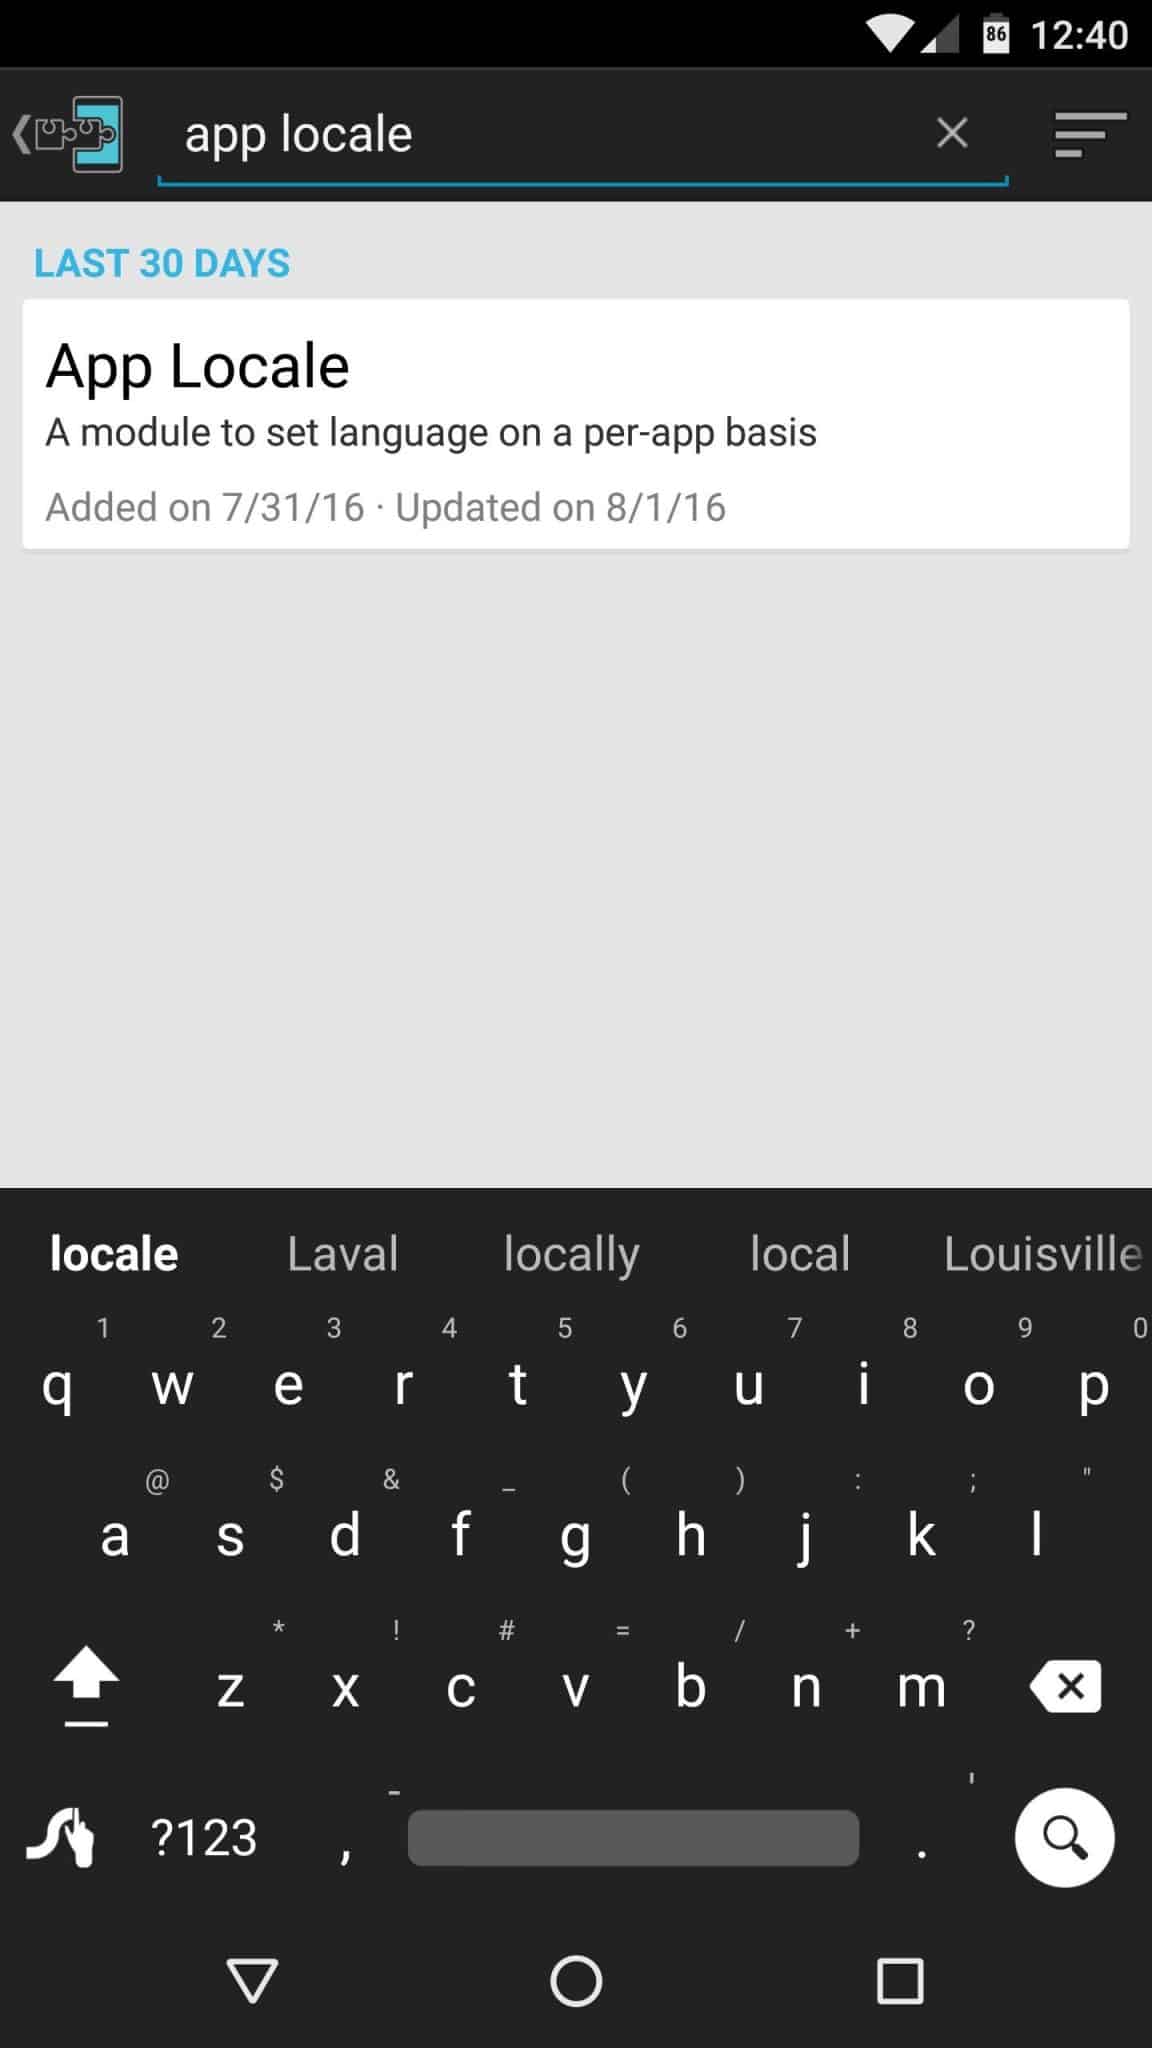
Step 3. Now open the Xposed Framework app and select the Module section. Now search for “App Locale“.
Step 4. Now activate the App Locale from the options. Next, check the installed modules tab in the Xposed app. The section should list the App Locale app.
Step 5. After activating the app you will require to restart your device so as to make that module running on your device.
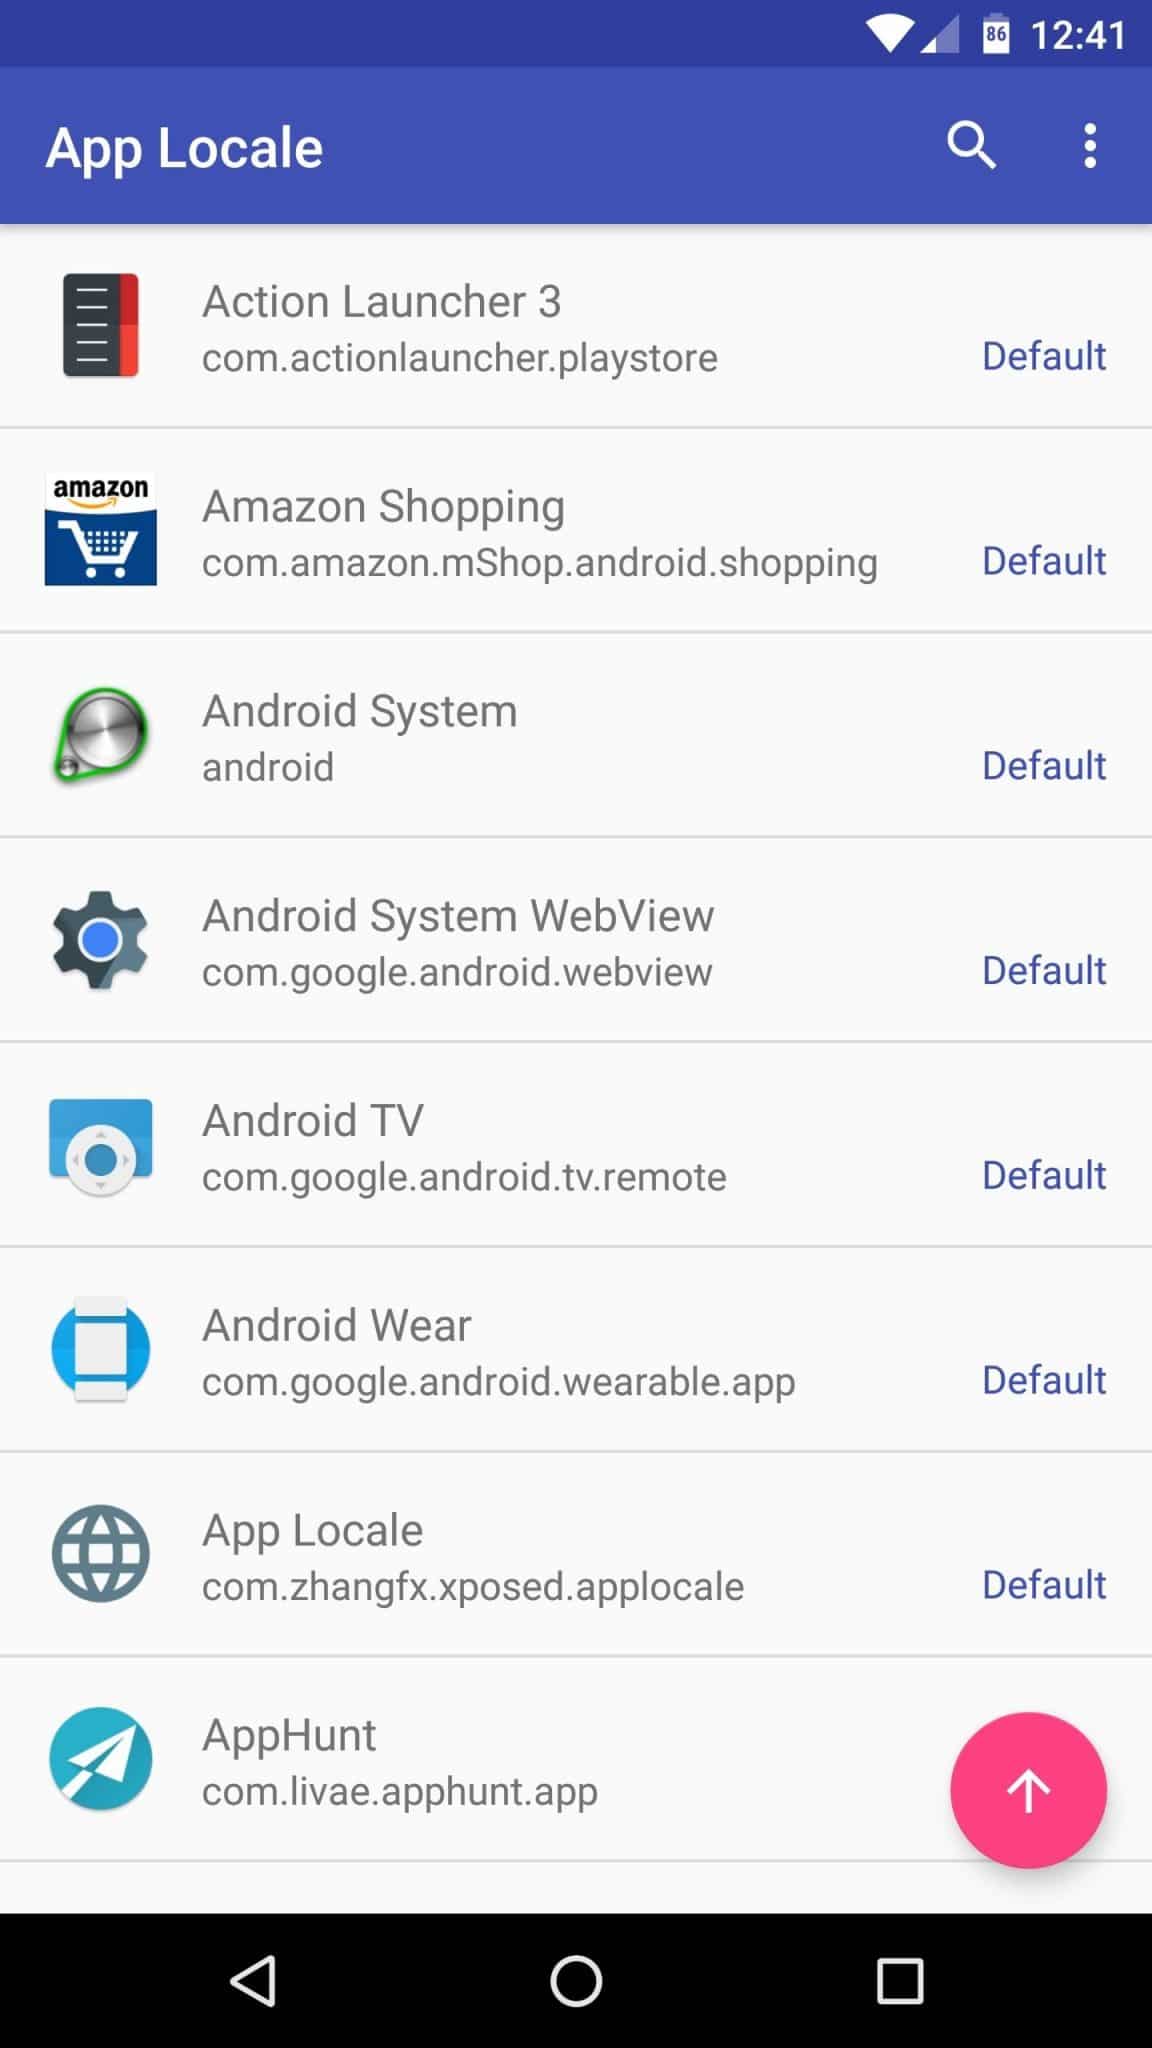
Step 6. Now open the module and you will see the list of all apps that were installed on your device.
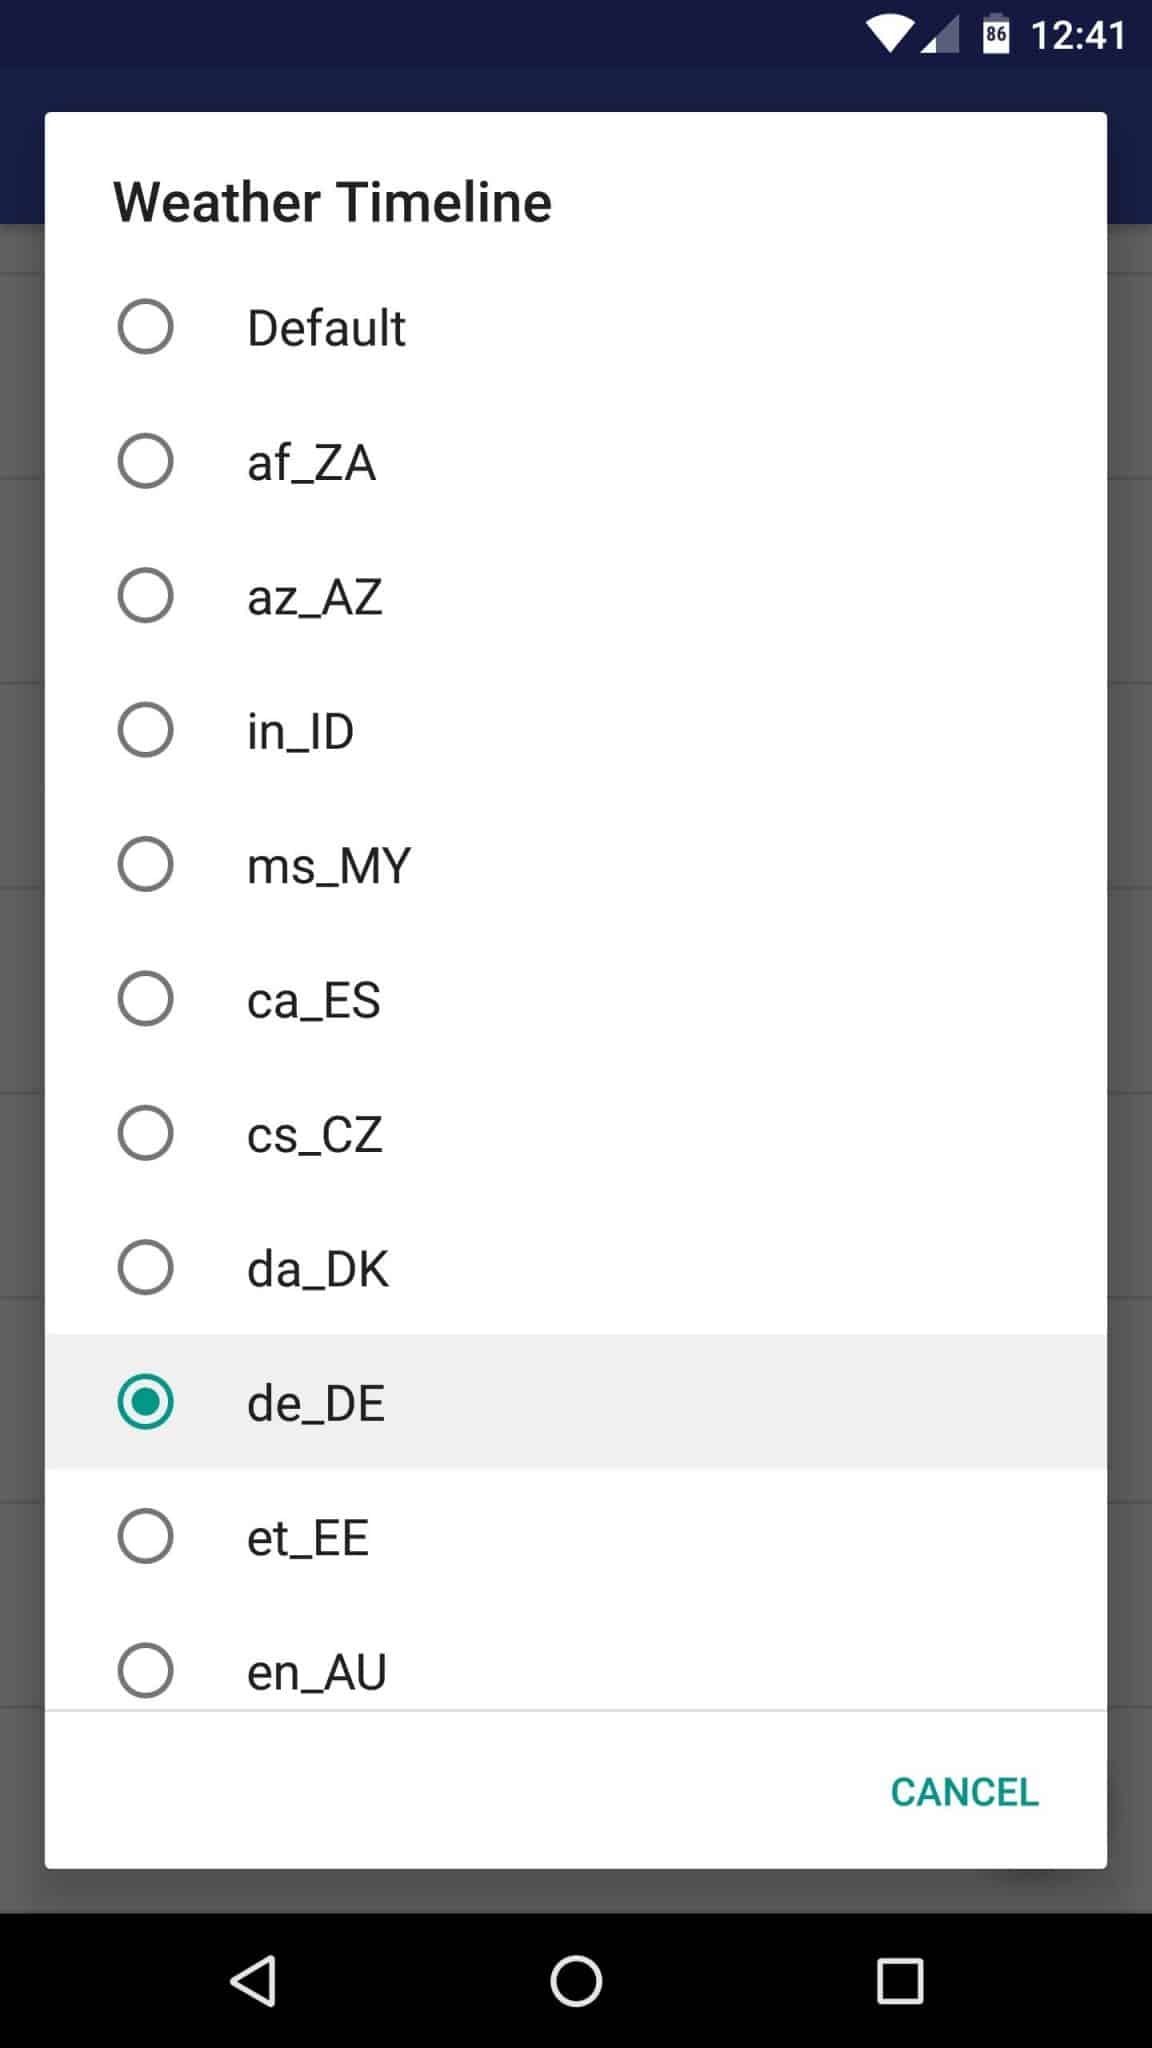
Step 7. Choose any of the apps for which you want to change the language and then using the app interface, select the desired language from the options and tap on the confirm button.
Step 8. You will now have to close the App Locale and open the App whose language you had set up.
Now, you will be able to see the changes of the language inside your App and all the menu texts to any basic text inside the app can be viewed in your selected language.
So, this is the method by which you can easily change the language of your desired Android app. I hope you liked the article, make sure to share it with others also. If you have any doubts related to this, let us know in the comment box below.
The post How To Set different languages For Each of your Android Apps appeared first on TechViral.
from TechViral https://ift.tt/3kMwQFo


