While using your computer, at some point, you might have wanted to record your voice, somebody else’s voice, or any audio with your PC’s microphone. To record voice on Windows 11, Microsoft offers you a built-in app called Voice Recorder.
The built-in Voice recorder of Windows 11 eliminates the need for third-party applications for recording your voice. With the voice recorder app, you can record lectures, conversations, and other sounds on your system.
The good thing about Windows 11’s Voice Recorder is that it includes various features found on premium third-party voice recording apps, such as the ability to record, trim, flag important moments, and share. All of these features were provided for free to every Windows 11 user.
Steps to Record Audio on Windows 11
So, if you are looking for ways to record audio on Windows 11, you are reading the right guide. In this article, we will share the few best ways to record audio on Windows 11 operating system. Let’s check out.
Download the Windows Voice Recorder App
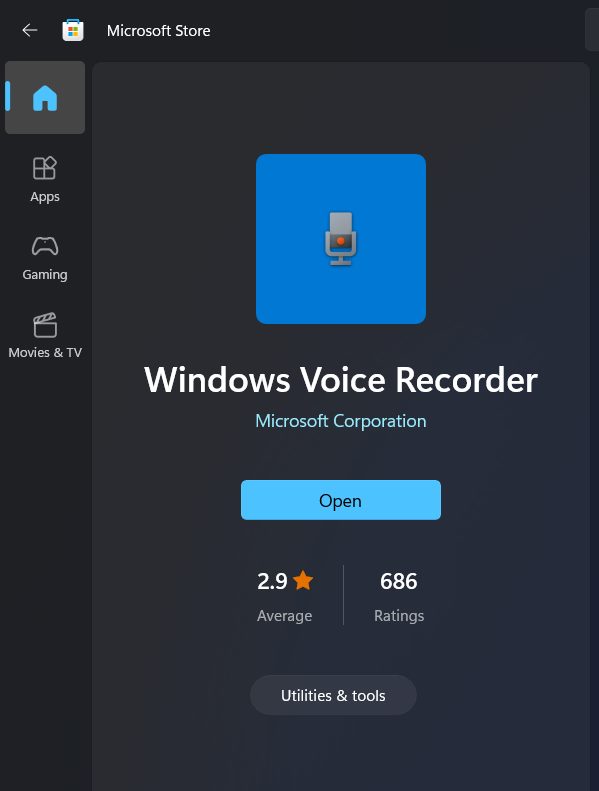
If you are using the latest builds of Windows 11, your PC might already have this app. However, if you have uninstalled the application, you can download it again from the Microsoft Store.
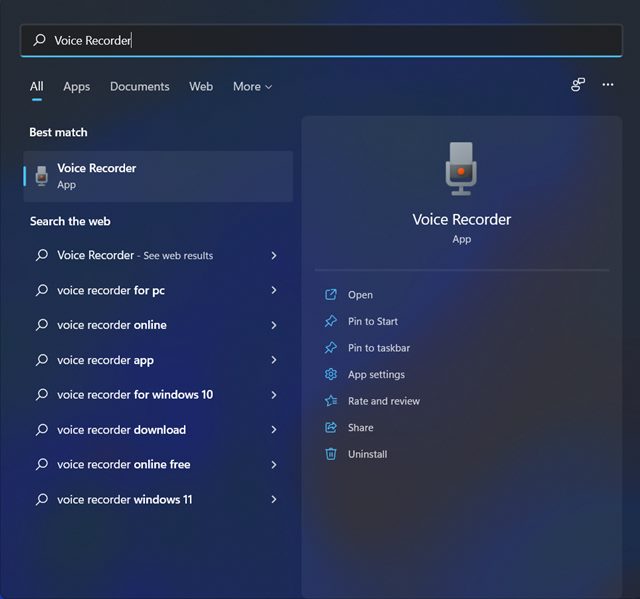
1. First of all, open Microsoft Store on your Windows 11 operating system. Now utilize the Windows 11 search and search for Voice Recorder.
2. Open Windows Voice Recorder from the list and click on the Install or Get button.
That’s it! You are done. This will install the Windows Voice Recorder application on your Windows 11 operating system.
How to Record Audio Using Windows Recorder
After installing the Windows Voice Recorder, you may want to record your audio. To record audio using the Windows Voice Recorder, follow some simple steps shared below.
1. First of all, launch the Windows Voice Recorder application. Now select the mic used to record audio on your Windows 11’s sound settings.
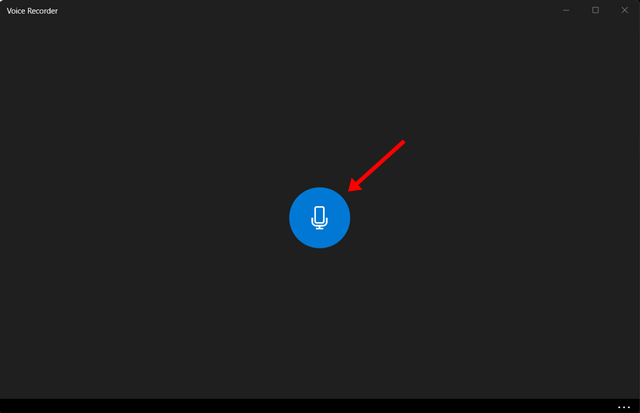
2. Once done, click on the Record button on the Voice Recorder application. Alternatively, you can press the CTRL + R button to start recording.
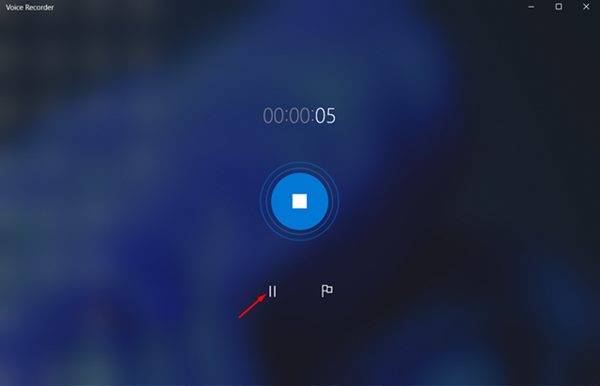
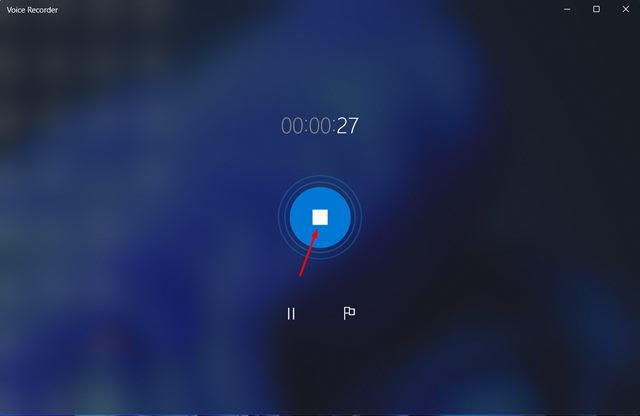
3. Now, the voice recording will start. You can either press the pause button to pause the recording or the stop button to stop the recording.
4. If you want to flag a certain point, you must click on the flag button.
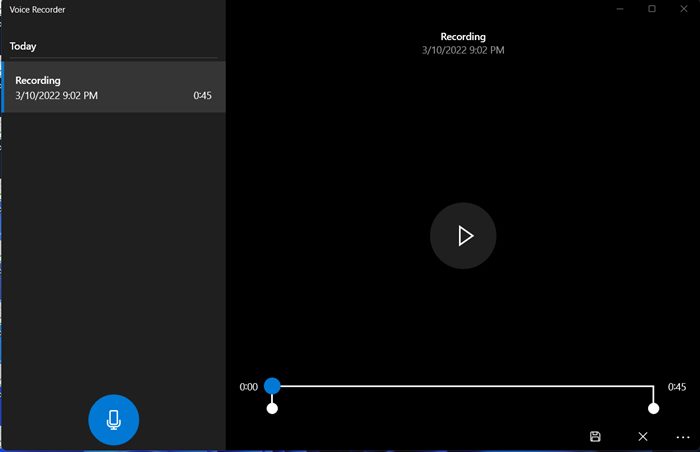
5. Once you stop the recording, you will play the recording directly from the application. Or else, you can find the recordings in the Document folder.
That’s it! You are done. This is how you can record audio on Windows 11 via Windows Voice Recorder.
How to Trim & Share Recorded Sound
The Windows Voice Recorder app can be used to trim the recorded clips. Here’s how you can trim and share recorded audio clips with Windows Voice Recorder.
1. First, open the Voice Recorder app and select the recording you want to edit. Now, you need to click on the Trim audio option.
2. Now, use the Pins in the audio track to select the beginning and the end of the recording.
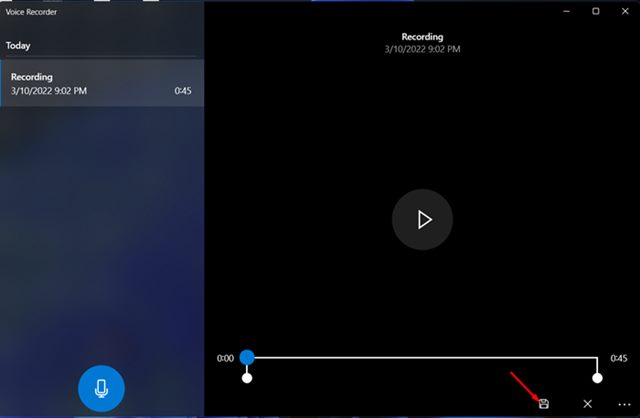
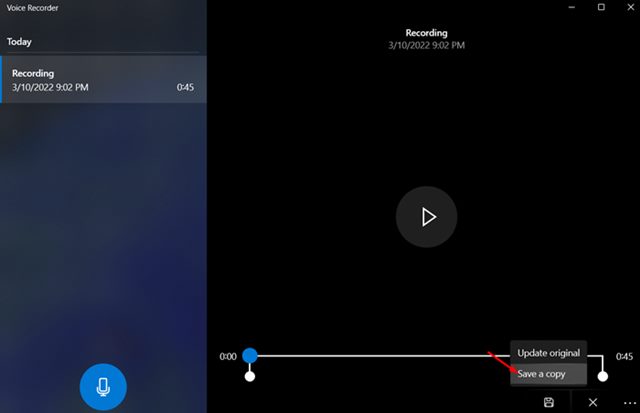
4. Once done, click on the Save button and select the Save a copy option to update the recorded clip.
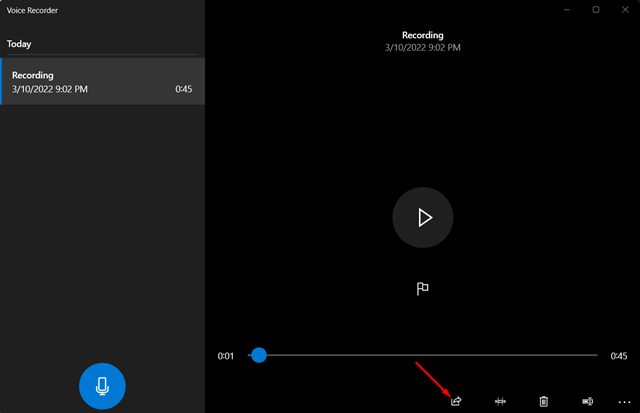
5. To share the audio recording, click on the Share button on the bottom-right corner.
That’s it! You are done. This is how you can trim and share audio clips on Windows 11.
Windows Voice Recorder is a free utility, and it ships with all the necessary features you need. I hope this article helped you! Please share it with your friends also. If you have any doubts about this, let us know in the comment box below.
The post How to Record Audio on Windows 11 (Full Guide) appeared first on TechViral.
from TechViral https://ift.tt/JV3Odur


