


Even though Windows is the best and most popular desktop operating system, it still has many flaws. Windows is less optimized than macOS, which results in more storage and resource consumption.
The one problem that Windows users often face is insufficient storage space. While there are many ways to free up storage space on Windows like you can uninstall programs, delete photos & videos, etc., what if you don’t want to remove any personal files and still wants to expand the storage?
In such a case, you must clean up the WinSxS folder on your Windows computer. This article will discuss WinSxS in detail and how you can clean up this folder. Let’s get started.
What is the WinSxS folder in Windows?
Well, WinSxS (Windows Side by Side) is a folder that resides on your system installation drive. It is where Windows stores its recovery files, files needed to install updates, previous versions of Windows components, and more.
It’s a very important folder and helps you revert to the previous state in case of software failure. Since Windows often use this WinSxS to store new files, the folder size can expand over time, leading to the low disk space problem.
The folder is located in your system installation drive. For example, if C: Drive is your system installation drive, you will find the WinSxS folder in the C:\Windows\WinSxS path.
When you open this folder, you will notice that the files are stored in more than one place in the operating system. However, there’s only one copy of a file, and the rest of the files are just hard links.
Also Read: How to Set Up OneDrive Personal Vault On Windows 11
Best Ways to Reduce the Size of the WinSxS folder
You can’t delete the WinSxS, and you shouldn’t try to delete it. Deleting the files from the WinSxS folder might break the operating system’s functionality. In the worst case, your PC might even fail to boot. Hence, the best way to reduce the WinSxS folder size is by using the built-in disk cleanup tool.
1) Reduce the Size of the WinSxS folder via Task Scheduler
You can use the Task Scheduler to reduce the WinSxS folder size in Windows 11. Here’s what you need to do.
1. First of all, click on the Windows 11 Search and type in Task Scheduler. Next, open the Task Scheduler app from the list of options.

2. On the Task Scheduler, navigate to the following path:
Task Scheduler Library\Microsoft\Windows\Servicing\StartComponentCleanup
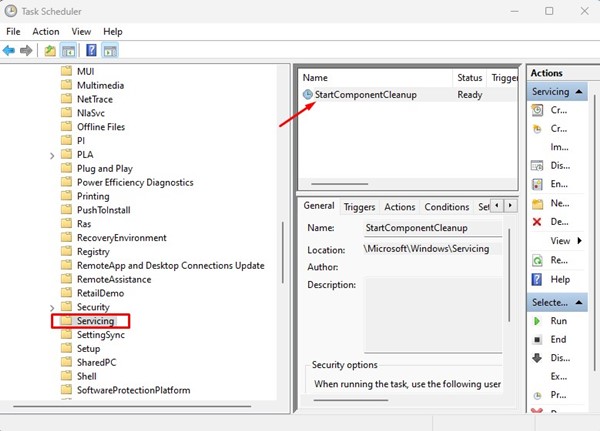
3. On the StartComponentCleanup, click on the Run button in the Selected Item section.
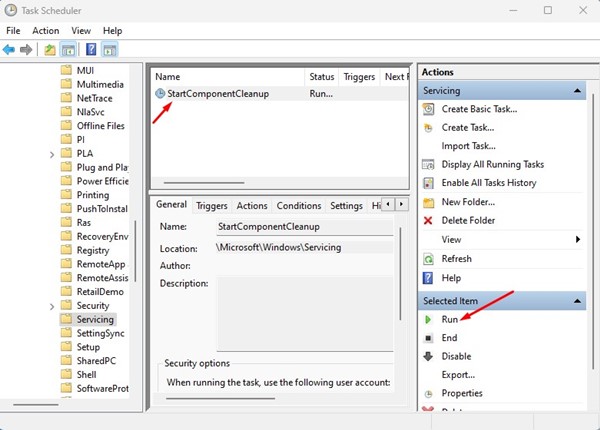
This will run the StartComponentCleanup tool and reduce the size of your WinSxS folder.
2) Cleanup WinSxS using Disk Cleanup Tool
You can use the Disk Cleanup utility to reduce the WinSxS folder size. Here are some of the simple steps shared below.
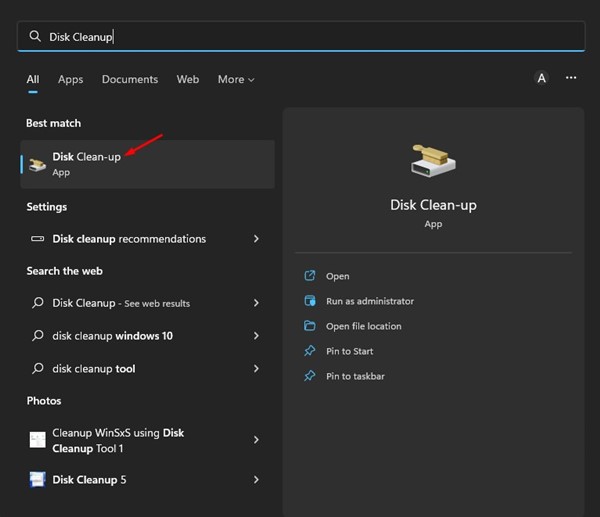
1. First, open File Explorer on your Windows 11. Right-click on your system installation drive and select Properties. Alternatively, open the Windows 11 search and type in Disk Cleanup. Next, open the Disk Cleanup utility from the list.
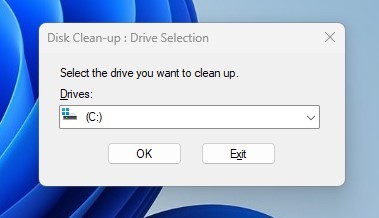
2. On the Local Disk Properties, click on the Disk Cleanup button. If you are using Disk Cleanup utility, you need to select the drive you want to clean.
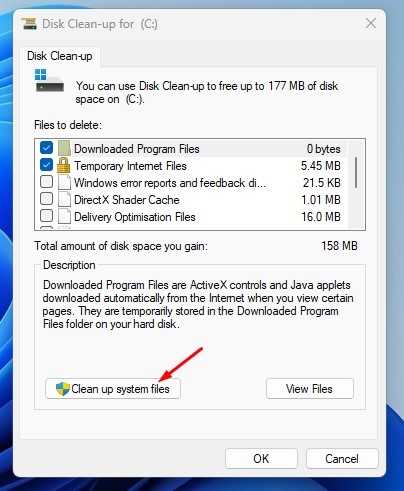
3. On the Disk Cleanup prompt, click the Clean up system files button.
4. Now select all checkboxes and click on the Ok button.
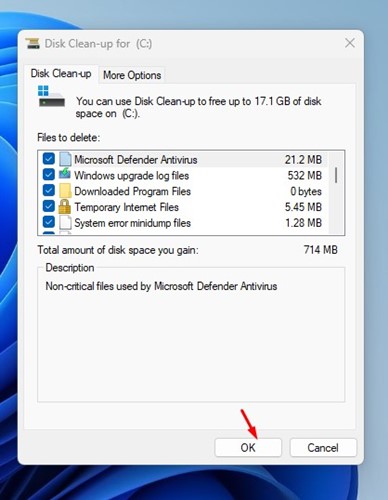
That’s it! The Disk Cleanup utility will run and clean all unnecessary system files.
3) Clean up the WinSxS folder via CMD
You can also use the Command Prompt to clean up the WinSxS folder. You need to follow some of the simple steps we have shared below.
1. Click on the Windows 11 search and type in Command Prompt. Next, right-click the Command Prompt and select ‘Run as administrator’.

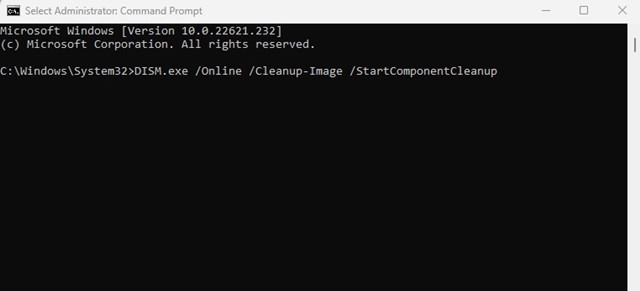
2. On the Command Prompt, execute the command:
DISM.exe /Online /Cleanup-Image /StartComponentCleanup
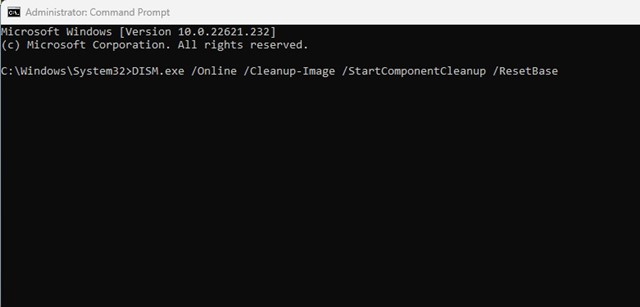
3. This will clear the specific group of files from the WinSxS folder. If you want to clean older Windows component versions, execute the command:
DISM.exe /Online /Cleanup-Image /StartComponentCleanup /ResetBase
That’s it! This is how you can clean up the WinSxS folder via Command Prompt in Windows 11.
Also Read: How to Block Access to Removable Storage Devices in Windows 11
So, these are the best ways to reduce the WinSxS folder size in Windows 11. You shouldn’t delete this folder at any cost; if you want to reduce the size, just follow our shared methods. If you need more help with the WinSxS folder in Windows 11, let us know in the comments below.
The post How to Clean Up the WinSxS Folder in Windows 11 (3 Methods) appeared first on TechViral.
from TechViral https://ift.tt/PFR7SbC

