

The Network Profile is part of the Windows operating system, and when you connect your PC to a network for the first time, you are asked whether you want it to be discoverable by the other PCs and devices on the network.
This prompt asks you to select between Public and Private Networks. Whether connecting to a wireless or cable network, Windows will ask you what kind of Network and settings you want to use.
Private & Public Network Profile
Generally, there are two types of networks – Private and Public. When you set a network profile to Public, your device won’t be visible to other devices on the same Network. That means other devices on the network won’t be able to access your files, printers, etc.
Similarly, when you set a network profile to Private, your device will be discoverable on the networks. This means other devices on the network can access your files, printers, and other things.
Both network profiles use different firewall settings. You can also customize these two profiles using third-party firewall apps on Windows.
Also Read: How to Turn the Windows 11 Taskbar into a macOS-like Dock
1. Change the Network Profile type using Settings
Now that you know both public and private profiles, you might want to change your network profile on Windows 11. Here’s how to do it.
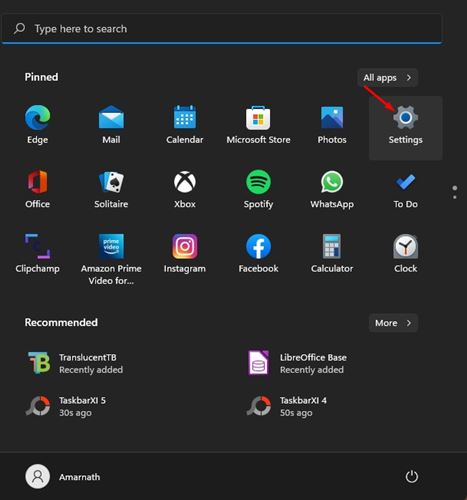
1. Click on the Windows 11 start menu and select Settings.
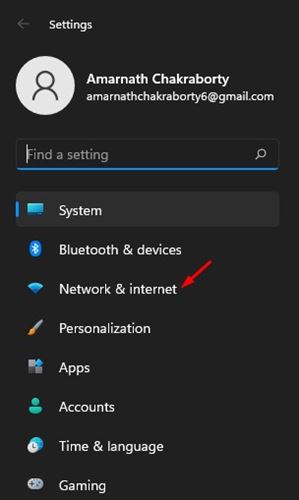
2. On the Settings page, click on the Network & Internet option, as shown below.
3. On the right pane, click on the Network. For example, I am connected to a cable network; therefore, I have to click on the Ethernet option.
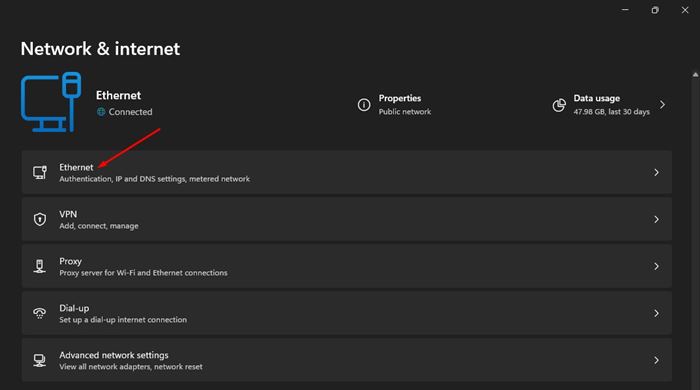
4. Under the Network Profile type, select between ‘Public’ or ‘Private’.

5. If you wish to change the network profile for a wireless connection, head to Settings > Network & internet > Wifi.
6. Under the WiFi, click on Manage known networks and select the active wireless connection.
7. On the next screen, select a Public or Private Network.
2. Change Network Type using Registry Editor
The Windows Registry app can also be used to change the network profile type. Here’s how to do so using Windows Registry.
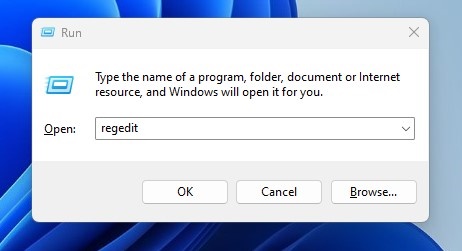
1. Press the Windows Key + R button to open the RUN dialog box. When the RUN dialog box opens, type regedit and press Enter.
2. This will open the Registry Editor. Now navigate to this path:
Computer\HKEY_LOCAL_MACHINE\SOFTWARE\Microsoft\Windows NT\CurrentVersion\NetworkList\Profiles
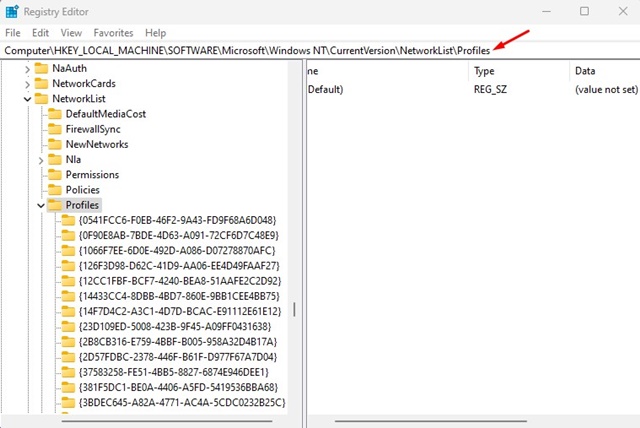
3. Under the Profiles folder, you will find various Network Profiles folders. You need to click on each and find the network profile you want to modify.

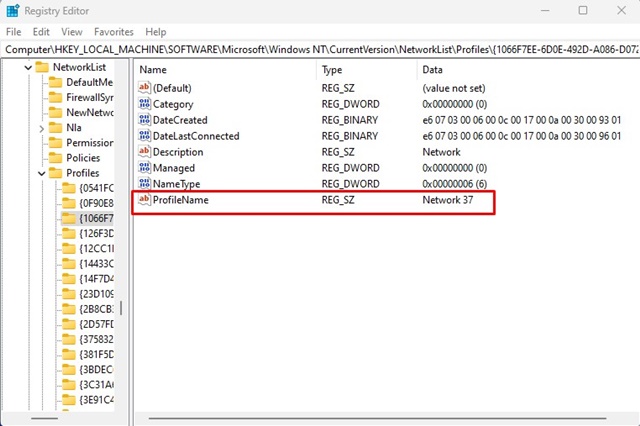
4. You can select each profile and look at the ProfileName value on the right side. This will show you the network name of the selected profile.
5. Once you find the Network profile, double-click on the Category DWORD value. On the value data field, enter one of the following choices:
- Public Networks: 0
- Private Networks: 1
- Domain Networks: 2
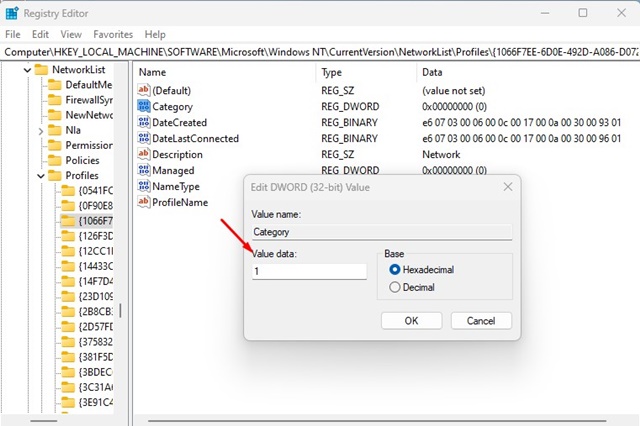
Let’s say you want to change the network profile to private; enter 1 on the value data field and click the Ok button. After making the changes, restart your Windows computer.
3. Change the Network Profile type using the Local Security Policy
You can also use the Local Security Policy editor to change the Network Profile type. Here’s what you need to do.
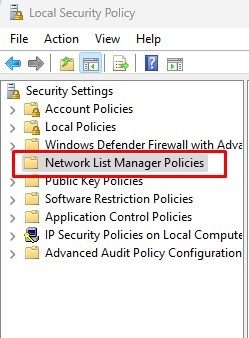
1. Press the Windows Key + R button to open the RUN dialog box. Type in secpol.msc and press Enter.
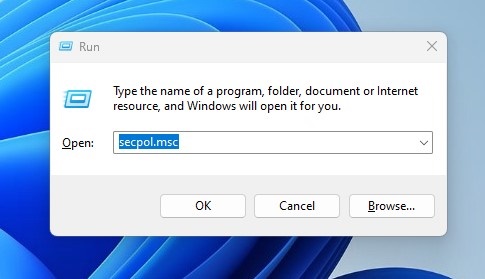
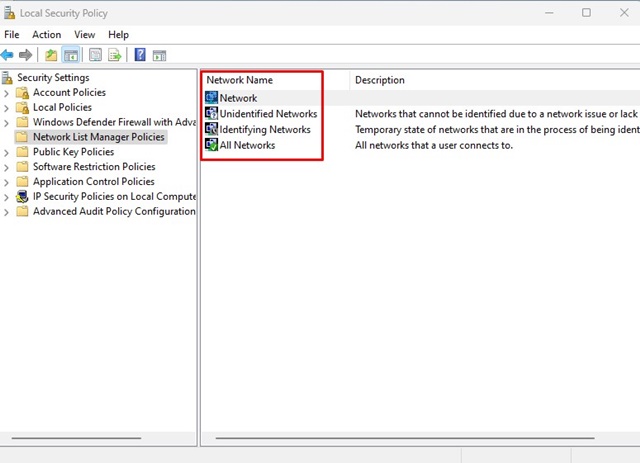
2. On the right side, select the Network List Manager Policies. On the left side, you will see all available networks.
3. Double-click on the Network you want to change the type of.
4. Now switch to the Network Location tab and change the location type to Private or Public.
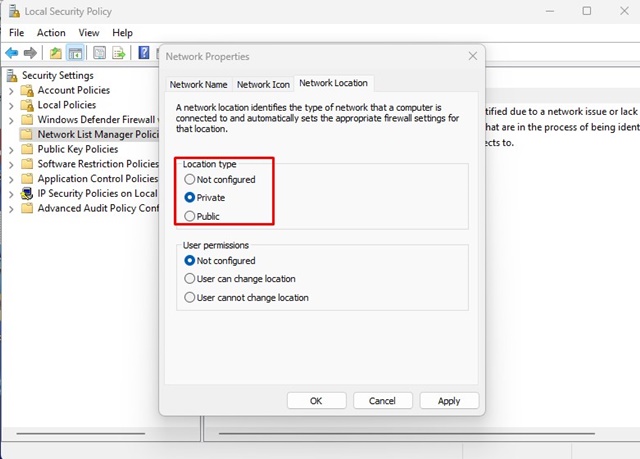
After making the changes, click the Apply button and close the Local Security Policy Editor. Then, restart your computer to reflect the change.
Changing network profiles is pretty easy on Windows 11; follow our outlined steps. I hope this article helped you! Please share it with your friends, too. If you have any doubts, let us know in the comment box below.
The post How to Change Network Profile Type on Windows 11 appeared first on TechViral.
from TechViral https://ift.tt/Qky8Mco

