The latest version of Windows Security has some advanced security features such as Ransomware Protection and Exploit protection. While Windows Defender or Windows Security application is bug-free, users can sometimes face problems.
A few Windows 11 users have recently reported problems with Microsoft Security. Users have claimed that the Windows Security application is showing an error and sometimes fails to run the scan. So, if you are also dealing with Windows Security-related problems on your Windows 11, you should reset it.
1. Reset Windows Defender via PowerShell
This method will use the PowerShell utility to reinstall the Windows Defender application. Here are some of the simple steps you need to follow.
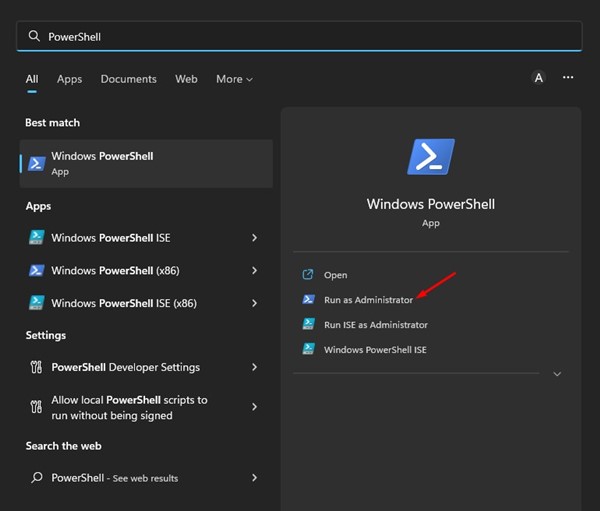
1. First, click on the Windows 11 search and type PowerShell. Next, right-click on PowerShell and select Run as administrator.
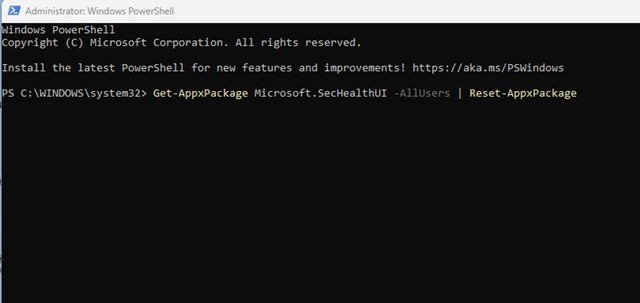
2. Now, on the PowerShell window, type in the following command and press Enter.
Get-AppxPackage Microsoft.SecHealthUI -AllUsers | Reset-AppxPackage
3. Now, wait for a few seconds until the scan completes.
Once the reinstallation part is complete, restart your Windows 11 computer. After the restart, you can run Windows Security without any issues.
2. Reset Windows Security via Settings
In this method, we will use Windows 11’s Settings app to reset the Windows Security application. Here are some of the simple steps you need to follow.
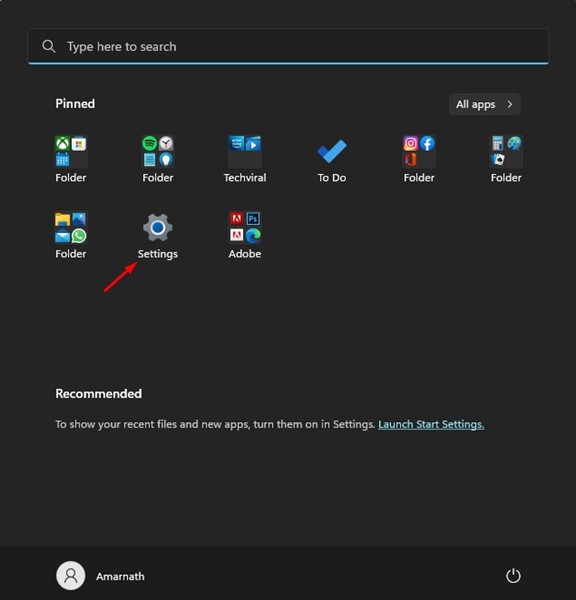
1. First, click the Windows 11 Start button and select Settings.
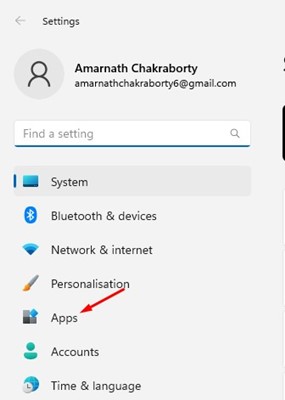
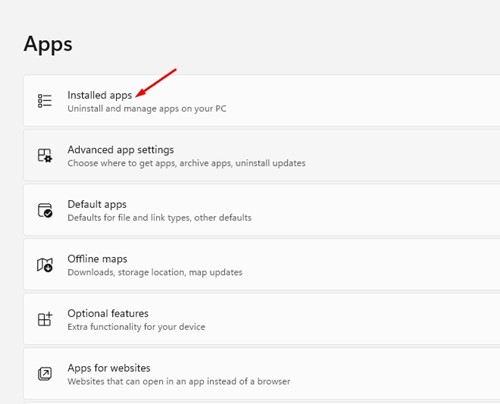
2. Click on the Apps on the left pane of the Settings app.
3. On the right, click on the Installed Apps option.
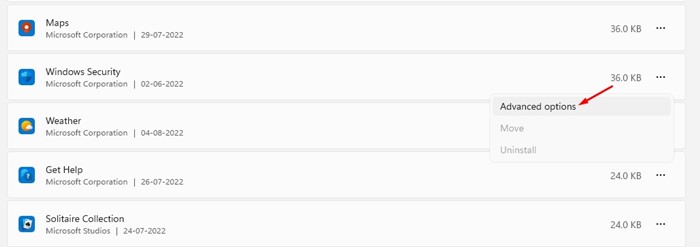
4. On the Installed apps, scroll down and find Windows Security. Next, click on the three dots beside Windows Security.
5. From the list of options that appears, tap on the Advanced options.
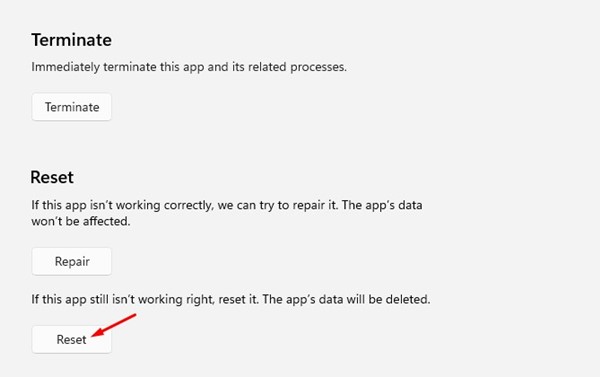
6. On the Advanced options, click on the Reset button.
This is how you can reset the Windows Security application from the Windows 11 Settings.
3. Reset the Windows Security App using CMD
Like the Powershell, you can use the Command Prompt utility to reset the Windows Security app. To do that, follow the steps we’ve outlined.
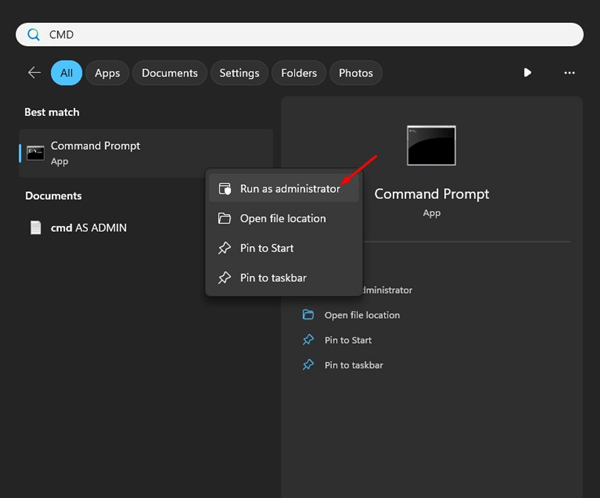
1. Type CMD on the Windows 11 Search. Next, right click on the CMD and select Run as administrator.
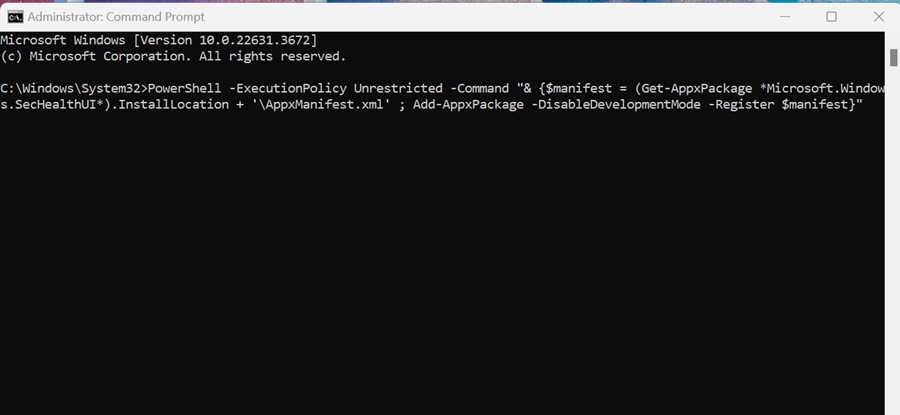
2. When the Command Prompt opens, paste the command and press Enter.
PowerShell -ExecutionPolicy Unrestricted -Command "& {$manifest = (Get-AppxPackage *Microsoft.Windows.SecHealthUI*).InstallLocation + '\AppxManifest.xml' ; Add-AppxPackage -DisableDevelopmentMode -Register $manifest}"
After executing the command, restart your PC and launch the Windows Security app. This will reset the Windows Security app.
Also read: How To Remotely Control Another PC Without Any Tool
These are the two best ways to reset Windows Security in Windows 11. You should reset the security tool if you’re facing problems with it. If you need more help, let us know in the comments below.
The post How to Reset Windows Security App in Windows 11 appeared first on TechViral.
from TechViral https://ift.tt/cjMGrJx


