When repairing corrupted system files, the System File Checker (SFC) utility is the top choice for Windows users. The tool takes only a few seconds to find and repair corrupted system files.
The second best tool for fixing system file corruption is Deployment Image Servicing and Management (DISM). This command-line tool can modify and repair system images. DISM is often used alongside the SFC (System File Checker) to resolve various system problems.
We have discussed the DISM tool, often run via CMD to prepare, modify, and repair system images. The tool is easy to run from the Command Prompt, but you need to know how to do so correctly. Here’s how to run the DISM command.
Run Command Prompt As an Administrator
All commands listed in the article are required to be executed on an elevated Command Prompt. So, run Command Prompt with admin rights and execute the required commands.
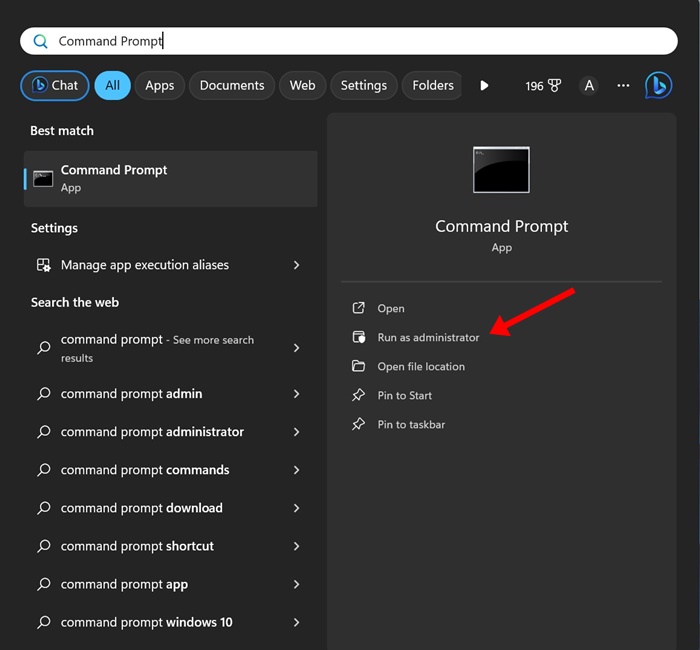
1. Type in Command Prompt on the Windows 11 Search.
2. Right click on the Command Prompt and select Run as administrator.
1) Check the File Integrity
If you’re not running the DISM tool alongside SFC, check the file integrity first. This will tell you if there are any issues with the current Windows image. Here’s how to check file integrity with the DISM tool.
Check Health
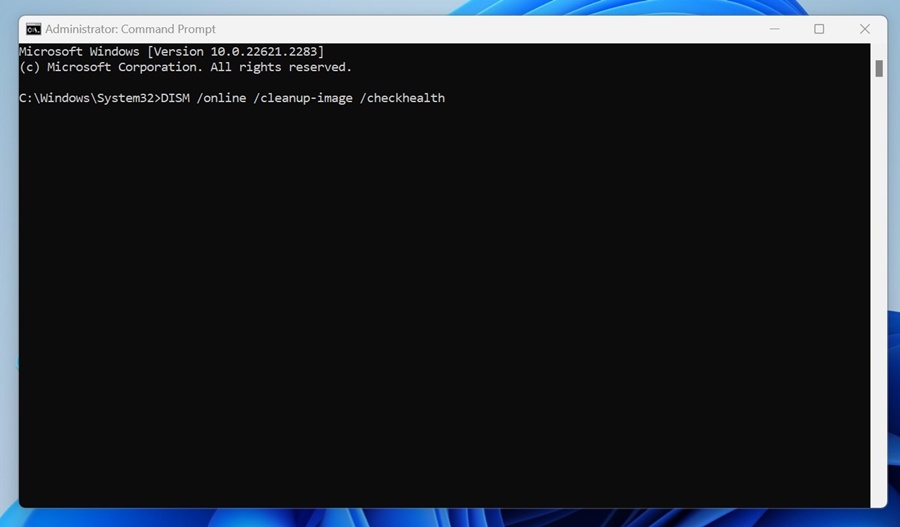
This command is used to check the health of the current Windows image. This will run a quick scan to determine whether the Windows image is repairable. Here’s the command you need to run on an elevated command prompt.
DISM /online /cleanup-image /checkhealth
Scan Health
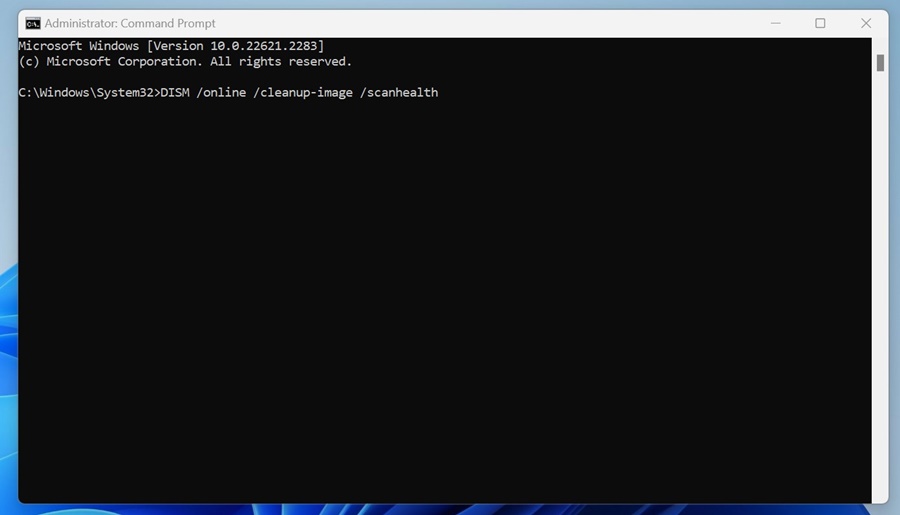
This command will not fix errors or problems but check for system file corruption. You need to run it on an elevated command prompt. Here’s the command you need to use.
DISM /online /cleanup-image /scanhealth
2) Repair the Corrupted System Files
After executing the two commands we have shared above, the DISM tool returns with any corrupt or missing system files; you need to repair them.
You have two different commands for repairing corrupted files via the DISM command. One needs an internet connection to download the corrupted or missing files, and the other requires a Windows ISO file to replace the files.
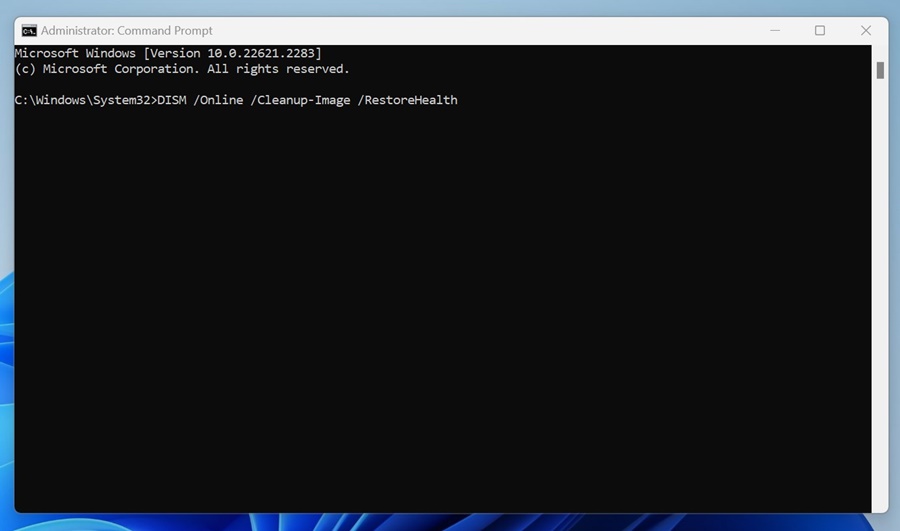
If your PC is connected to the internet, you must execute this command on the Command Prompt.
DISM /Online /Cleanup-Image /RestoreHealth
The command may take a while to complete, so do not close the Command Prompt utility. It will run the scan and connect to the Windows Update service to download & replace the corrupt files.
Repair the Corrupted System Files Manually
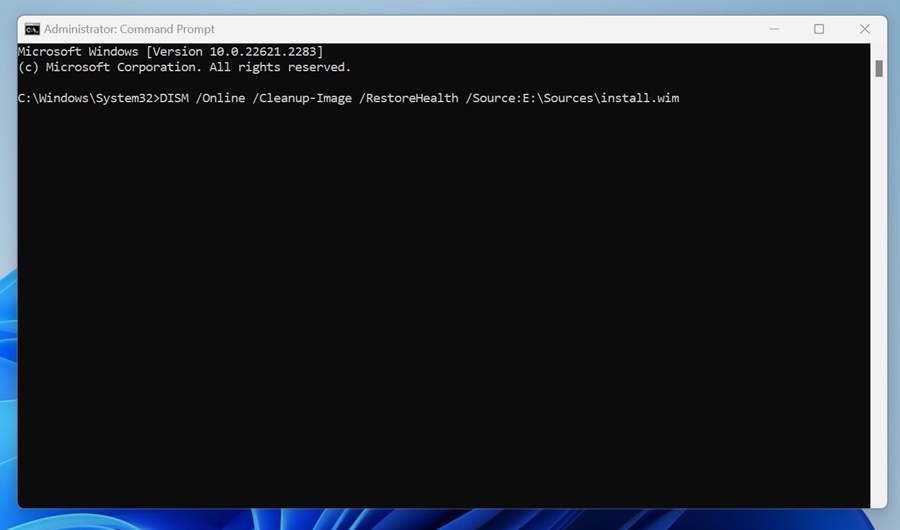
There’s a modified version of the above command to repair the image. So, to repair your System image offline, grab the Windows 11 ISO file and mount it as a virtual drive. Once done, execute the command shared below.
DISM /Online /Cleanup-Image /RestoreHealth /Source:E:\Sources\install.wim
Important: In the command, replace ‘E’ with the ISO mount point drive letter. You can check the mount point drive in the Windows 11 File Explorer.
Prevent DISM tool from using Windows Update as a Repair Source
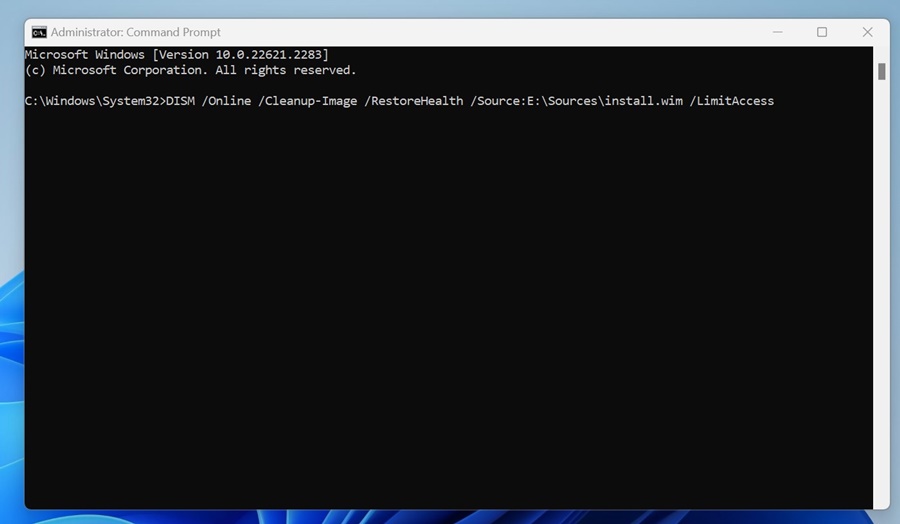
The DISM tool can attempt to repair the system image from your source instead of Windows Update. An alternate variant of the command can prevent the DISM tool from using Windows Update as a repair source or as a backup repair source for online images.
DISM /Online /Cleanup-Image /RestoreHealth /Source:E:\Sources\install.wim /LimitAccess
The command will limit the use of Windows Update.
This guide explains how to use DISM commands to repair Windows 11 system images. DISM is a great tool because it makes finding and replacing corrupt system files and Windows Images easy. Let us know if you need more help repairing or recovering your Windows System Image using DISM. Also, if you find this guide helpful, share it with your friends.
The post How to Use DISM Commands to Repair Windows 11 System Images appeared first on TechViral.
from TechViral https://ift.tt/FArUORM


