

While watching TV Shows or Movies on our computer, the volume goes way up, and sometimes it goes very low, making it difficult for us to hear.
This type of sound problem appears when Sound Equalization is disabled. Now, you may ask, what exactly is Sound Equalization on Windows 11, and what does it do?
What is Sound Equalization on Windows 11?
Sound Equalization or Loudness Equalization is a Windows 11 feature that equalizes the sound levels on your computer. The feature is supposed to balance the fluctuating volume levels on your Windows 11 computer or laptop.
Loudness Equalization is part of the Audio Enhancement options on Windows 11 and can be enabled from the Sound Settings.
Enable Sound Equalization on Windows 11
Sound or Loudness Equalization can be enabled in Windows 11 Settings. Here’s how to enable the sound equalization feature on Windows 11.
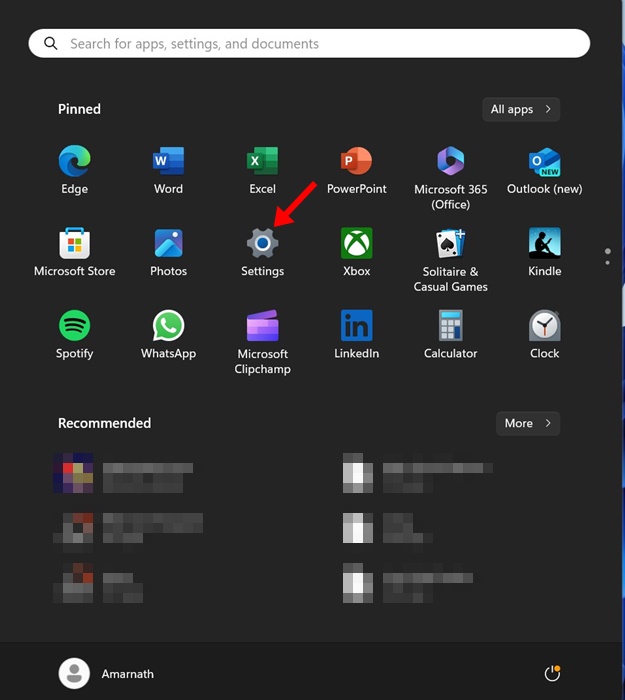
1. To get started, click the Windows 11 Start button and select Settings.
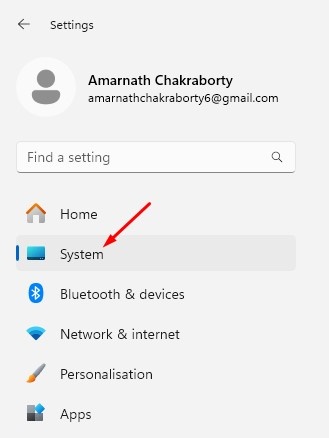
2. When the Settings app opens, switch to the System tab.
3. On the right side, click on Sound.

4. Next, on the Sound Settings, scroll down and click on More Sound Settings.

5. Now select your connected speaker and click Properties.

6. On the Speaker Properties, switch to the Enhancements tab.

7. Next, on the Enhancements, check the Loudness Equalization.
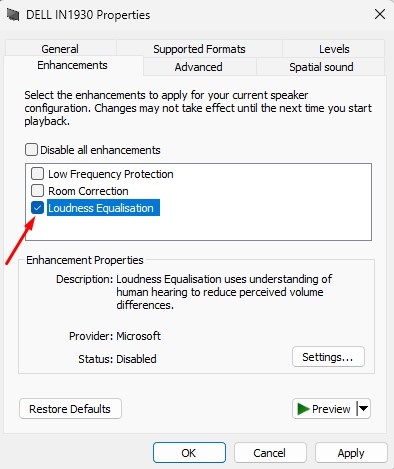
8. After making the changes, click Apply and then OK.

Disable Audio Enhancements on Windows 11
While enabling audio enhancements like Loudness Equalization on Windows 11 may require going through several dialog boxes, disabling them is super easy. Here’s how to disable Audio Enhancements on Windows 11.
1. Click on the Windows 11 Start button and select Settings.
2. When the Settings app opens, switch to the System.
3. On the right side, click on Sound.
4. Next, select the Speaker under Output.

5. Scroll down to the Audio Enhancements section. Next, click the drop-down next to the Audio Enhancements and select Off.

That’s how easy it is to turn on Sound Equalization on a Windows 11 computer. If you need more help normalizing sound in Windows 11, let us know in the comments. Also, if you find this guide helpful, don’t forget to share it with your friends.
The post How to Enable Sound Equalization on Windows 11 appeared first on TechViral.
from TechViral https://ift.tt/rxWYA4i

