

Windows 11 isn’t perfect, and apart from compatibility issues, you might run into screen flickering, brightness problems, or even blurry text. We’ve already covered how to fix blurry text, so now, let’s fix the screen flickering.
There’s no single cause for screen flickering. But don’t worry – we’ll walk you through some quick troubleshooting steps to get things back to normal.
1. Check the Cables (Monitor)
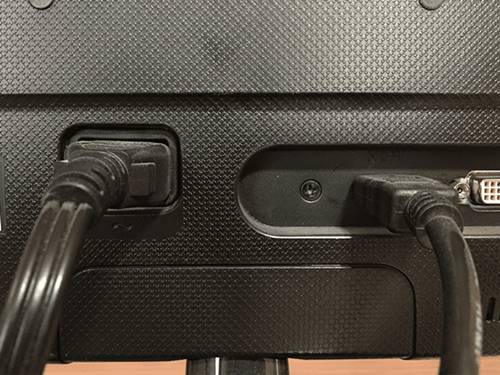
First things first – check your monitor cables. A loose or faulty connection is the most common reason for screen flickering.
Make sure the display cable is properly plugged into your monitor. If the flickering doesn’t stop, unplug it, reconnect it.
Using a laptop? Double-check the hinge. If it’s broken or damaged, getting it fixed will do the trick.
2. Install Windows Updates
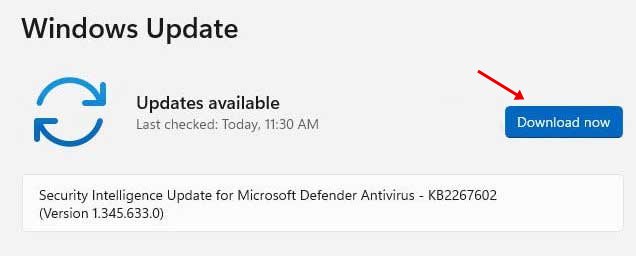
Since Windows 11 isn’t completely bug-free, a faulty update could be the sole reason for the problem.
If your screen started flickering after upgrading to Windows 1, check for the available updates and install them.
Also, install the additional and optional updates as these include the important drivers needed for your display & GPU adapter to work smoothly.
3. Update your Display Driver
If the Windows update didn’t help, you need to update your Display Driver. You can manually update the Display driver or use the device manager to update your display adapters.
We have shared a detailed guide on updating the display driver on Windows. Follow the steps to update the display drivers on Windows 11 properly.
4. Reconnect your GPU
If you’re comfortable handling hardware, try reconnecting your graphics card (GPU). A loose GPU connection can sometimes cause screen flickering.
While you’re at it, give your GPU and motherboard a quick clean. Dust and debris buildup can also mess with performance, so a little cleanup might do the trick.
5. Change Accent Color & Background
Windows 11 has a feature that automatically picks the accent color from the desktop wallpaper. The automatic accent color is sent to trigger the screen flickering issue on both Windows 10/11.
Hence, you should change the Accent color and background settings on Windows 11 to get the screen flickering fixed. Here’s what you need to do.
1. Press the Windows + I button and select the Personalization tab. Then, on the right pane, click on the Colors option.
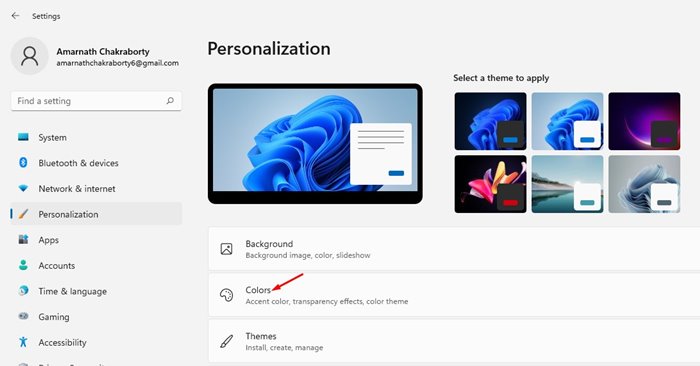
2. On the Accent color, select the ‘Manual‘ option and set the accent color of your choice.

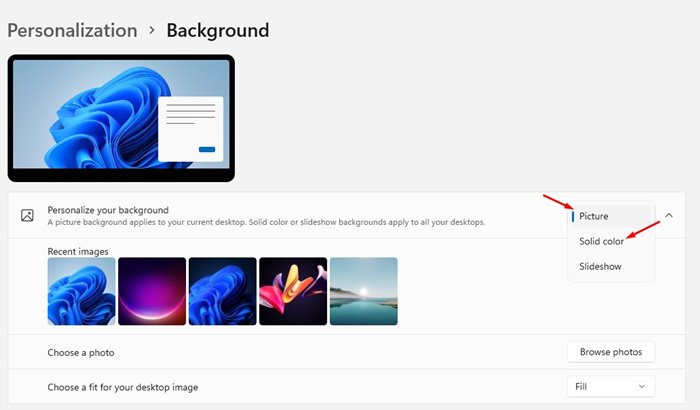
3. Now, move back to the previous page and click the Background option.
4. In the Personalize Your Background section, select either Picture or Solid color as the background.
6. Disable Visual Effects in Windows 11
A few users have reported that enabling the animation effect triggered screen flickering on their monitors. So, to solve screen flickering in Windows 11, you need to disable the animation effects.
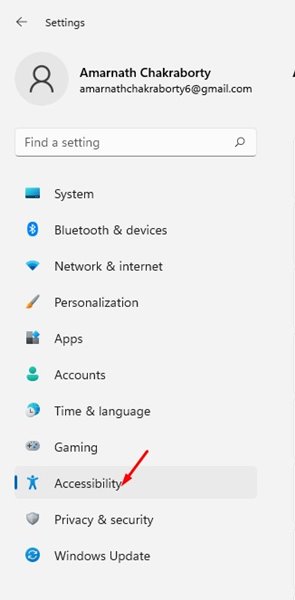
1. Click on the Windows Key + I on your keyboard. Then, on the Settings, click on the Accessibility tab.
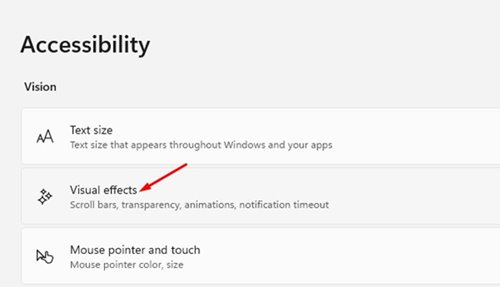
2. On the right pane, click on the Visual Effects option.
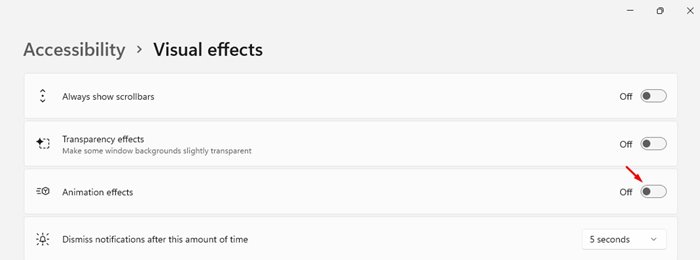
3. Disable the toggle button behind the Animation effects under the Visual Effects.
7. Disable Hardware Acceleration on Windows 11
Hardware acceleration is a great feature, but sometimes, it creates problems like screen flickering. Many users have reported that disabling hardware acceleration helps to fix the issue. If you use Google Chrome, here’s how you can disable hardware acceleration.
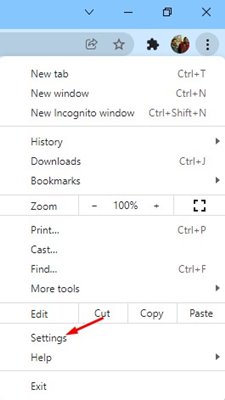
1. Open the Google Chrome web browser and click on the three dots below. From the list of options, click on Settings.
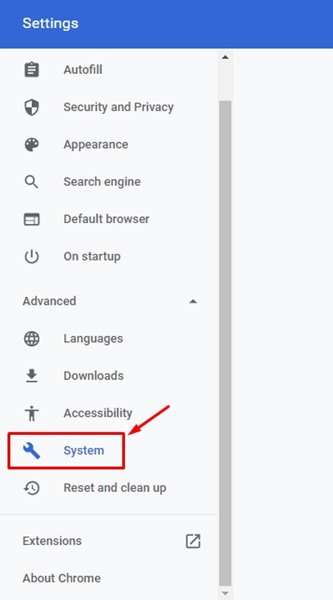
2. In Chrome Settings, click on Advanced Settings on the left sidebar and then on the System tab.
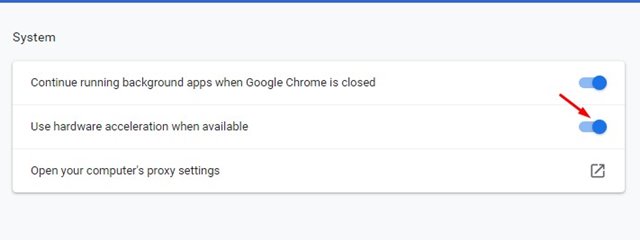
3. On the right sidebar, turn off the Use hardware acceleration when available toggle.
8. Adjust the Screen Refresh Rate
Display refresh rate is an important factor that leads to screen flickering issues. The higher the refresh rate, the faster the image changes. So, if you use an outdated monitor, the screen refresh rate might be a problem because of the screen flickering.
Anyway, it’s pretty easy to adjust the refresh rate on Windows 11. We have shared a detailed guide on adjusting the refresh rate on Windows 11. You need to follow that guide and manually adjust the refresh rate.
9. Check for App Incompatibility
Sometimes, incompatible apps seem to trigger screen flickering issues. If you have installed a new app and are experiencing a screen flickering issue, you should find and uninstall that app.
It’s best to uninstall apps you install before the flickering issue starts. If you cannot pick the app, it’s best to reset or restore your Windows 11 PC. Anyways, here’s how to uninstall apps on Windows 11.
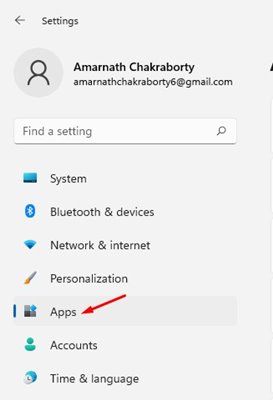
1. Open the Settings app and click on the Apps section on the left sidebar.
2. On the right pane, click on the Apps & Features section.
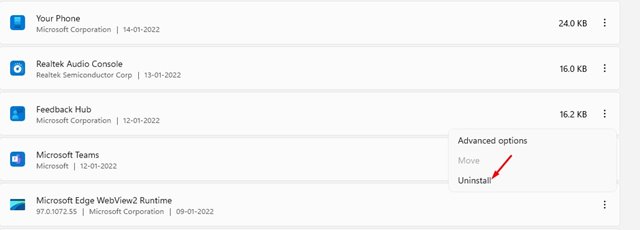
3. Next, click on the Sort by dropdown and select the Last installed option.
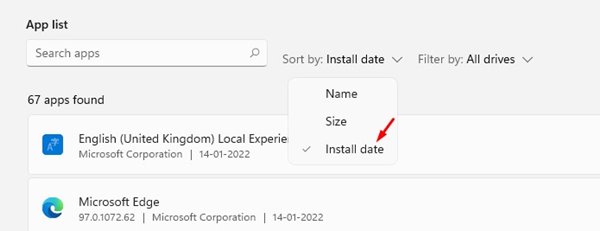
4. This will sort the apps based on their installation date. Now, click on the three dots next to each app’s name and select Uninstall.
10. Perform a System Restore
If the screen is flickering because of a software fault and it hasn’t been fixed yet, performing a system restore is the last resort. Here’s how to perform a system restore on Windows.
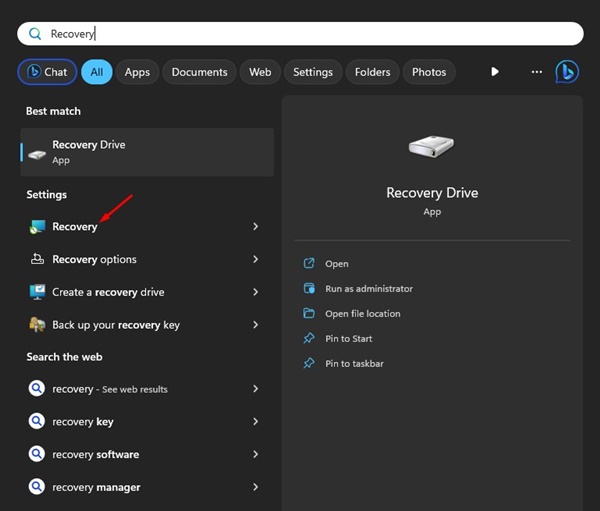
1. Type in Recovery on the Windows Search. Next, open the Recovery app from the list of best match results.
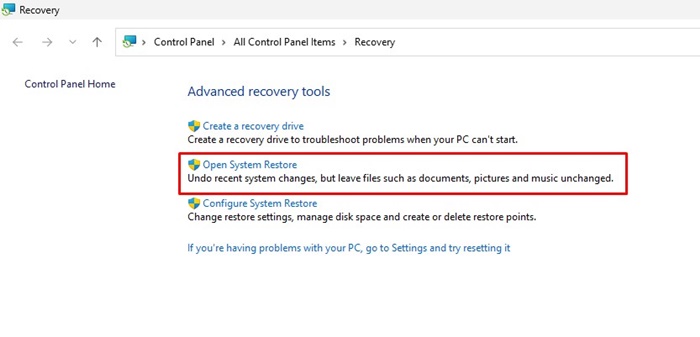
2. When the Recovery app opens, click on Open System Restore.
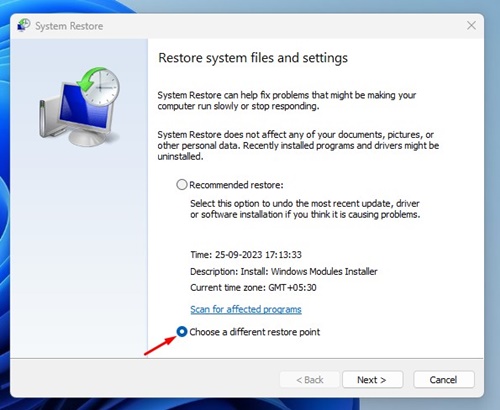
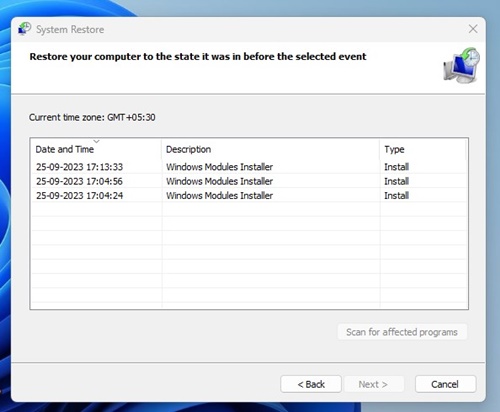
3. Next, select Choose a different restore point and click Next.
4. Select a Restore point of the previous date and click Next.
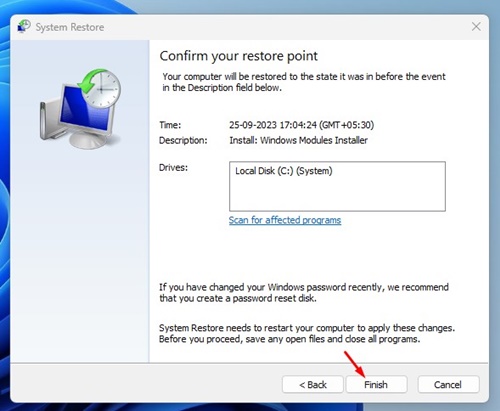
5. On the Confirmation Prompt, click Finish.
Screen flickering is a common problem in Windows 11. If all methods fail to fix the problem, you need to check your monitor. It’s best to plug in a different monitor and check the problem. If screen flickering does not appear on another monitor, you need to get your monitor fixed. If you have any doubts, let us know in the comment box below.
The post 10 Best Ways to Fix Screen Flickering Issue on Windows 11 appeared first on TechViral.
from TechViral https://ift.tt/nX5E9xN

