

Ever wanted to uninstall a program or change its files but couldn’t find where it’s installed? There are a few workarounds to locate the apps or programs.
It’s quite easy to find the installation directory of any app or game on your Windows 11 PC. This article lists some of the best methods for finding where a program is installed.
1. Find the Location using the Program Icon
The app icon on your desktop screen can find the installation folder. Here’s what to do.
1. Right-click on the program whose installation folder you want to locate. Next, click on the Properties.
![]()
2. You will find the installation path on the Target Field.
![]()
3. Alternatively, click the Open File Location button to open the installation folder directly.
![]()
2. Find the Program Location via the Start Menu
We will use the Windows 11 Start Menu to find the app or program location using this method. Here are some simple steps you need to follow
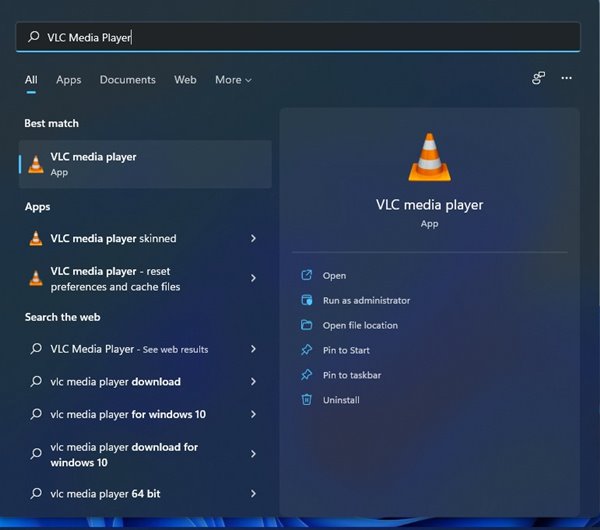
1. Open the Windows 11 start menu and type in the name of the program you are looking for. Here, we used the VLC media player to demonstrate the process.
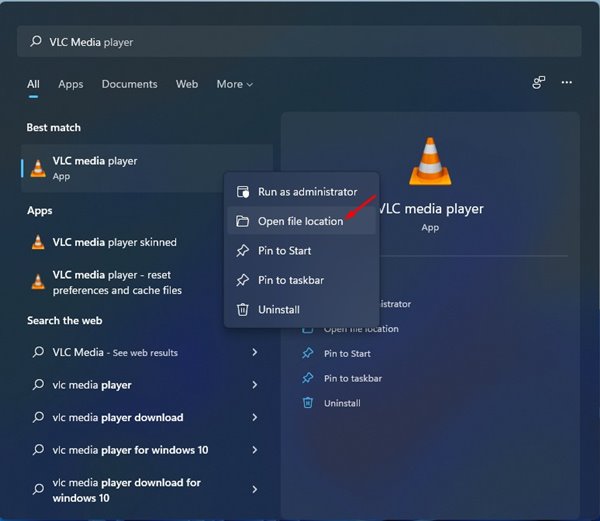
2. Select the program and right-click on it. Next, select the Open File Location option.
3. Find the App & Program Location via Task Manager
Task Manager is another useful tool to find the app and program location. Here’s what you need to do.
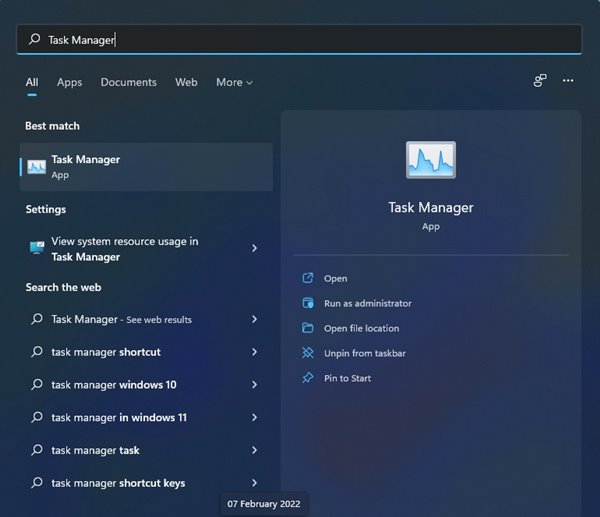
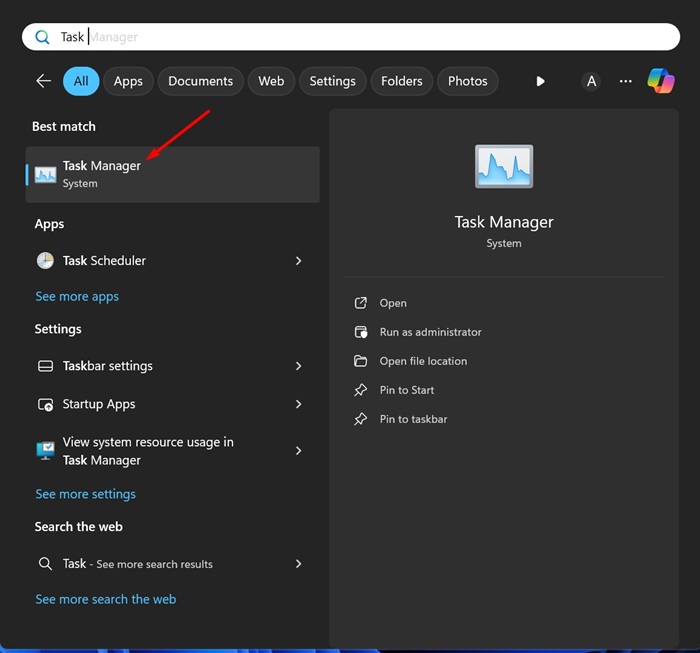
1. Open the Windows 11 Start Menu and type in Task Manager. Open Task Manager from the list of options.
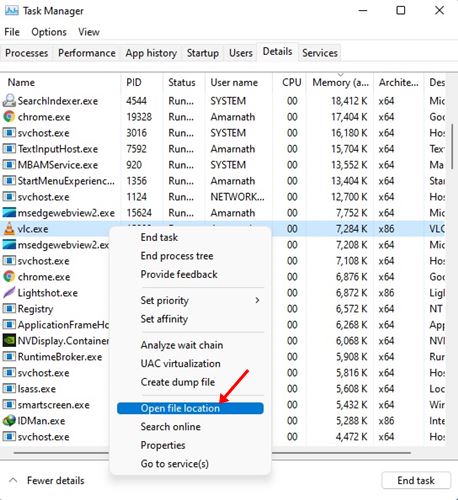
2. On the Task Manager, switch to the Details tab as shown below.
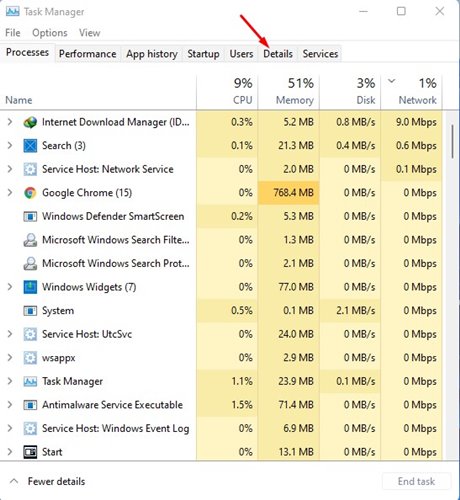
3. Now, you will find all processes & applications running on your system.
4. Find your application, right-click on it, and select Open File Location.
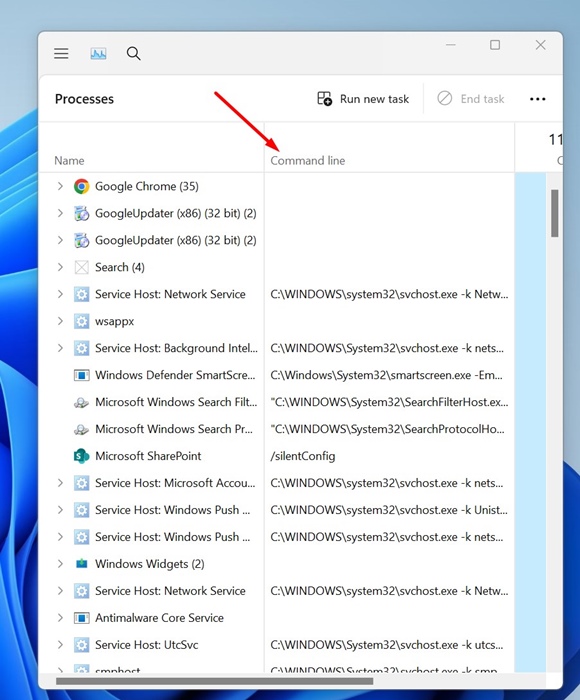
4. Find the Program Location from the Command Line on Task Manager
Enabling the Command Line column in the Task Manager will also tell you the program’s actual installation path. Here’s how you can enable it.
1. Launch the Task Manager on your Windows 11 PC.
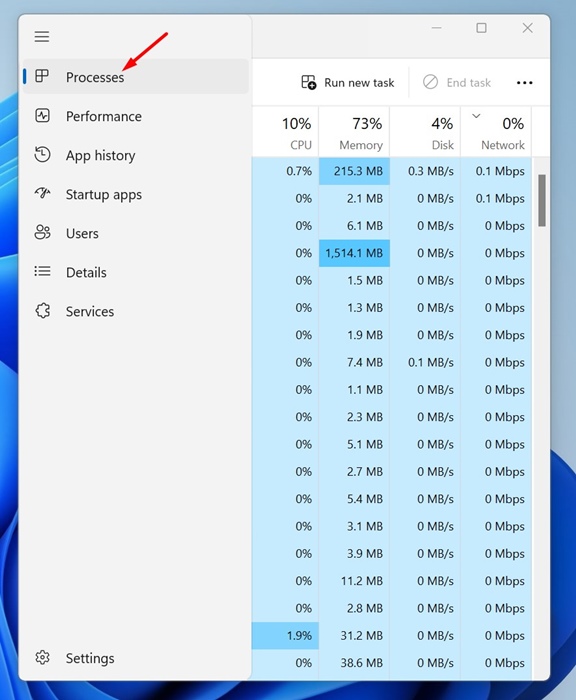
2. When the Task Manager opens, switch to the Processes tab.
3. Now right-click any column header and check the Command Line.
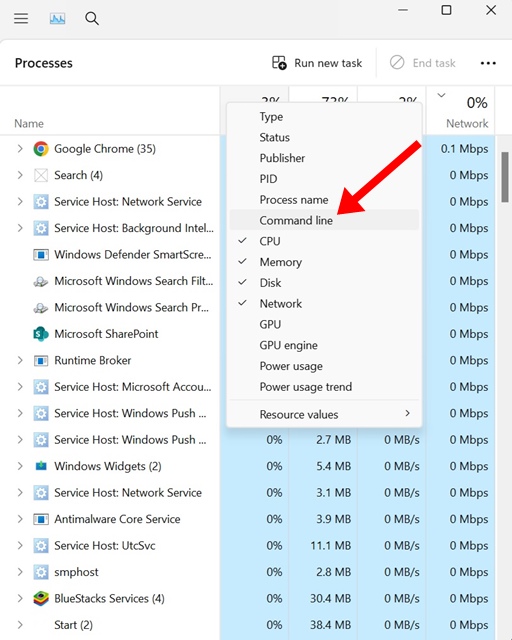
4. On the Command Line column, you will be able to see the exact location of the app.
5. Find Program’s Installation Location from File Explorer
Accessing the Installation folder of a Program using the File Explorer is a lengthy process, but it works all the time.
So, if you want to take a lengthy approach to find the installation location of a program, follow these steps.
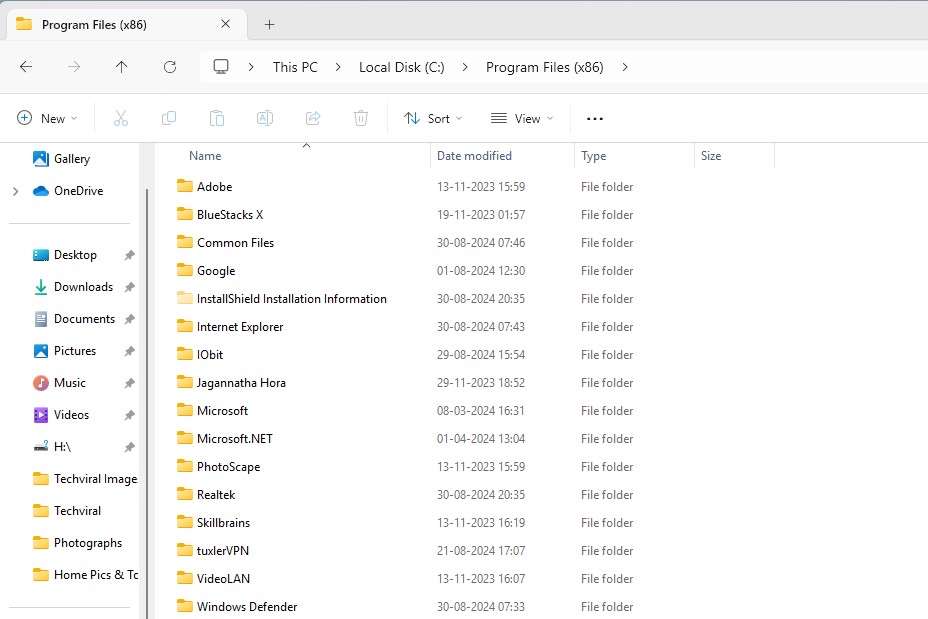
- Launch the File Explorer on your PC. You can also press the Windows + E button.
- Next, open the drive where you’ve installed Windows. It’s usually the C Drive.
- On the C:Drive, navigate to the Program Files > Program Files (x86). This is the folder where the programs usually install.
If you can’t find the program, you might have changed the installation location on the Setup wizard.
These methods will help you find the installation directory of any app or game on your Windows 11 PC. I hope this article helped you! Please share it with your friends also. If you have any doubts, let us know in the comment box below.
The post 5 Best Ways to Find Program’s Locations on Windows 11 appeared first on TechViral.
from TechViral https://ift.tt/a7EsUrG

