

The ‘Undoing Changes Made to your computer’ screen is not an error. Still, it can put your computer into a boot loop, preventing you from accessing or using your computer.
Many Windows 11 users have reported this boot loop problem, and there’s no sure-shot fix yet. So, if you are stuck in a similar situation, you might need to take matters into your own hands and do some troubleshooting.
1. Boot into Safe Mode
If you are stuck in the ‘Undoing Changes Made to your computer’ boot loop, you might need to boot into the safe mode. Only after booting into the Safe mode, you will be able to implement the next methods.
1. Restart your PC by pressing the physical power button. When your PC is booting, you need to press the physical power button again to force a restart. The goal of this is to interrupt the boot process.
2. You must repeat the process 3-4 times until you see the Automatic Repair screen. On the Automatic Repair screen, click on Advanced Options.
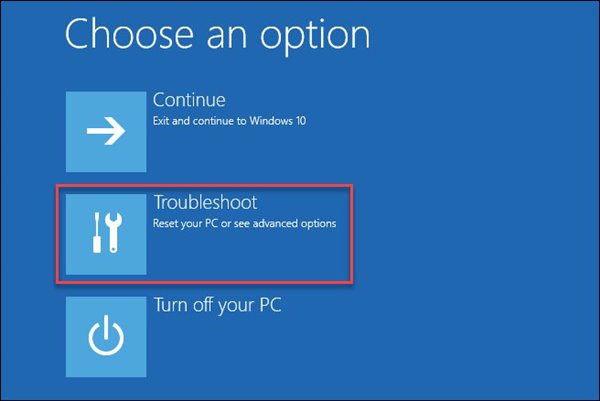
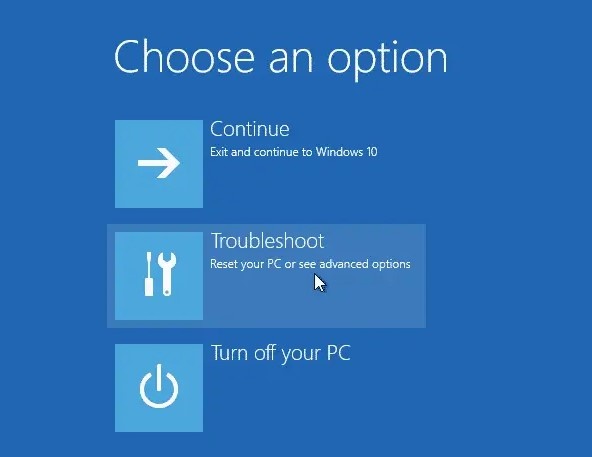
3. On the Advanced Option page, click on Troubleshoot.
4. On the Troubleshoot page, click on the Advanced options again.
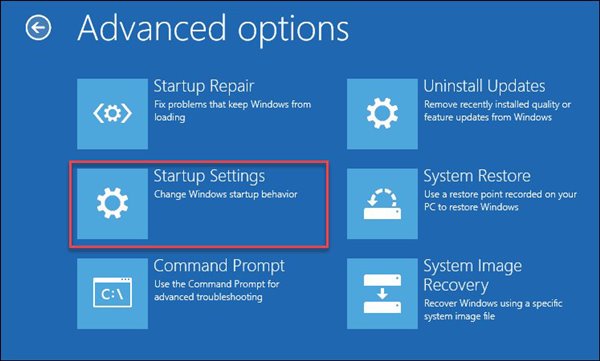
5. On the Advanced Options page, click on the Startup Settings.
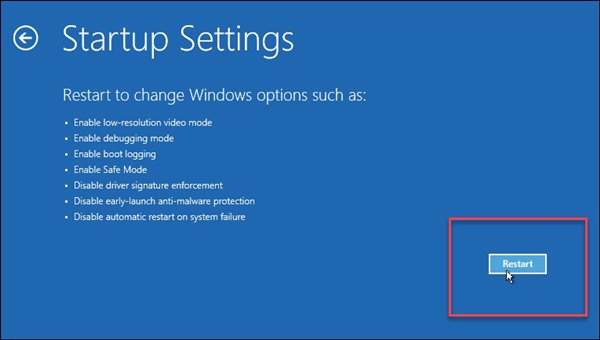
6. On the Startup Settings page, click on the Restart button.
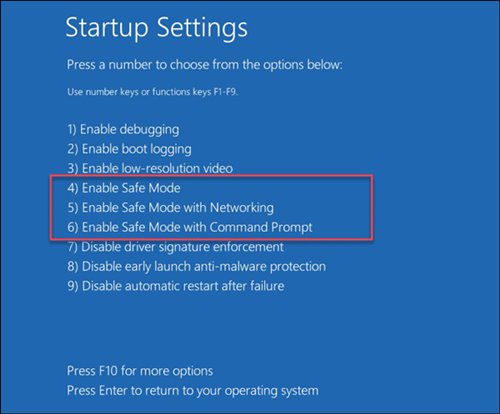
7. Press 4 or the F4 button on the next screen to select the ‘Enable Safe Mode‘ option.
2. Uninstall the Recent Updates
If your Windows 11 PC is stuck at the ‘Undoing changes made to your computer’ screen for hours, the best thing you can do is to boot into the recovery menu and then uninstall the recent updates.
1. Press & hold the power key and shut down your PC.
2. Now turn on the PC and press the F8 key to open the Recovery screen. You can also try other key combinations, such as Shift + F8, ESC, or F11, whichever your PC supports.
3. On the Recovery screen, select Troubleshoot.
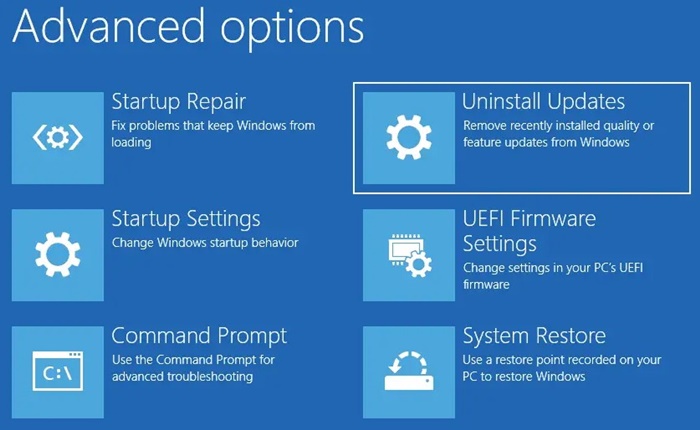
4. Select Advanced Options and click on Uninstall Updates.
5. On the Uninstall updates screen, select Uninstall latest quality update.
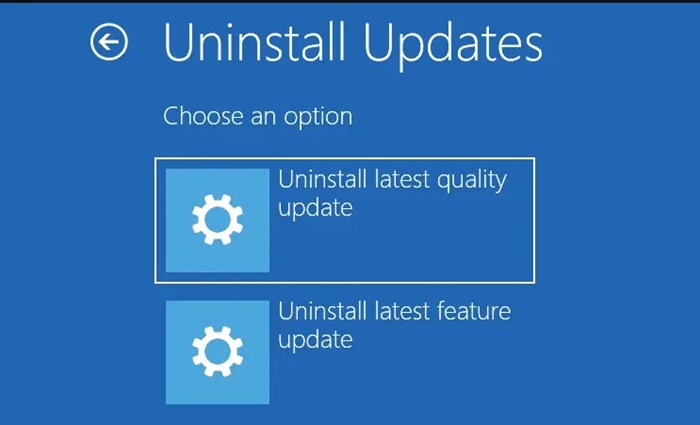
Follow the on-screen instructions to fix the Undoing Changes made to the computer error on Windows 11.
3. Run Windows Update Troubleshooter
After booting into Safe mode, you must run the Windows Update troubleshooter. Here are some simple steps.
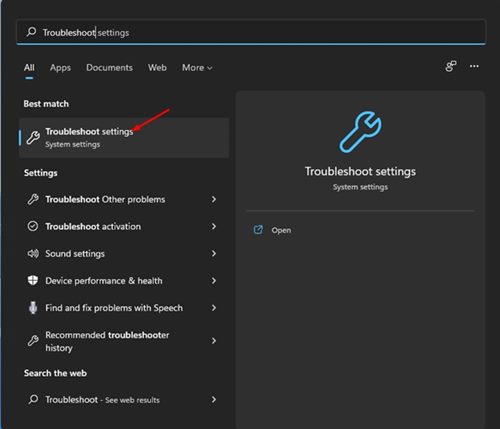
1. Open the Windows 11 Start menu and type in ‘Troubleshoot’. Then, from the list of options, select Troubleshoot settings.
2. On the Troubleshoot page, click on the Other troubleshooters option, as shown below.

3. Click the Run button behind the Windows Update on the next screen.
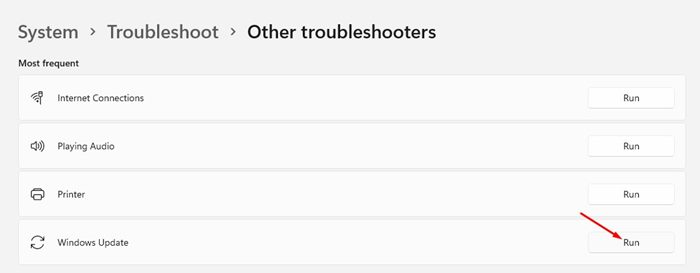
This will run the Windows 11 update troubleshooter and fix the problem.
4. Rename the SoftwareDistribution folder
For those who don’t know, Windows 11 stores all update files in the SoftwareDistribution folder before installation. You need to rename the SoftwareDistribution folder to fix the Undoing changes made to your computer error.
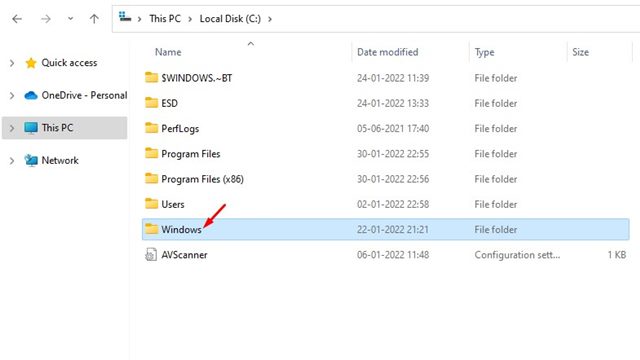
- Open the file explorer and the System installation drive. The system installation path is generally under This PC > Local Disk (C:) > Windows.
2. In the Windows folder, find the SoftwareDistribution folder.
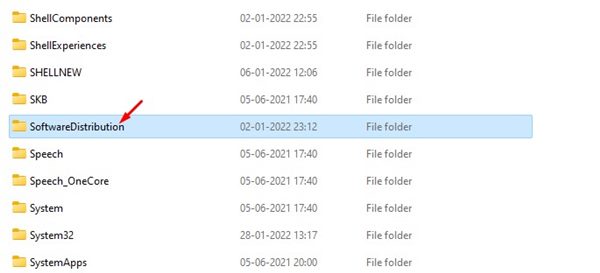
3. Right-click on the SoftwareDistribution folder and select the Rename option. You need to rename this folder to something else.
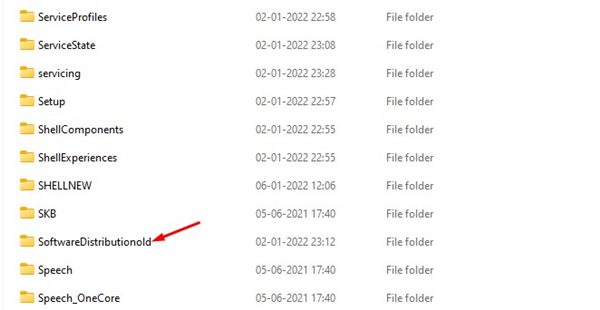
4. Once done, restart your PC.
5. Fix the corrupted system files
If you still get the ‘Undoing changes made to your computer’ error, it’s time to fix the corrupted system files.
1. Open Command Prompt with Admin rights (Right click on CMD > Run as administrator)
2. When the Command Prompt opens, execute this command:
sfc /scannow

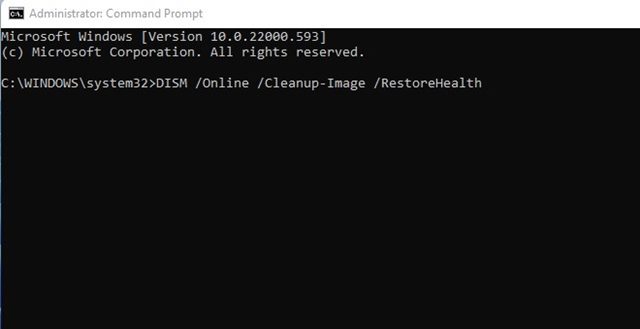
3. If the above command returns with an error, try running this one:
DISM /Online /Cleanup-Image /RestoreHealth
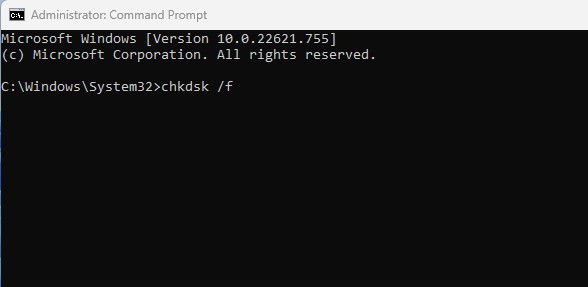
4. Run the check disk utility to rule out the bad sectors in the HDD. For that, execute this command:
chkdsk /f
5. On the confirmation prompt, type Y.
6. Uninstall Recently Installed Updates
Since Windows 11 shows you the Undoing Changes Made to your computer screen due to the updates, it’s best to uninstall the recent updates.
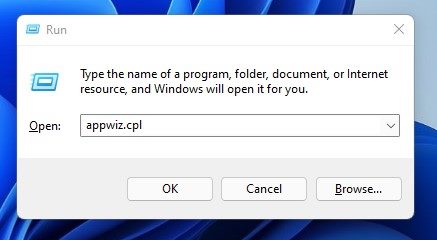
1. Press the Windows Key + R button to open the RUN dialog box. On the RUN dialog box, enter appwiz.cpl and hit the Enter button.
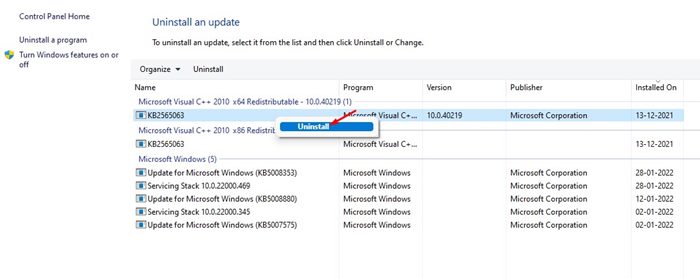
2. On the Programs and Features window, click the View Installed Updates option.

3. Now select the recent update and click on the Uninstall button.
This will fix the Undoing Changes Made to your computer screen on Windows 11.
7. Restore your System
Windows 11 offers a handy backup option called System Restore. This feature helps you reverse major system changes.
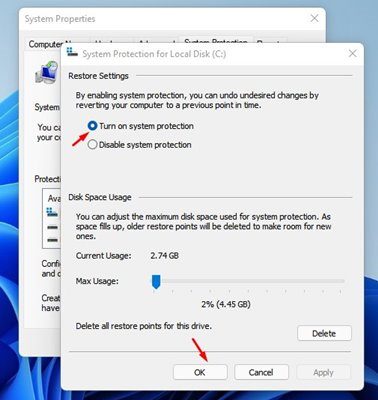
If you have enabled System Restore on your system, you can use the system restore point to undo any changes made to your computer.
We have shared a detailed guide on creating a restore point in Windows 11. Follow that guide to enable system restore on your PC.
You can follow these methods to fix the Undoing Changes Made to Your Computer error in Windows 11. However, if the problem is still unresolved, it’s best to raise a question in the Microsoft Forum.
The post 7 Best Methods to Fix Undoing Changes Made to Your PC appeared first on TechViral.
from TechViral https://ift.tt/d3ljf5i

