

We recently discovered a nifty VLC media trick that lets you cut the relevant parts of a video. Here’s a detailed guide on how to do this using a VLC media player.
1. Open the VLC media player app on your PC.
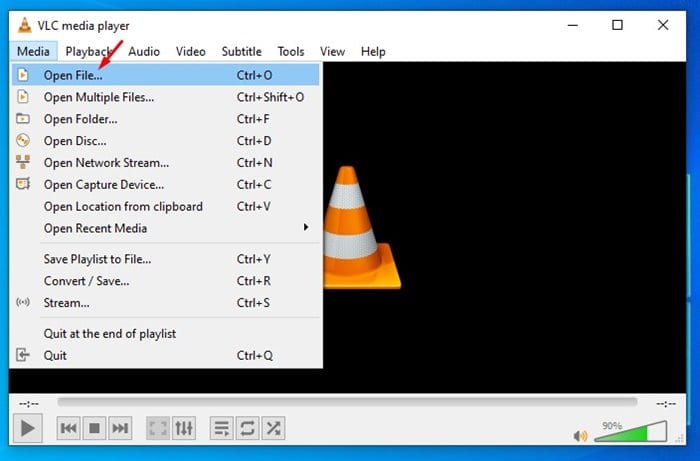
2. Open the media file that you want to cut.
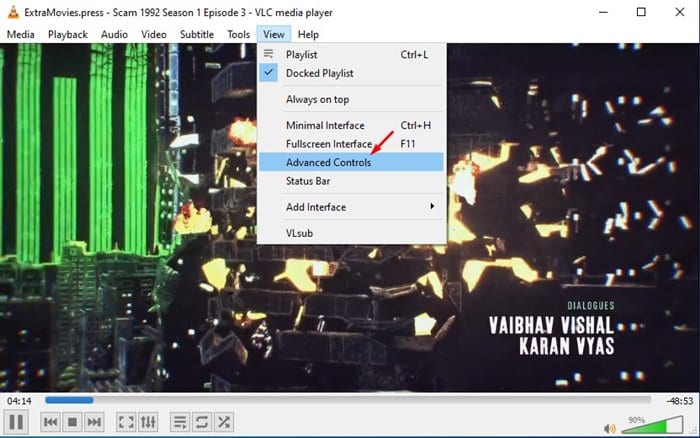
3. Click on the View tab and select Advanced Controls.
4. You need to use the Recording feature to record the video segment you want to cut.
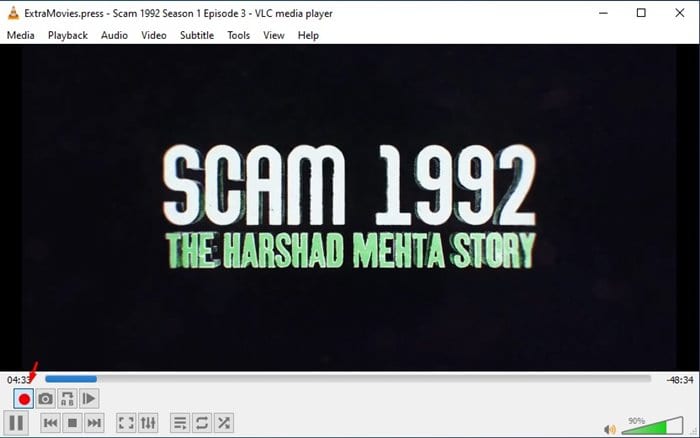
5. Pause the video from where you want to cut, and select the starting point by moving the slider. Once done, click the Record button to start the recording.
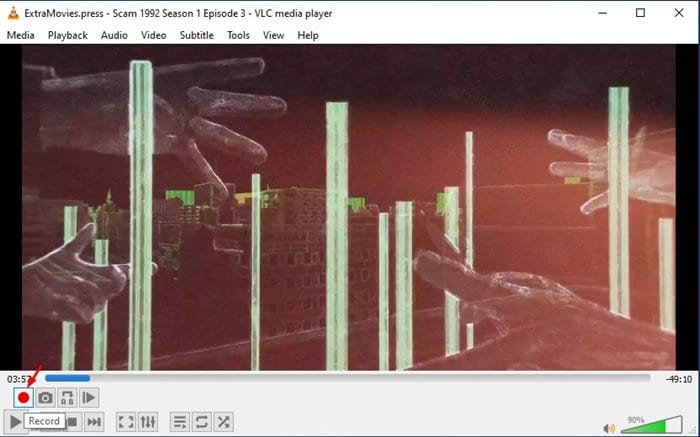
6. Once done with the recording, click on the Recording button again to stop cutting.
7. The clip will be automatically saved to the Videos folder on your Windows 10 PC.

Also Read: How to Stream Video and Audio Using VLC Media Player
Note: The old version of the VLC Media player app doesn’t have the recording feature. If you cannot find the screen recording option, you need to install the latest version of the app.
Other Ways to Cut Videos on Windows?
VLC Media Player is never considered for video editing. Instead, it’s a media player app with added features. For the best video editing experience, it’s recommended to use video editing tools for Windows.
Alternatively, you can use online video editors without watermarks to cut parts of your videos. These editors work in a web browser and don’t require software installation.
This article explains how to easily cut videos using the VLC Media Player app. If you need further help trimming videos with VLC Media Player, let us know in the comments below.
The post How to Cut Videos Using VLC Media Player in Windows appeared first on TechViral.
from TechViral https://ift.tt/jvdGVPU

