

If you feel that a feature is missing from Windows 11, it’s best to check the Windows 11 edition. Some features are exclusive to the Enterprise and Pro editions. Here are the best methods to check the Windows 11 edition. Let’s check out.
1. Check Windows 11 Edition via RUN Command
This method will use the RUN dialog box to check the Windows 11 edition. Here’s what you need to do.
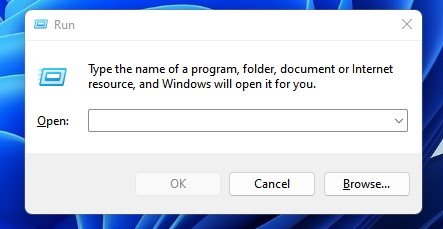
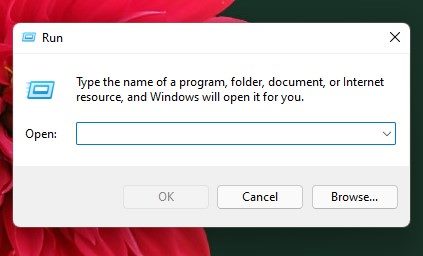
1. Press the Windows Key + R button on your keyboard. This will open the RUN dialog box.
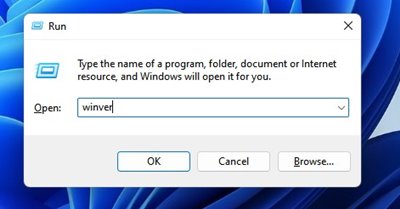
2. Type in winver and hit the Enter button.
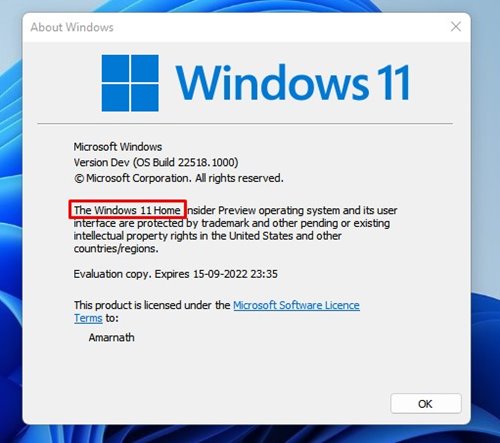
3. This will open the About Windows Pop-up. You will find your Windows 11 edition there.
2. Check Windows 11 Edition via System Information
We will use the System Information tool of Windows 11 to check its edition on this method.
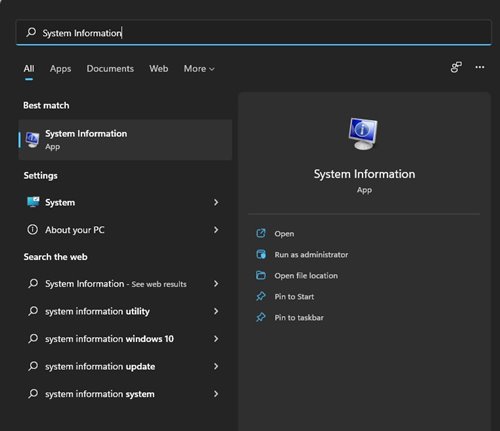
1. Open the Windows 11 search and type in System Information. Open the System Information app from the list.
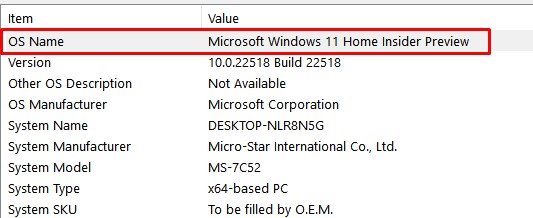
2. Select the System Summary option on the left pane.
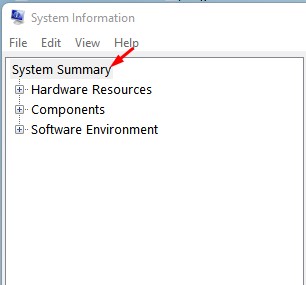
3. Notice the OS Name section. The value field will show you the Windows 11 edition.
3. Find Windows 11 Edition via Settings
We will use the Windows 11 Settings app to determine the Windows 11 edition in this method.
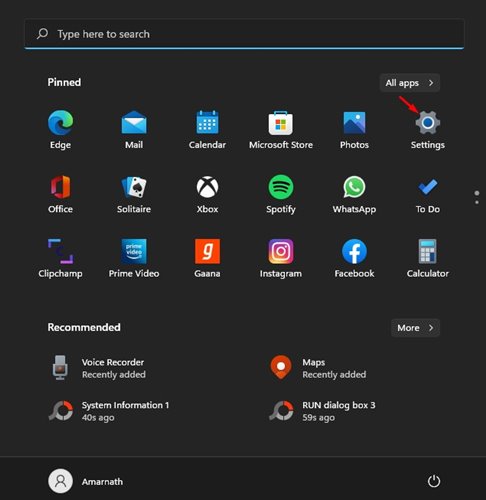
- Click on the Windows Start button and select Settings.
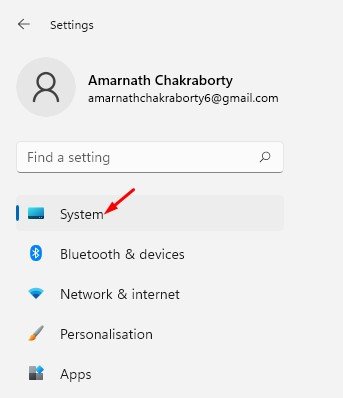
2. Click on the System tab.
3. Scroll down and click on the About section.
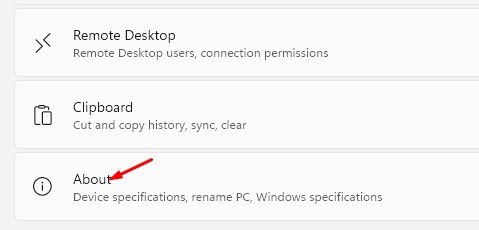
4. You will find your Windows 11 edition on the Windows specifications.

4. Find Windows 11 edition via PowerShell
You can even use Windows PowerShell to check your operating system’s edition. Here’s how.

1. Open the Windows 11 search and type in PowerShell. Right-click on PowerShell and select Run as administrator.
2. In the PowerShell window, type in systeminfo and hit Enter.
3. You will find your Windows 11 edition behind the OS Name on PowerShell.
5. Find Windows 11 Edition via CMD
Like PowerShell, you can use Windows 11’s Command Prompt utility to find its edition. Here’s what you need to do.

1. Open the Windows 11 search and type in CMD. Right-click on the CMD and select Run as administrator.
2. On the Command Prompt Window, type in systeminfo and press Enter.
3. You will find your Windows 11 edition behind the OS name on the CMD.
6. Check Windows 11 Edition using the DirectX Diagnostic Tool
DirectX Diagnostic Tool (DxDiag) is a tool for troubleshooting graphical and sound problems on Windows. It can also fetch various information about your computer’s hardware and software.
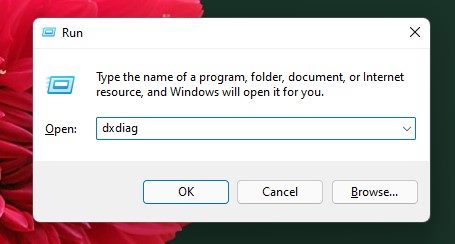
1. Press the Windows Key + R button on your keyboard. This will open the RUN dialog box.
2. When the RUN dialog box opens, type dxdiag and press Enter.
3. This will open the DirectX Diagnostic Tool. You need to check the Operating System information.

As mentioned above, it’s pretty easy to check the Windows 11 edition. We have listed all possible ways to find the Windows 11 edition on a PC. If you have any doubts, let us know in the comment box below.
The post 6 Best Ways to Check Windows 11 Edition appeared first on TechViral.
from TechViral https://ift.tt/uZIECKf

