

If the Windows update is disabled, Windows Security will not be updated either. So, if you are using the Windows 11 operating system, you should never skip the security updates.
How to Manually Update Windows Security on Windows 11
Below, we have shared a few best ways to manually update the Windows Security application on Windows 11.
1. Check if Windows Security is Updated
Before manually updating the Microsoft Defender or Windows Security application, check if your Windows Security is outdated. Here’s what you need to do.
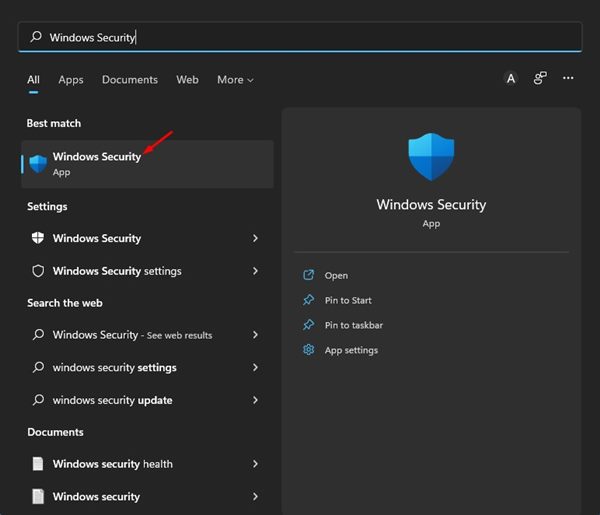
1. Click the Windows 11 search and type in Windows Security. Next, open the Windows Security app from the list.
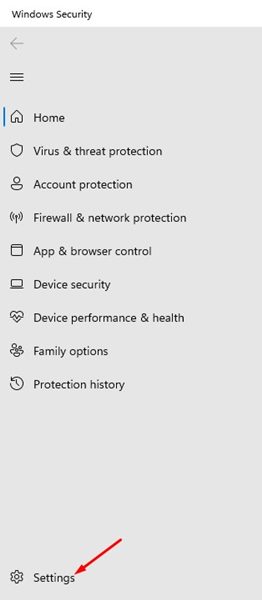
2. Click on the Settings icon in the bottom left corner of the screen.
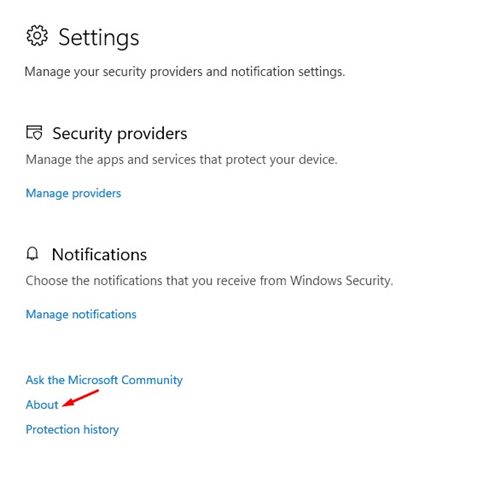
3. Click on the About link below.
4. You can view the current version of the Windows Security app. You need to note down the Antimalware Client Version, the Engine, and the Antivirus Version.

5. Open your favorite web browser, and the Microsoft Defender updates page. You need to scroll down and check the latest security intelligence update section.
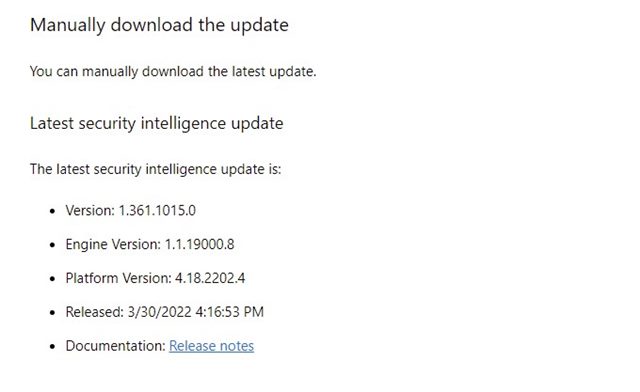
6. You need to compare the details shown on the webpage with those listed in the Windows Security settings in Step 4.
2. Manually Update the Windows Security app
In this method, we will manually trigger the Windows Security update. Just follow the steps outlined below.
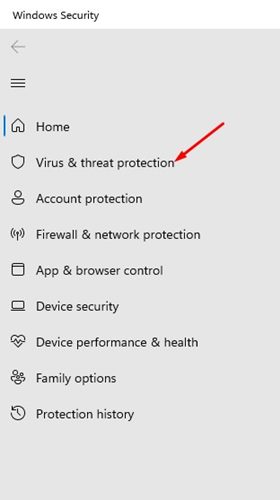
1. Click on Windows Search and search for Windows Security. Open the Windows Security from the list of options.
2. Click on Virus & Threat Protection.
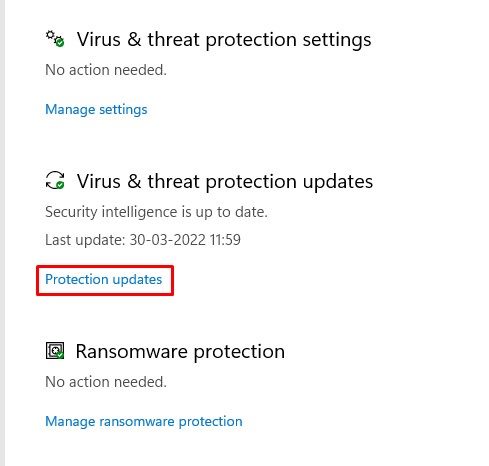
3. Click the Protection Updates on the right pane under the Virus & Threat Protection updates.
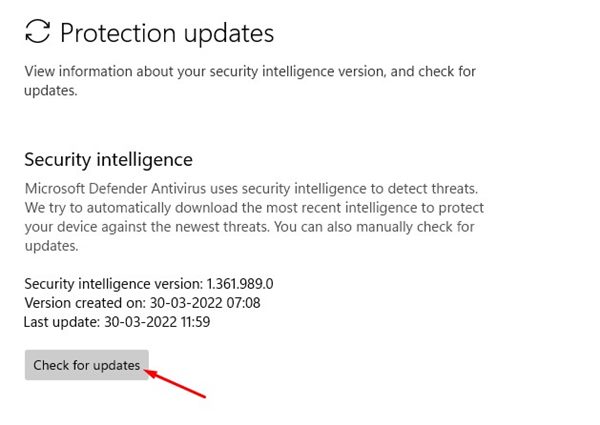
4. Click on the Check for updates button as shown below.
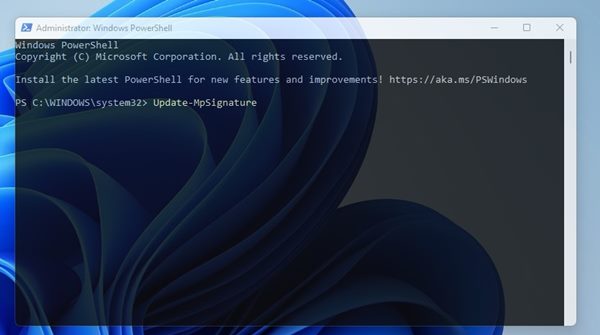
3. Update Microsoft Defender via PowerShell
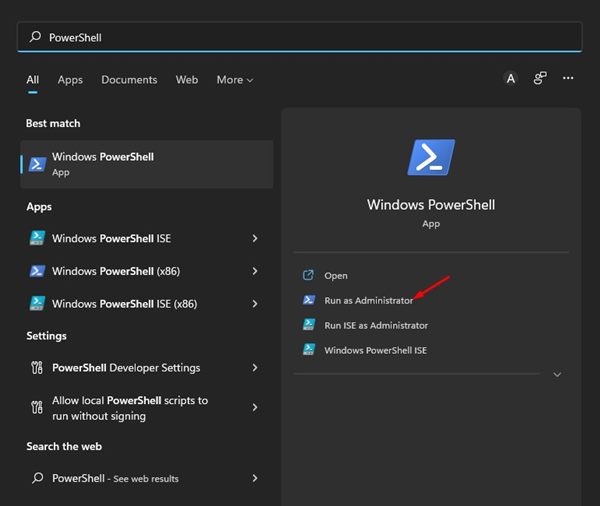
This method will use the PowerShell utility to update the Windows security application. Here are some of the simple steps you need to follow.
1. Click on the Windows 11 search and type PowerShell. Right-click on PowerShell and select Run as administrator.
2. On the Windows PowerShell, execute the command:
Update-MpSignature
4. Manually download & install the latest version of Microsoft Defender
If all of the above methods fail to fix the problem, you need to download & install the latest version of Microsoft Defender manually. Here’s what you need to do.
1. Open your favorite web browser and head to this webpage.
2. Scroll down to the download section as shown below.

3. Select the appropriate 32 or 64-bit version of Microsoft Defender Antivirus and download the file on your system.
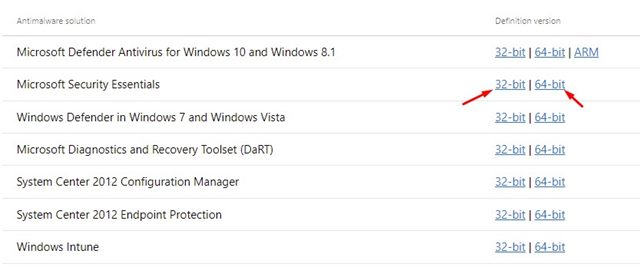
4. Run the executable file, and Microsoft Defender will automatically be updated.
5. Run the Windows Update Troubleshooter
Windows automatically updates Windows Security during system updates; however, if you’re facing problems with the Windows Update, you can try running the Windows Update troubleshooter.
Windows Update troubleshooter would solve problems with the Windows update and update Windows Security.
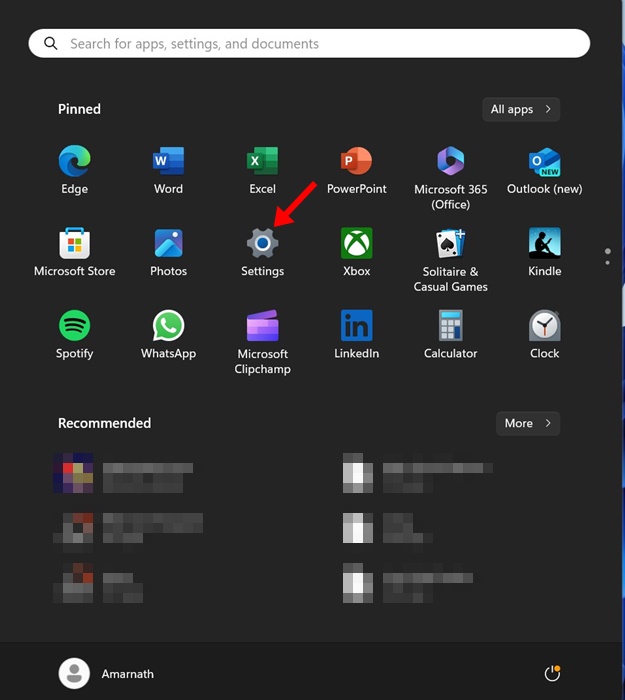
1. Click on the Windows 11 Start button and select Settings.
2. Navigate to the System > Troubleshoot > Other Troubleshooter.
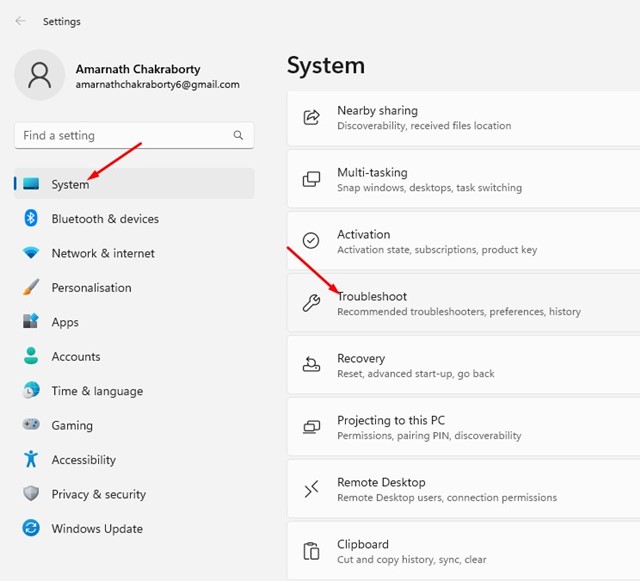
3. Find Windows Update and click the RUN button beside it.

These are the best methods to update Microsoft Defender on your Windows 11 operating system manually. If you don’t want to go through all these methods, simply update your Windows 11 operating system.
When upgrading Windows 11, install the latest security updates on your device. If you have any doubts, let us know in the comment box below.
The post How to Manually Update Windows Security on Windows 11 appeared first on TechViral.
from TechViral https://ift.tt/rQxYEpV

