

The uptime counter shows how long your system has been running continuously since the last reboot. However, sometimes, you may encounter incorrect uptime in the Task Manager. Have you ever wondered why the Uptime Counter is showing the wrong time and how to fix it?
Why is my Windows Uptime Counter Incorrect?
One of the prominent reasons for incorrect Windows Uptime is the Fast Startup. If Fast Startup is turned on, when you select shutdown, your PC doesn’t really shut down; instead, it’s more like a logoff plus hibernation.
Your PC is not shutting down; hence, the uptime counter remains high. So, here’s how you can reset your Windows 11 Uptime.
1. Turn Off the Fast Startup
If you want to reset the Uptime and always see the correct time, turn off the fast startup feature.
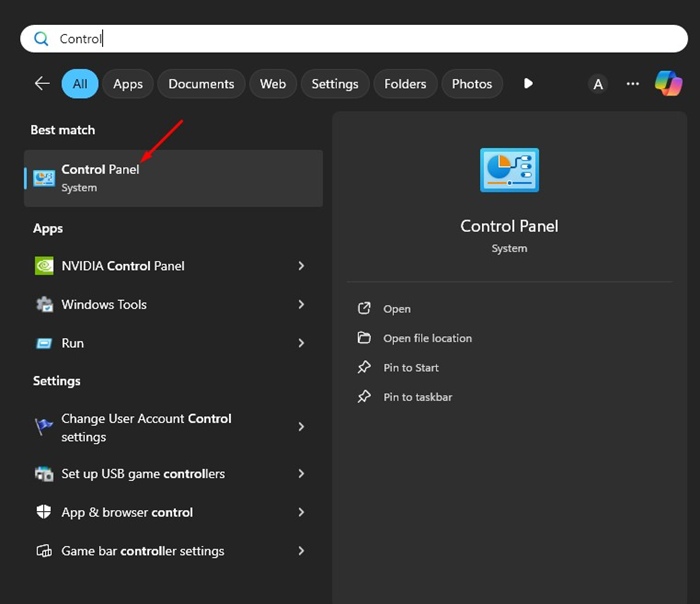
1. Open Control Panel from the Windows 11 Search.
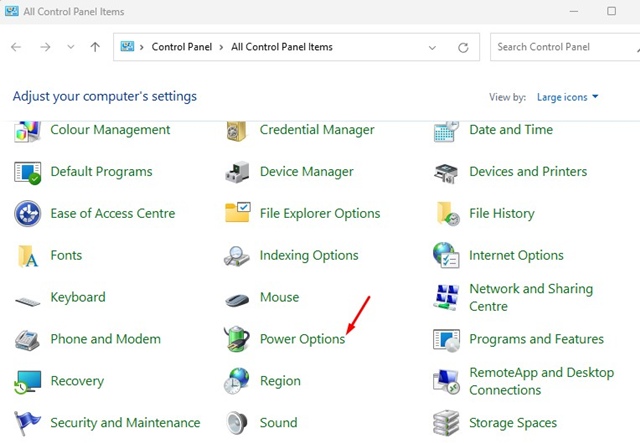
2. When the Control Panel opens, select Power Options.
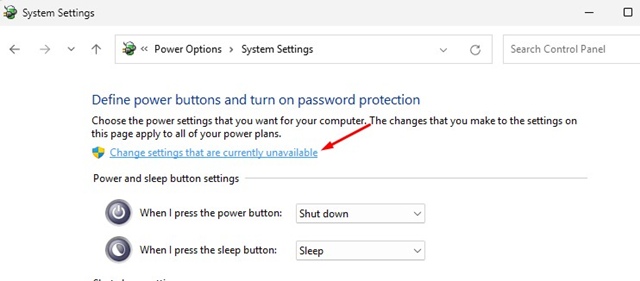
3. Click Change settings that are currently unavailable.
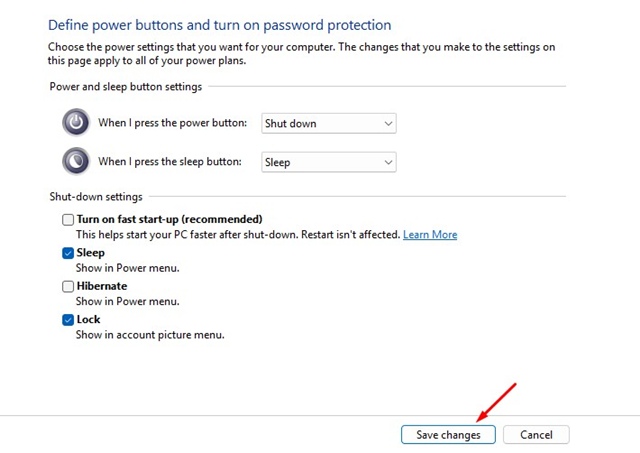
4. Uncheck Turn on Fast Startup (recommended).
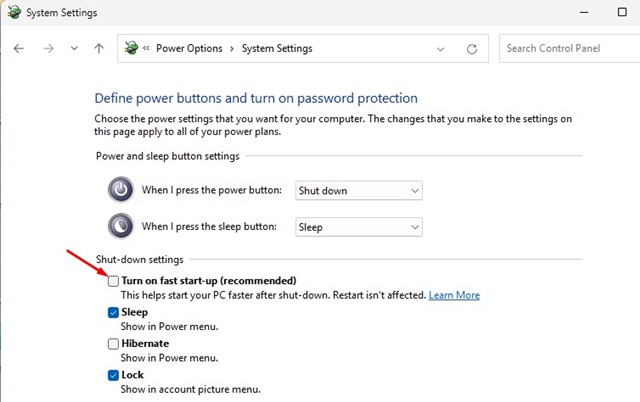
5. Click Save Changes.
2. Restart your PC to Reset the Uptime
If you don’t want to turn off Fast Startup, you will have to restart your computer to reset the uptime counter.
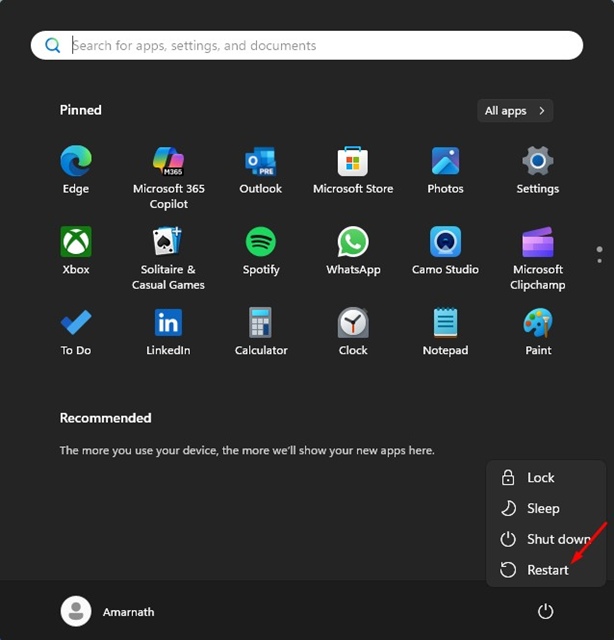
To restart your computer, open the Windows 11 Start Menu, click the Power button, and select Restart.
3. Shutdown PC via Command Prompt
You need to use the Command Prompt utility to perform a complete shutdown. This will reset all uptime counters.
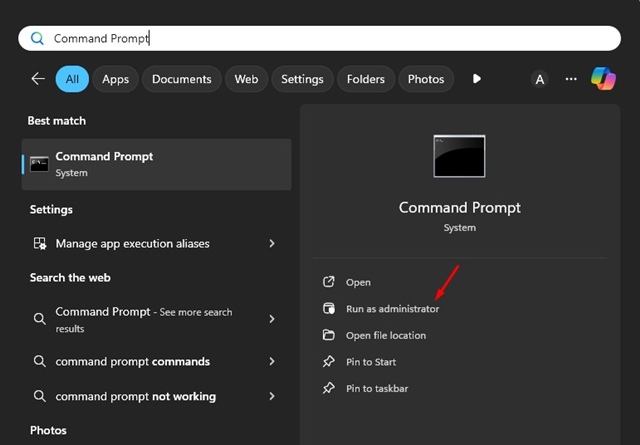
1. Type Command Prompt in Windows Search. Next, right-click on the Command Prompt and select Run as administrator.
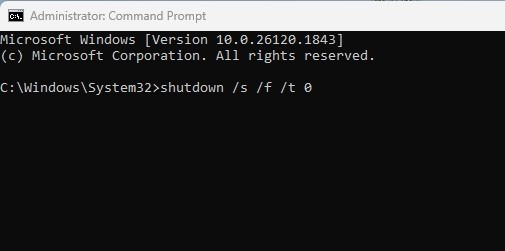
2. When the Command Prompt opens, paste the command and press Enter.
shutdown /s /f /t 0
3. After the shutdown, open the Task Manager and check the uptime in the CPU section.
These are the best ways to reset the uptime counter on Windows 11. If you need more help on this topic, let us know in the comments.
The post How to Reset Windows 11 Uptime appeared first on TechViral.
from TechViral https://ift.tt/pST6Dky

