

The browser tabs kept in the background use your system resources; hence, they are frozen to ensure smoother performance. The problem is that when you switch back to those unused tabs, they will refresh automatically, consuming both time & internet bandwidth.
If your PC has sufficient RAM, you may want your unused browser tabs to never go to sleep. So, if you don’t want Chrome browser to automatically refresh the tabs when you switch to them, here’s what you should do.
1. Check whether Chrome is Automatically Refreshing a specific tab
The first thing is to confirm whether Chrome is refreshing only a specific tab or if all your open tabs are affected. If any specific tab is refreshing automatically, the issue is likely not on your end. Webmasters often use plugins to refresh the pages at frequent intervals to serve new content.
You should check whether Chrome automatically refreshes only one specific app or all are affected. If all tabs are affected, follow the next methods.
2. Check whether the Refresh key is pressed
If the Refresh key (F5) is stuck, the webpages will refresh automatically. Try pressing the F5 key on your keyboard to ensure it’s not stuck. If the key is stuck, you can try cleaning it.
3. Check & Remove the Problematic Extensions
Auto-refresh, Ad-blocker, and security extensions can sometimes kill the unused tabs, forcing auto-refresh when you switch back to them.
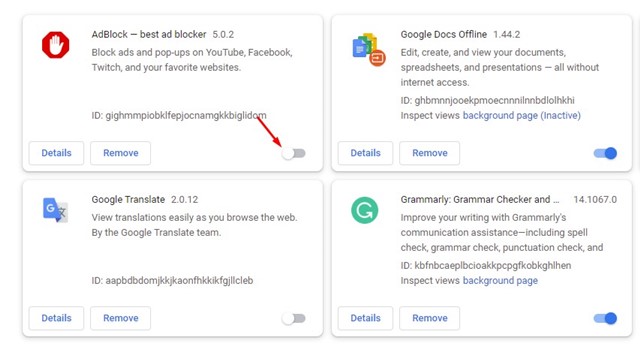
Click on the three dots at the top-right corner and navigate to Extensions > Manage Extensions. On the Extensions page, turn off each extension one by one.
If the auto-refresh problem is resolved after turning off a specific extension, that extension is causing the problem. You need to remove it.
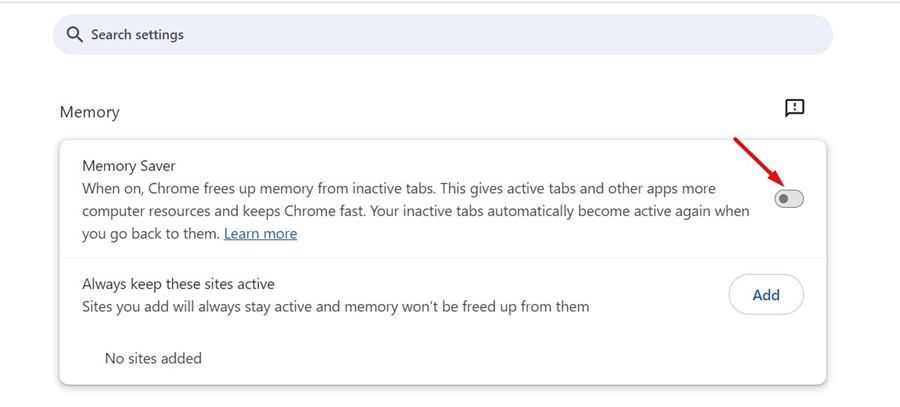
4. Turn Off Chrome’s Memory Saver
Google Chrome has a Memory Saver feature that freezes inactive tabs to free up system resources. This feature is often the reason Chrome automatically refreshes tabs upon switching.
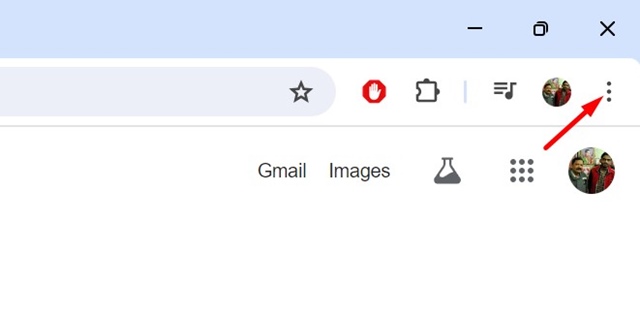
1. Click the three dots at the top right corner.
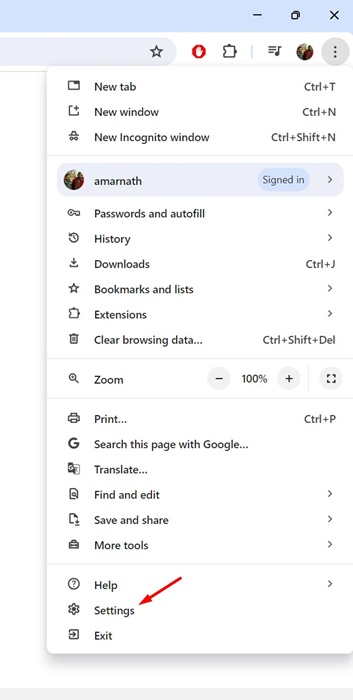
2. Select Settings.
3. Switch to the Performance.
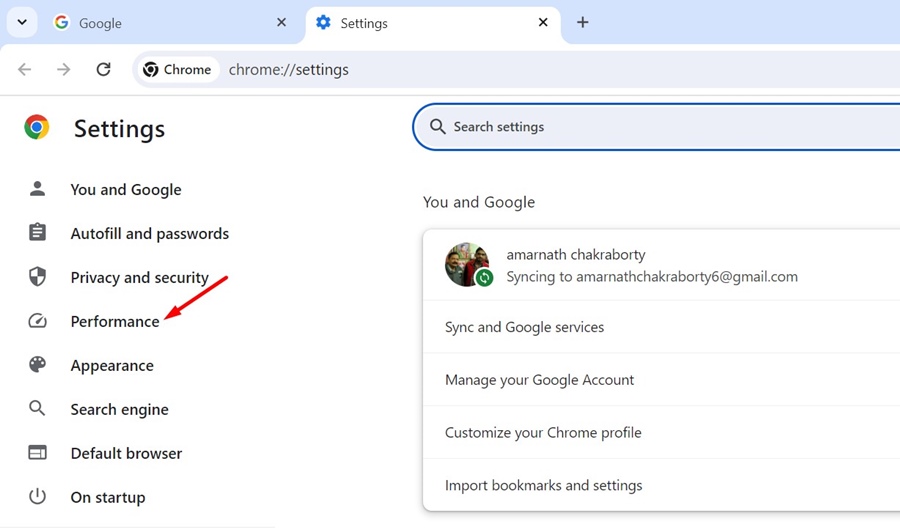
4. Turn off the toggle beside Memory Saver.
5. Turn Off Auto-Discard for Inactive tabs
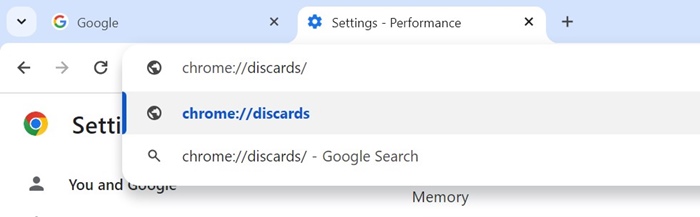
If you don’t want to turn off the Memory Saver feature of Google Chrome, you can turn off auto-discarding from Chrome’s discard page.
1. Open the Google Chrome browser and visit this page: chrome://discards/
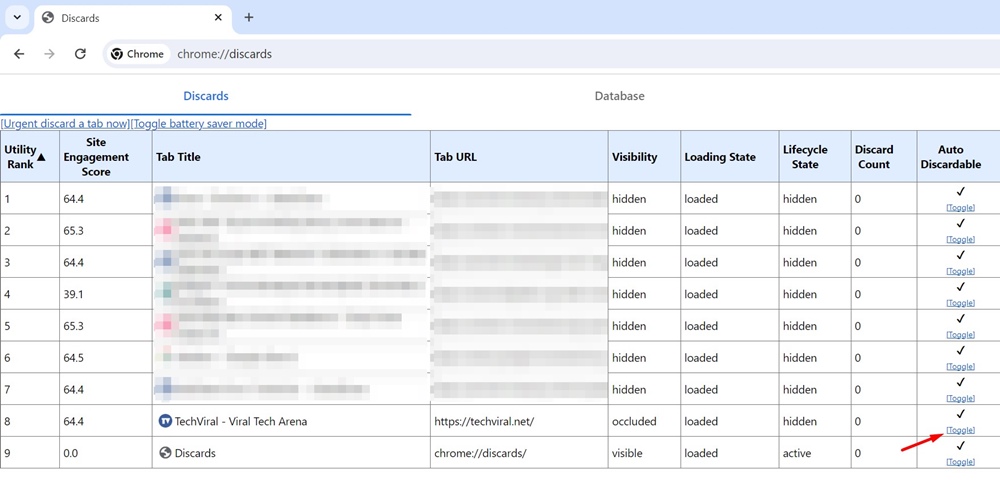
2. You will be able to see all tabs. Find the Auto Discardable tab; this is the one that auto refreshes.
3. If there’s a check mark next to the page you don’t want Chrome to refresh, click the Toggle.
6. Use Chrome’s Task Manager to Free up System Resources
A lack of system resources, such as RAM, can cause Chrome to behave abnormally. Chrome may be auto-refreshing the pages due to insufficient RAM.
Using Chrome’s Task Manager can free up system resources. To access it, click on the three dots at the top-right corner and then navigate to More Tools > Task Manager.

When the Chrome Task Manager opens, check the Memory Footprint column. You will see which tabs use the most RAM; identify them and close them.
7. Update the Chrome Browser
An outdated version of the Chrome browser can have bugs & glitches that can trigger auto-refresh on web pages. The best way to rule out this possibility is to update Chrome to the latest version.
To update your Chrome browser, click on the three dots at the top right corner and then navigate to Help > About Google Chrome.
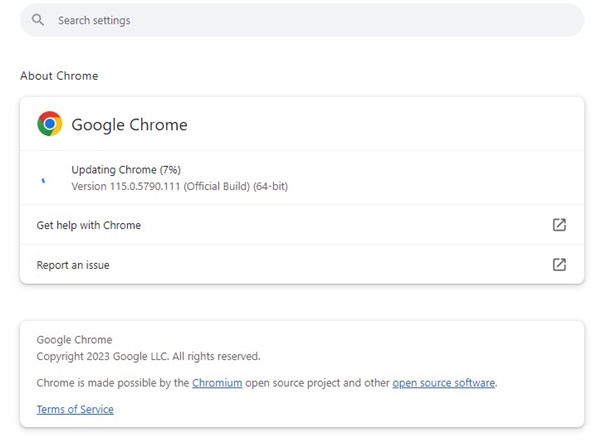
Chrome browser will automatically check for available updates and download & install the required files.
8. Reset Chrome Settings
If nothing worked for you, you can try resetting the Chrome settings to factory defaults. Resetting will remove all user-made settings and customizations, but also resolve persistent issues.
1. Click on the three dots at the top right corner.
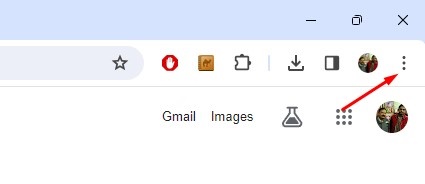
2. On the Chrome menu, select Settings.

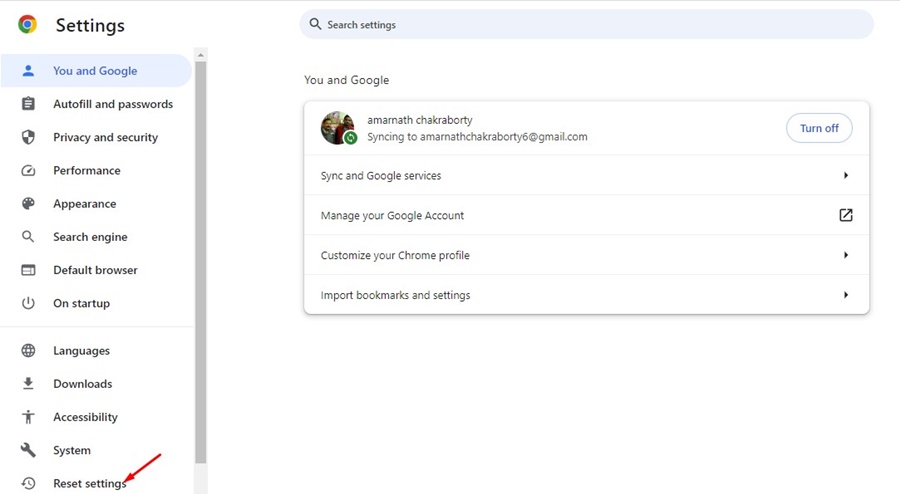
3. Switch to the Reset Settings.
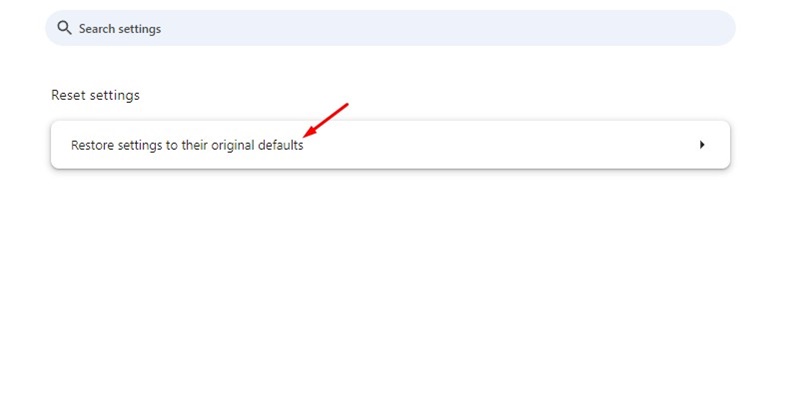
4. Click Restore Settings to their original defaults.
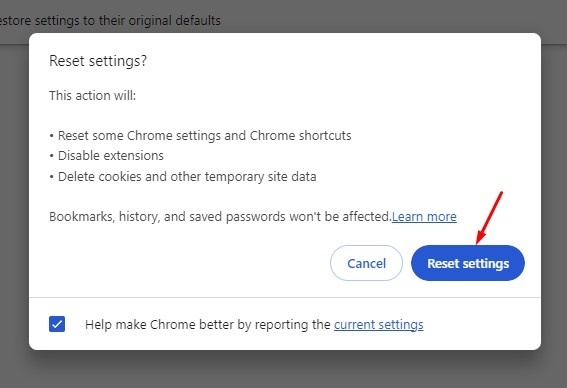
5. On the Reset Settings confirmation prompt, click Reset Settings.
These are a few simple ways to fix the Chrome automatically refreshing tabs problem. If you need more help on this topic, let us know in the comments. Also, if the guide helped you resolve the problem, share it with others facing the same.
The post How to Fix Chrome Automatically Refreshing Tabs appeared first on TechViral.
from TechViral https://ift.tt/NlLj8MD

