

Your iPhone may fail to connect to a WiFi network for several reasons, but it is usually a result of incorrect WiFi settings or problems with the router. Whatever the reason is, if your iPhone won’t connect to a WiFi network, here’s what you should do.
1. Restart your iPhone
Maybe a temporary glitch or bug is preventing your iPhone from connecting to a specific Wi-Fi. The best way to eliminate such bugs and glitches is to restart your iPhone.
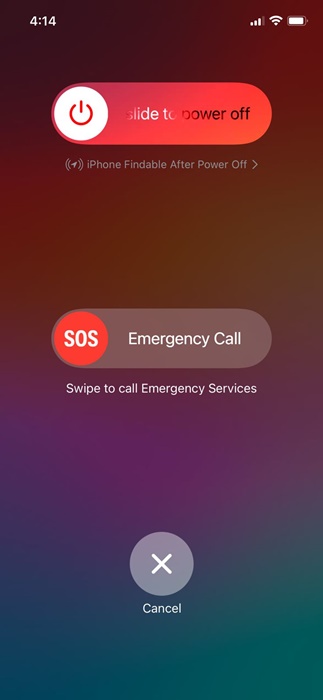
Press the Volume button and the side button of your iPhone to open the Power menu. On the Power menu, select the Slide to Restart option. After the restart, open Settings > WiFi and try connecting to the WiFi network again.
2. Check your Router and ensure your iPhone is within range
If your iPhone is outside the range of the WiFi network you’re trying to connect with, the connection will fail. You need to check if the WiFi router is turned on or if it’s not showing up on the nearby WiFi scan page of your iPhone.
If the router is turned on, you need to make sure you’re not too far from it. To confirm this, you can check the WiFi signal bars on your iPhone’s status bar.
3. Re-enable the WiFi on your iPhone

If you’re unable to connect to a specific WiFi network that is within range, it’s recommended to re-enable the WiFi feature on your iPhone. This will eliminate the bugs or glitches that may be preventing your iPhone from connecting to a specific WiFi network.
Open the Settings app on your iPhone and tap on WiFi. Turn off the toggle beside WiFi and wait a few seconds before enabling it again.
4. Turn On/Off the Airplane mode
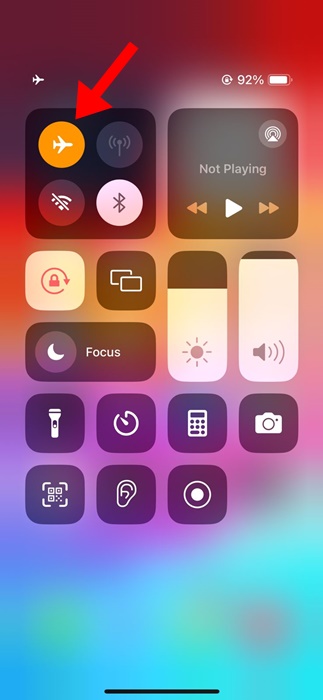
Many iPhone users have claimed to fix WiFi problems by turning the Airplane mode on & off. Airplane mode, when enabled, closes all network connectivity, including WiFi, Bluetooth, etc.
Enabling the Airplane mode temporarily disables all network connections and gives them a fresh start. After enabling the Plane mode, wait for about a minute and then disable it.
Once Airplane mode is turned off, check whether your iPhone can connect to the WiFi network.
5. Forget the WiFi network on the iPhone
If you’re trying to connect to a saved WiFi, but your iPhone constantly fails to connect, you can forget that specific WiFi network.
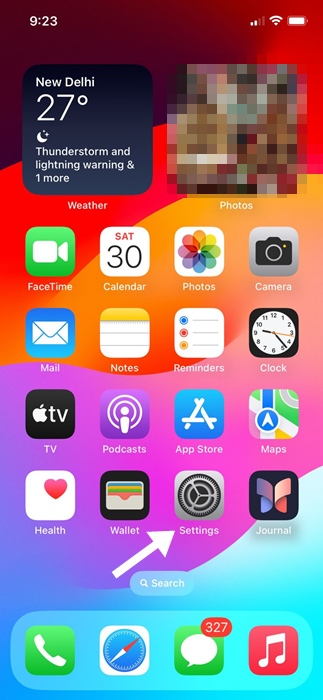
1. Open the Settings app.
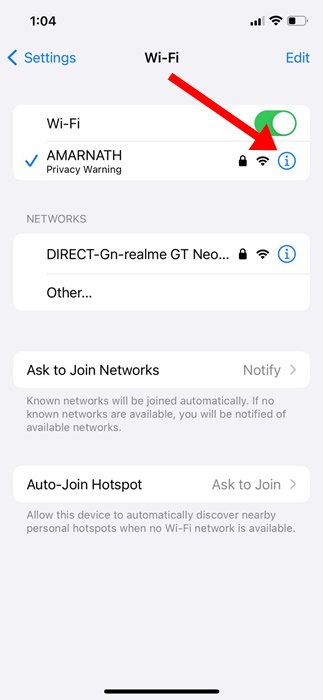
2. Tap on WiFi.
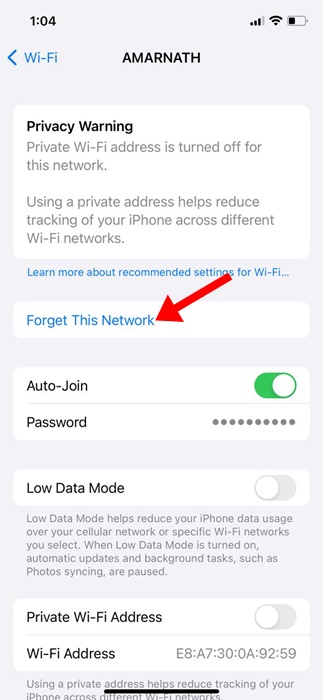
3. You’ll be able to see all the WiFi networks you are once connected to. Tap the (i) button next to the WiFi network name you want to forget.
4. Tap on Forget This Network.
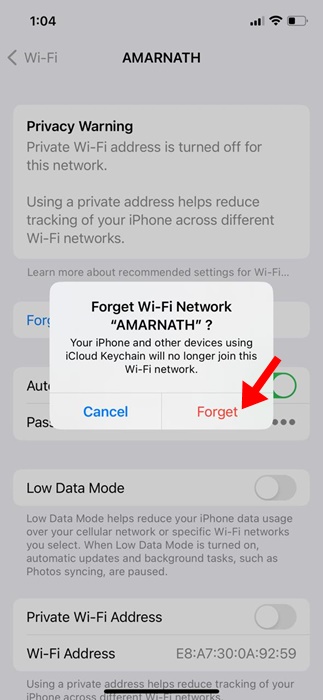
5. Tap on Forget.
6. Reset the Network Settings on iPhone
Incorrect or incompatible network settings are one prominent reason iPhones can’t connect to WiFi. You can try resetting the Network Settings to see if it helps.
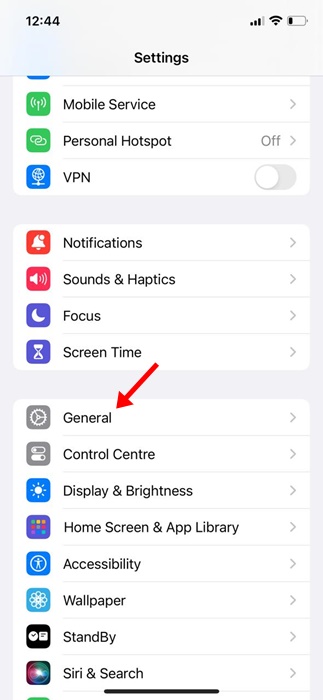
1. Launch the Settings app.
2. Tap on General.
3. Tap on Transfer or Reset iPhone.
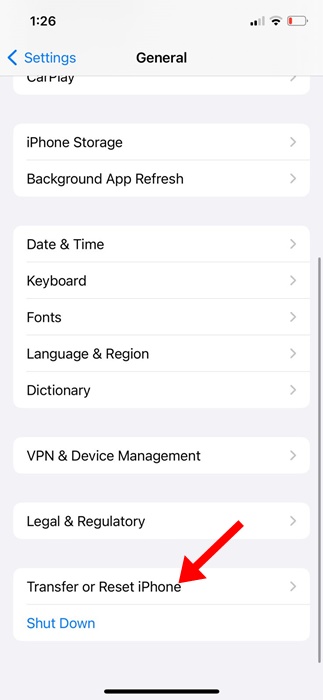
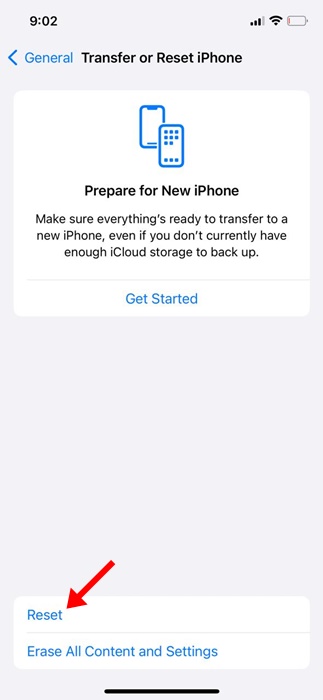
4. On the Transfer or Reset iPhone screen, select Reset.
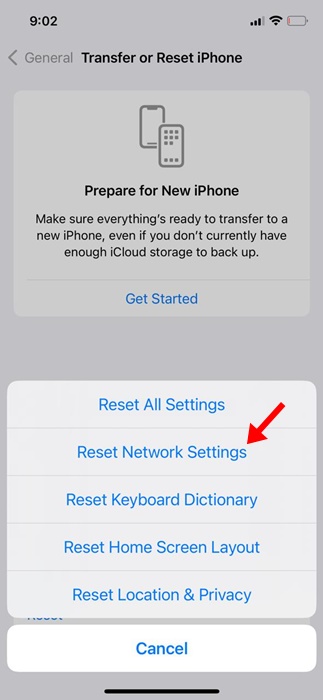
5. You will see a pop-up showing you the types of Reset. Pick the Reset Network Settings option.
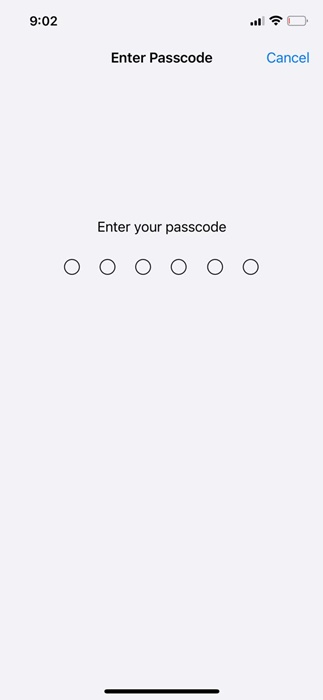
6. You will be asked to enter your iPhone’s passcode. Enter it to continue.
7. Tap on Reset Network Settings.
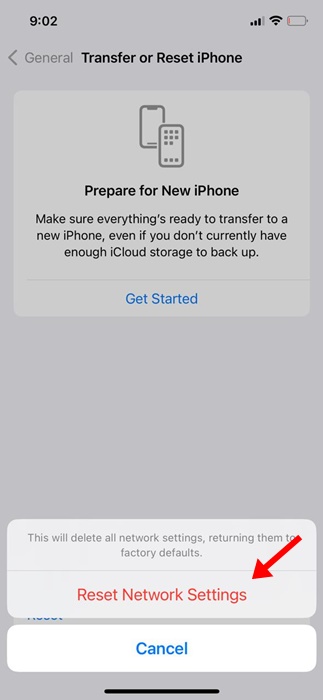
After the network reset, check whether you can connect to the WiFi network again.
These are some simple steps to fix the iPhone won’t connect to WiFi issue. We are sure the methods shared above would have already fixed the issue you were facing. If you need more help with this topic, discuss it in the comments below.
The post How to Fix iPhone Won’t Connect to WiFi Network appeared first on TechViral.
from TechViral https://ift.tt/ElOQ5PU

