

As you use your Windows 11 PC, the CPU accumulates heat, and if it gets overheated, it will fail. So, if you want to maintain the sound health of your system, it’s best to check the CPU temperature in real time.
1. Monitor CPU Temperature Using Speccy
Speccy is a Piriform tool that provides a complete overview of your system hardware. You can use the Speccy application to check the CPU temperature on Windows 11.
1. Download the Speccy installation file on your Windows 11 computer.
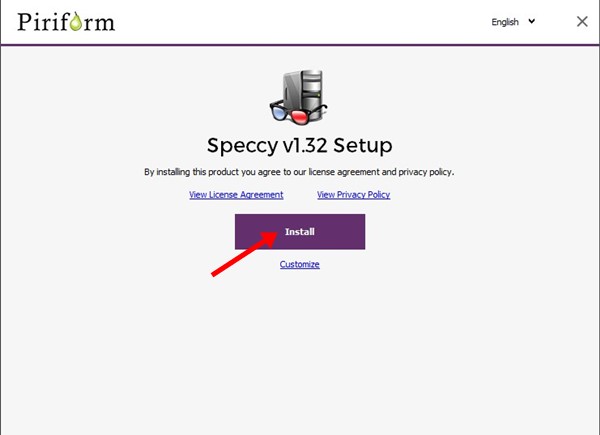
2. Run the executable file and follow the on-screen instructions to complete the installation.
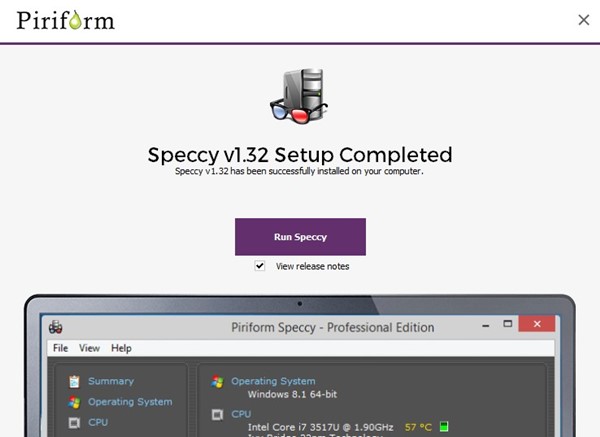
3. Click on the Run Speccy.
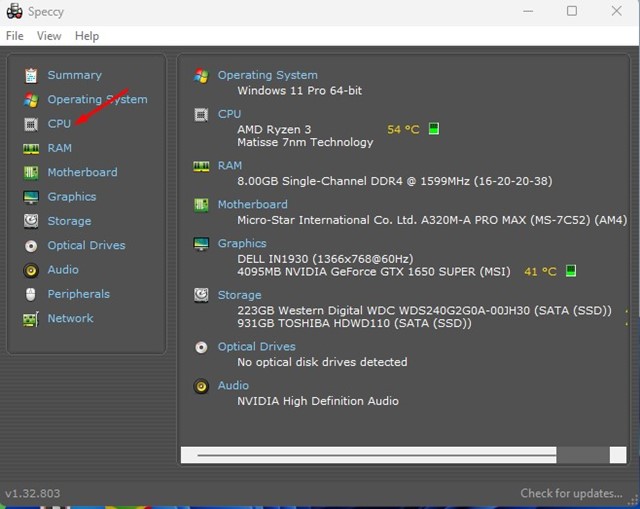
4. You will see the application’s main interface. To check the CPU temperature, click on the CPU section on the left.
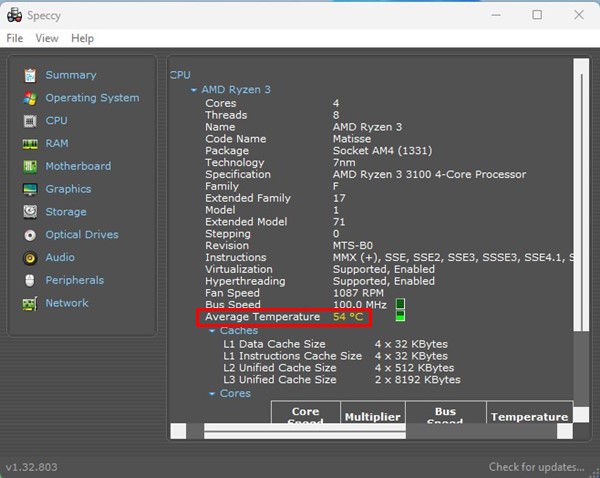
5. Under the CPU details, check the Average Temperature.
2. Using Open Hardware Monitor
Open Hardware Monitor is another third-party tool for measuring CPU temperature. Here’s how to use it.
1. Download the Open Hardware Monitor ZIP file on your Windows 11. Once downloaded, extract the zip file.
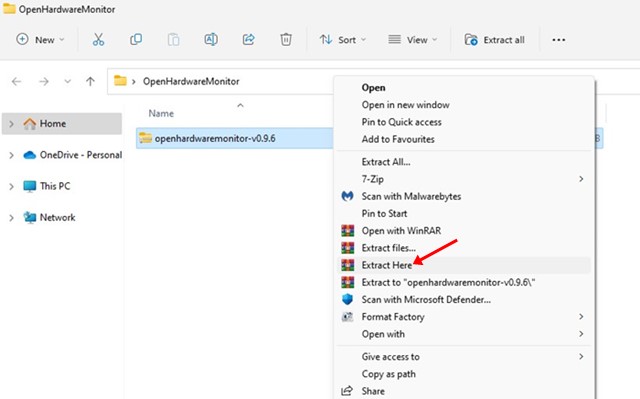
2. Open the OpenHardwareMonitor folder and double-click on the OpenHardwareMonitor executable file.

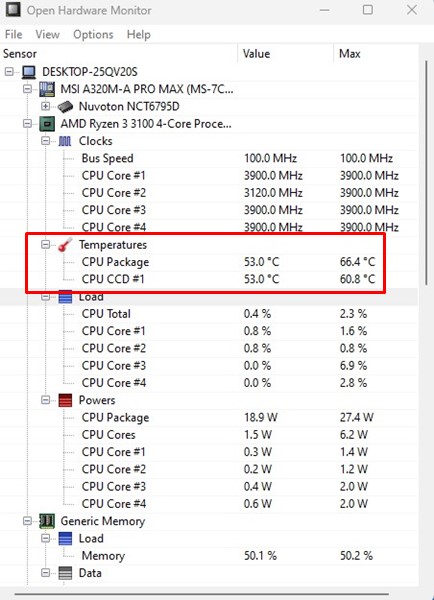
3. This is a portable tool; hence, it runs without installation. When the program opens, select your processor.
4. You can see your CPU temperature under the Temperatures section.
3. Check CPU Temperature in Windows 11 using CoreTemp
If you don’t know, CoreTemp is a lightweight program for Windows that monitors CPU temperature and a few other important information. You can use it to check the temperature of your processor.
1. Open your favorite web browser and head to this webpage. Click the Download button.

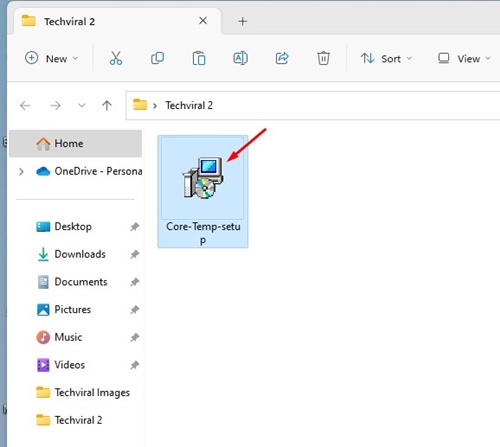
2. Double-click on the Core-Temp setup file to run the installer.
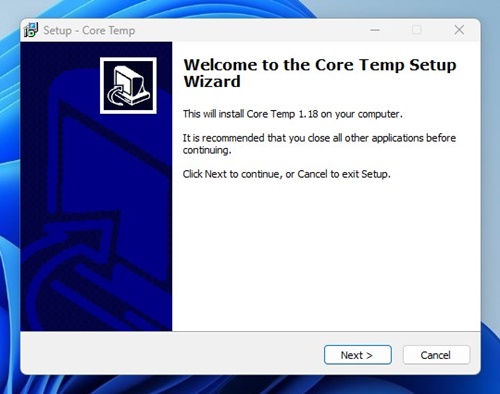
3. Click Next.
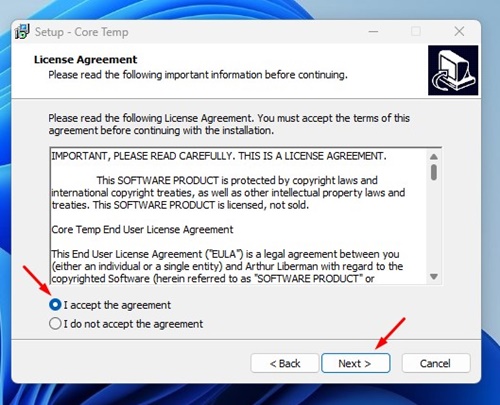
4. Accept the terms and conditions and click Next.
5. Choose the installation folder, and on the next screen, select only Create a desktop shortcut and click Next.

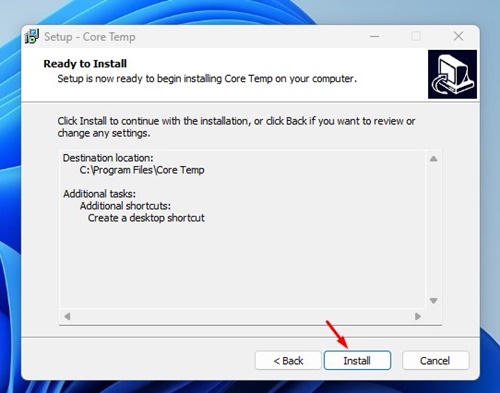
6. On the Ready to Install screen, click Install.
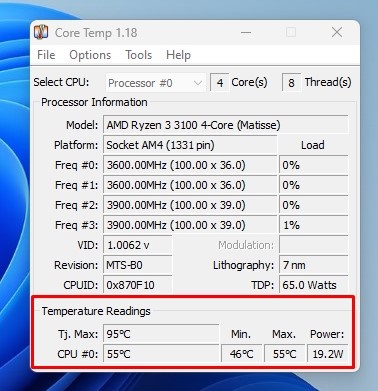
7. Launch CoreTemp and look at the Temperature Readings. You will find the current CPU temperature minimum and maximum temperatures.
4. Check CPU Temperature Using HWiNFO
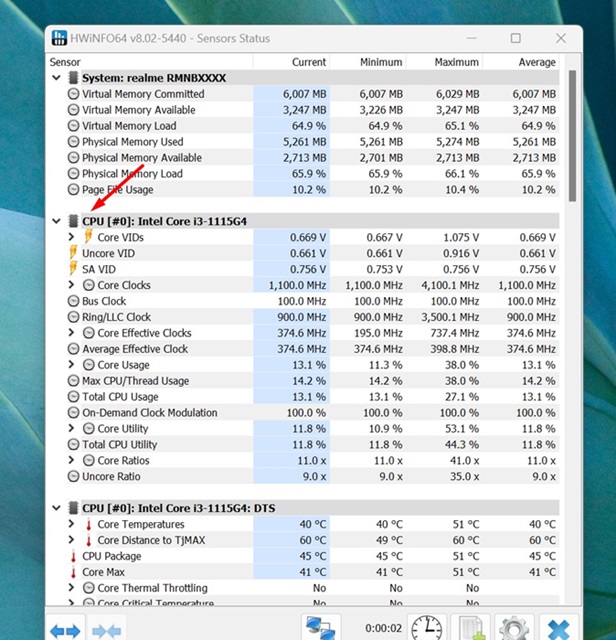
HWiNFO is a free tool that provides in-depth information about your device’s hardware. You can also use it to check CPU temperature.
1. Download & Install the HWiNFO tool on your Windows 11 PC.
2. Open the app from the Start Menu.
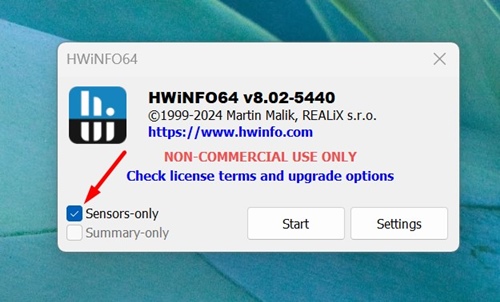
3. Select the ‘Sensor-only’ mode and click Start.
4. Take a look at the CPU Section. You will find lots of details about the processor and its temperature.
5. Check CPU temperature via BIOS/UEFI
If you don’t want to install any third-party application, you must access the BIOS/UEFI to check the CPU temperature.
- Boot into Safe Mode and access Advanced Boot screen.
- On the Advanced Boot screen, click Troubleshoot.
- On the Troubleshoot screen, click UEFI Firmware Settings.
- On the next screen, click Restart.
- Look through the BIOS listing on the Firmware settings page and find the CPU core temperature section.
Based on the motherboard type you are using, the BIOS/UEFI settings may differ. However, compared to this method, the above three methods were easier to follow.
This guide is about checking CPU temperature on a Windows 11 PC. You can also use other third-party CPU Temperature monitor tools on your Windows to get the same information.
The post 5 Best Ways to Check CPU Temperature in Windows 11 appeared first on TechViral.
from TechViral https://ift.tt/E1lHhUT

