

Several factors can contribute to Time Zone settings being greyed out on Windows 11, such as programs installed on your device that may be preventing you from changing the feature.
It could also be possible that the Local Services are disabled, system files are corrupted, or there are incorrect settings in the Registry and Group Policy Editor. If you want Windows 11 to set your time zone automatically, try these troubleshooting steps.
1. Make sure the Location Services are enabled
If the Location Services are disabled, you won’t be able to turn on the feature ‘Set Time Zone Automatically’ via Settings. So, make sure that the location services are enabled on your PC.
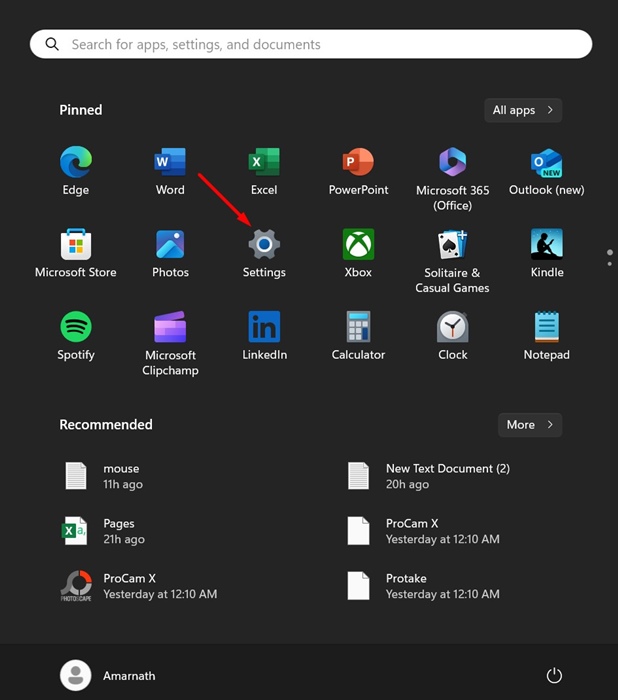
1. Launch the Settings app.
2. Switch to the Privacy & Security tab.
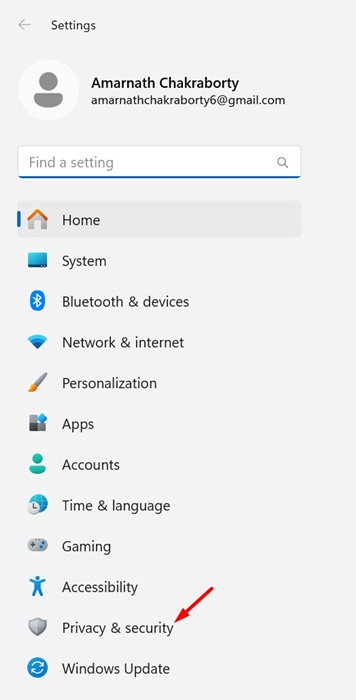
3. Click Location.

4. Make sure the toggle for Location Services is enabled.

After making the changes, restart your PC and try enabling the Set Time Zone automatically feature.
2. Disable Location-Based Apps or Try a Clean Boot
Location-based apps often conflict with the time servers and prevent them from exchanging the information. Some location-related apps may even prevent you from changing the time settings. So, if you have recently installed any location-based apps, you should disable and try them. You can try performing a clean boot and enabling the ‘Set time zone automatically’ feature.
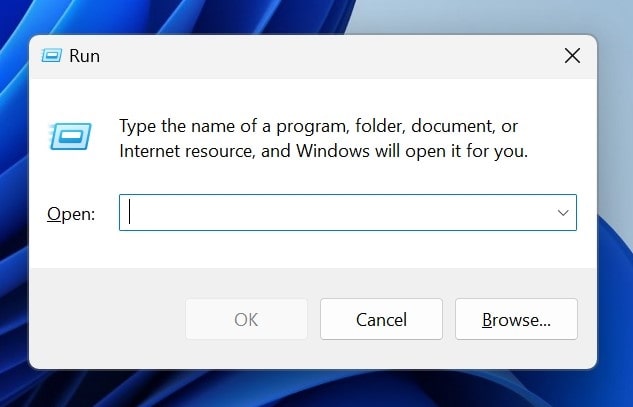
1. Press the Windows Key + R button on your keyboard. This will open the RUN dialog box.
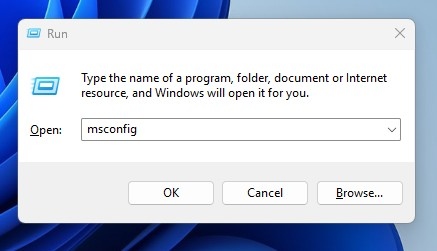
2. Type msconfig and press Enter.
3. Switch to the Services tab and check the ‘Hide all Microsoft Services’ box.
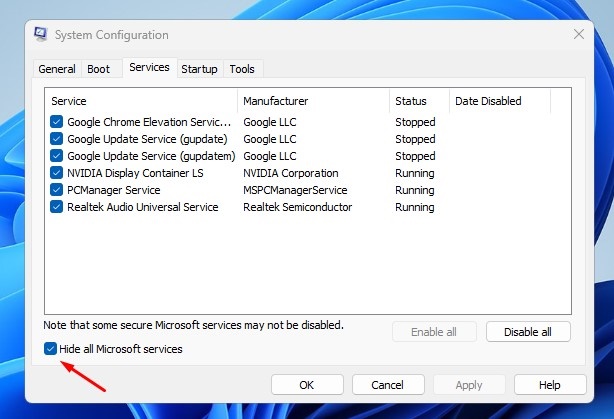
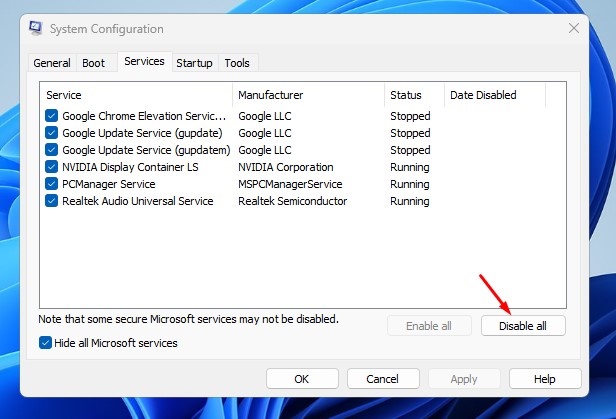
4. Click Disable All.
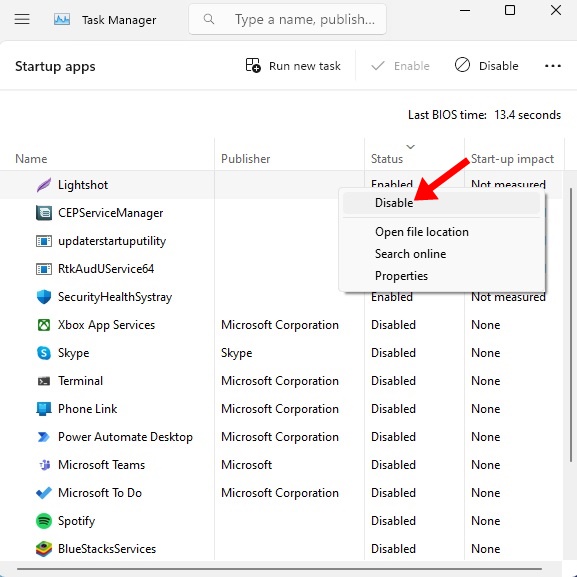
5. Open Task Manager and switch to the Startup tab.
6. Right-click on the third-party Startup programs and select Disable.
7. Restart your PC to enter the clean boot state. Try enabling the Set time zone automatically option from the Windows 11 Settings.
3. Fix the Corrupted System Files
System File Corruption could be another reason you’re unable to turn on the Set Time Zone automatically option. Check & fix the corrupted system files as well.
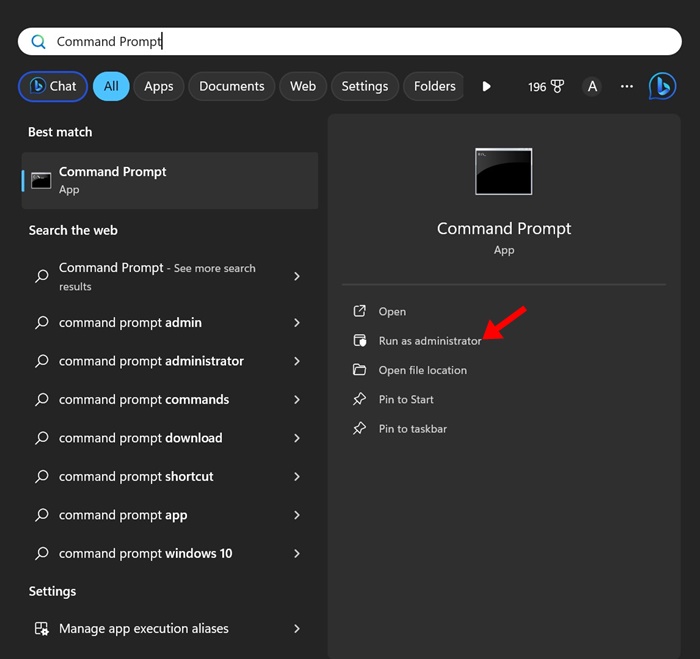
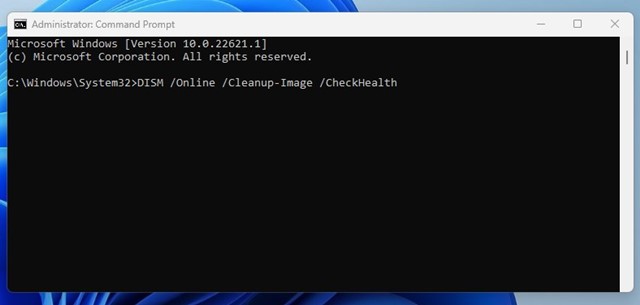
1. Type Command Prompt in the Windows 11 Search. Next, right-click on the Command Prompt and select Run as administrator.
2. Execute this command:
sfc /scannow

3. If the SFC command returns with an error, try executing these commands one by one:
DISM /Online /Cleanup-Image /CheckHealth
DISM /Online /Cleanup-Image /ScanHealth
DISM /Online /Cleanup-Image /RestoreHealth
After making the changes, restart your Windows 11 PC.
4. Install the Pending Windows 11 Updates
Keeping your Windows 11 PC or laptop up to date is the best thing you can do. This not only brings stability but also new features and bug fixes.
Windows 11 updates will also install the needed drivers and optional features, rule out the possibility of system file corruption, and more.

If the problem is still not fixed, head to Settings > Windows Update > Check for Updates. If an update is available, download and install it.
5. Enable the Set Time Zone Automatically via Registry
Don’t panic if you’re still unable to enable the feature; there’s a way to enable the option by modifying the Windows Registry.
1. Open the Registry Editor app.
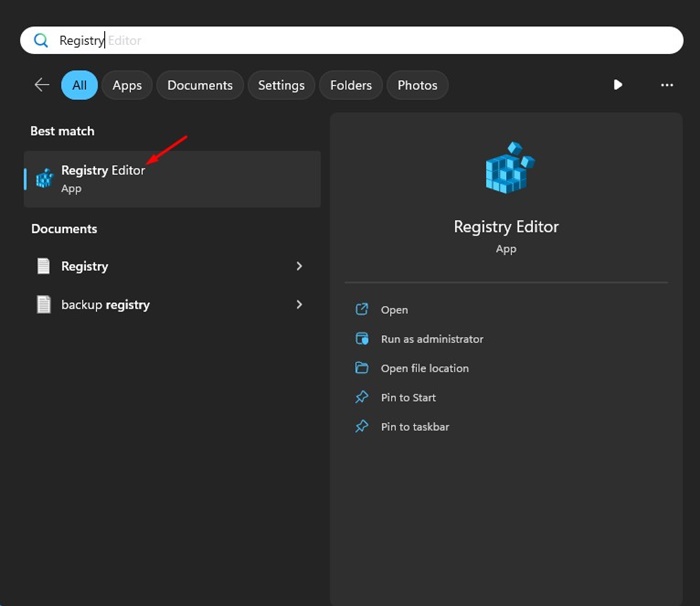
2. Navigate to this path:
Computer\HKEY_LOCAL_MACHINE\SYSTEM\CurrentControlSet\Services\tzautoupdate

3. Find and double-click on Start value.

4. To enable the Set time zone automatically, enter 3 in the Value data field. To disable it, enter 4.

Once you’ve done this, close the Registry editor and restart your PC. After the restart, move to Settings > Time & Language > Date & Time and check whether the Set the time zone automatically option is enabled.
These are a few simple ways to fix Set the time zone automatically option greyed out problem on Windows 11. Let us know if you need more help on this topic in the comments.
The post Set Time Zone Automatically Greyed Out? Try these Fixes appeared first on TechViral.
from TechViral https://ift.tt/XCpa2Ah

