

When you create a system image backup, you can restore the image and have your system back to where it was when the image was captured. On Windows 11, you can capture a complete replica of your Windows Installation, including the operating system, applications, and files you use.
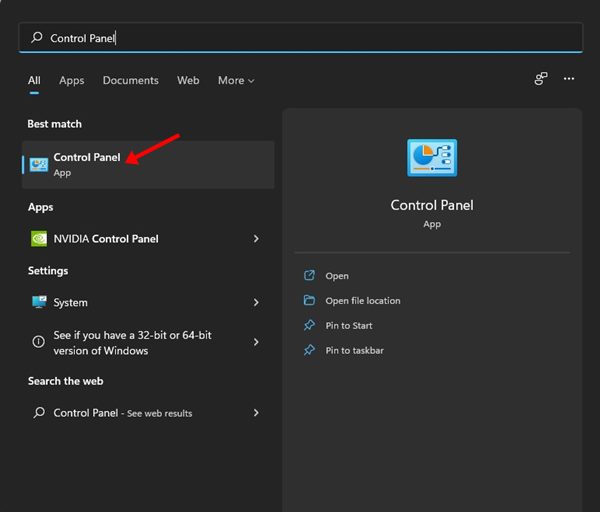
1. Open the Control Panel app.
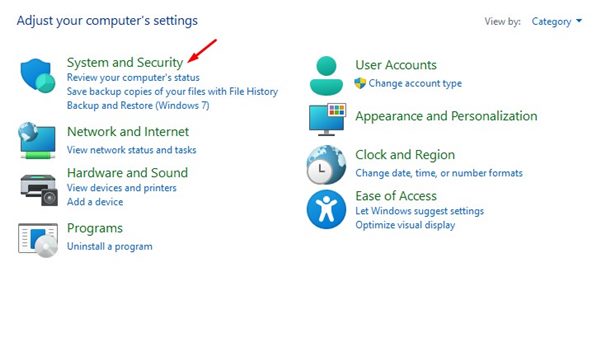
2. Click on System and Security.
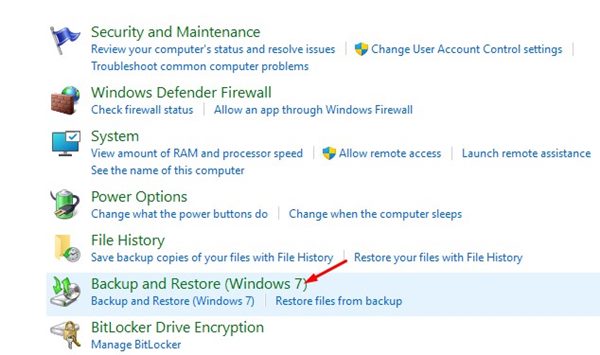
3. Click on the Backup & Restore (Windows 7).
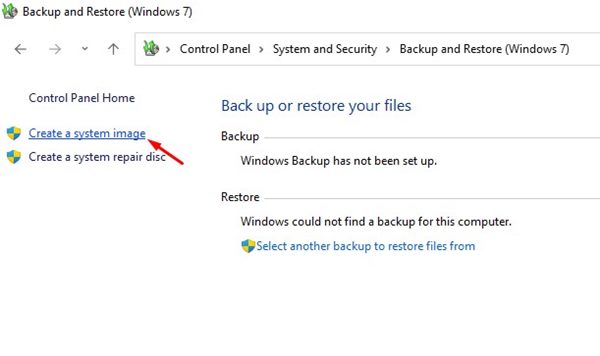
4. Click the Create a system image link.
5. Select the backup location in the Create a System Image Window. If you want to save the system image on an external hard drive, plug in the drive and select the new drive in the ‘On a Hard disk’ section.
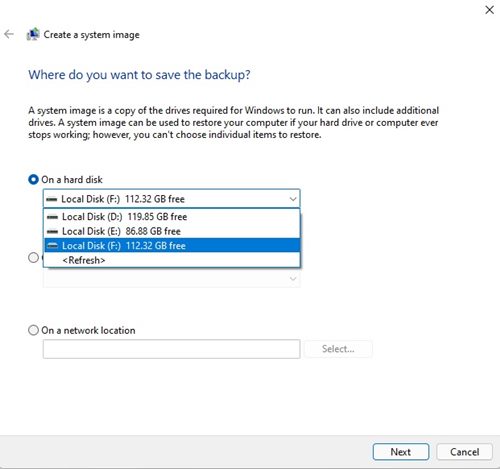
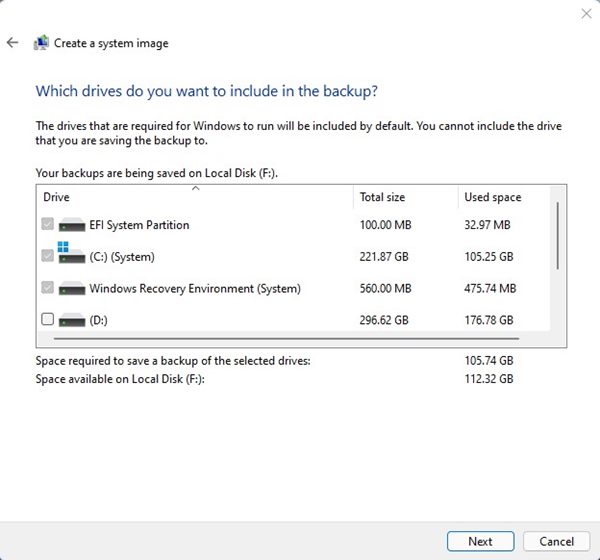
6. Once you’ve completed the backup, click Next. Select the drives you want to include in the backup on the next screen.
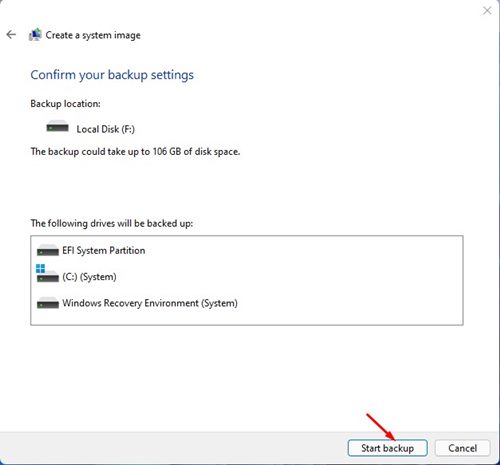
7. Confirm your backup settings and click Start backup.
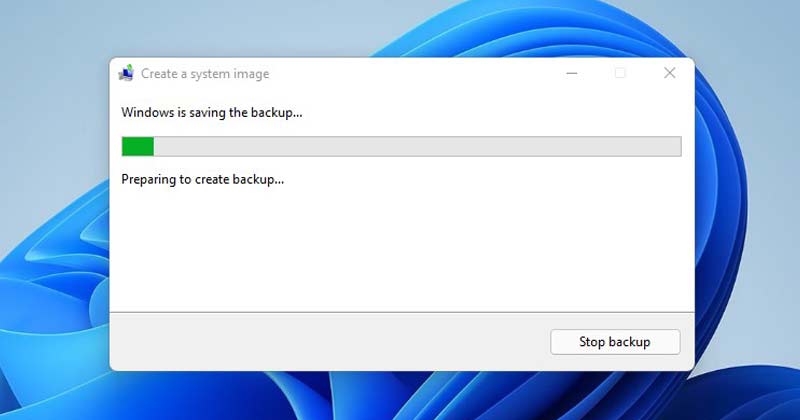
8. The System image backup process will state. This process will take some time, depending on the size of the backup & your hardware specs.
Third-Party Tools to Create a System Image Backup
Several third-party tools, such as Acronis True Image and Macrium Reflect, allow you to create a system image backup while offering more control.
However, those softwares requires a paid license for activation. On our list of the best PC Migration software for Windows, we have listed some of the best tools that provide the option to create a full system image backup.
If you can afford a license, you can use third-party tools to create a system image backup. These tools offer better and more advanced features, but the tool provided by Windows 11 is absolutely free and serves as a solid way to perform a full system backup.
It’s easy to create a system image in Windows 11. If your computer has a major problem, you can use this image to roll back Windows.
The post How to Create a System Image Backup in Windows 11 appeared first on TechViral.
from TechViral https://ift.tt/Y2tIC9v