

The ‘Windows Resource Protection Could Not Perform the Requested Operation’ error usually appears when you execute the SFC command on the Command Prompt. The appearance of this error means that WRP can’t operate. It usually fails to operate when it thinks modifying the files may harm your system.
When SFC tries to replace corrupted files, certain file types may trigger a false-positive warning on WRP. If you’ve just encountered the error, here’s what you can do to resolve it.
1. Restart your PC

Many users on the Microsoft Forum reported that they fixed the error simply by restarting their computers. Certain bugs or glitches in the operating system may prevent Windows Resource Protection from doing its job.
Hence, before following the other troubleshooting methods, restart your Windows computer. To restart, click the Windows Start button and select the Power Menu. Then, on the Power Menu, click Restart.
2. Try running the DISM Scan first
The System File Checker (SFC) tool can replace missing or corrupted system files, but if one or more system files are damaged, SFC won’t work. So, you should run the DISM scan before the SFC.
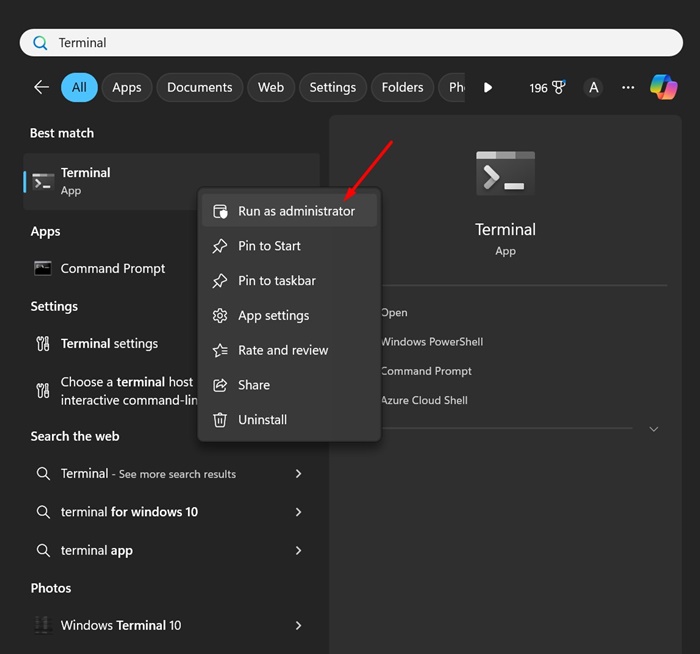
- Open Command Prompt with admin rights.
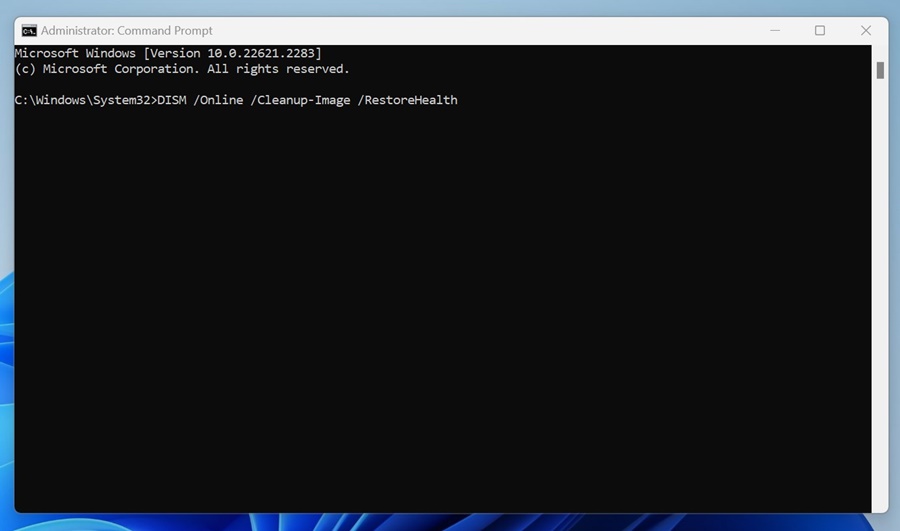
2. Execute the given command:
DISM /Online /Cleanup-Image /RestoreHealth
3. Run the CHKDSK Utility
If restarting your computer didn’t help, you can try running the Check Disk tool. Check DISK or ChkDsk Utility, which is designed to find and fix drive errors.
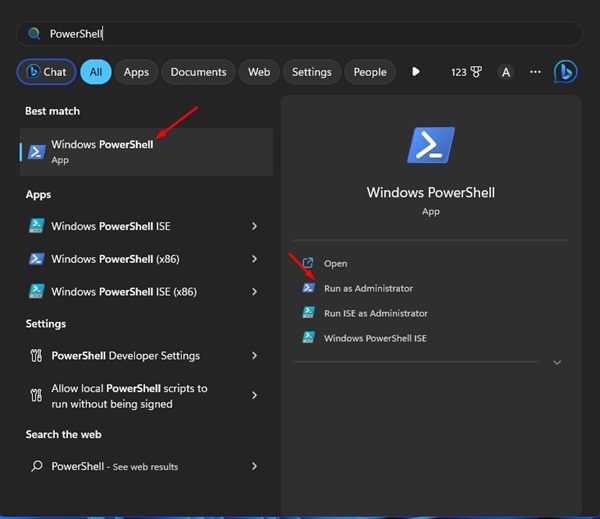
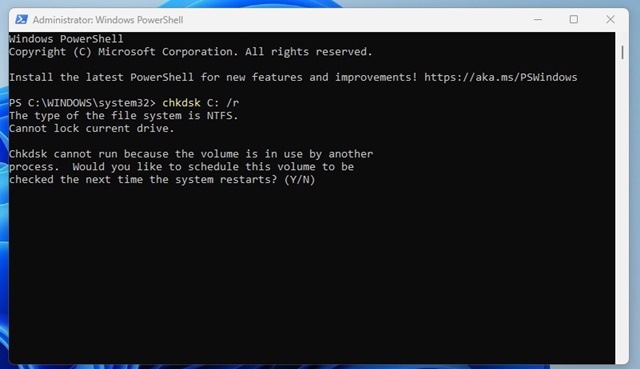
1. Click on Windows Search and type PowerShell. Next, Right-click on the PowerShell and select Run as Administrator.
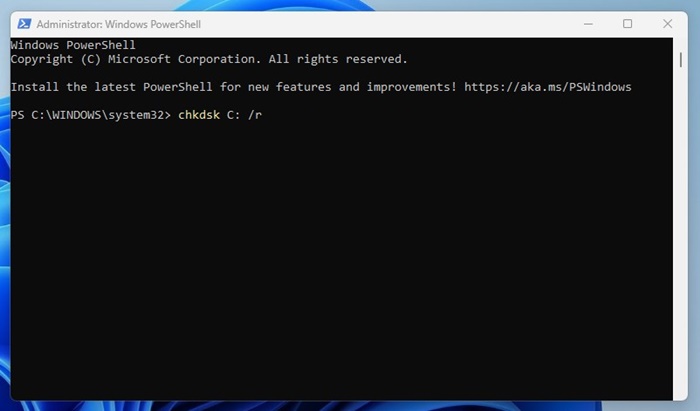
2. Enter the given command:
chkdsk C: /r
3. You will be asked to schedule the scan for the next restart. Type Y and press the Enter button.
Restart your Windows computer to run the chkdsk utility. This will scan and fix all drive-related errors in your computer.
4. Run the SFC tool in Safe Mode
Safe Mode turns off all third-party applications and disables internet connectivity. It provides a secure environment to find and fix corrupted system files.
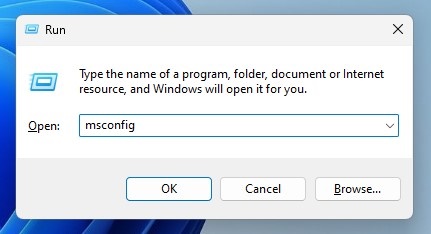
1. Press the Windows Key + R button on your keyboard. This will open the RUN dialog box.
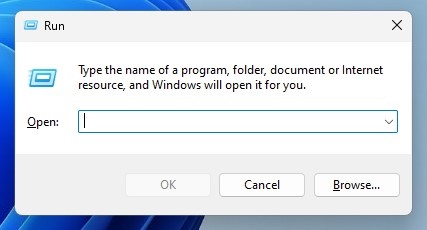
2. Type in msconfig and press Enter.
3. Switch to the Boot section.
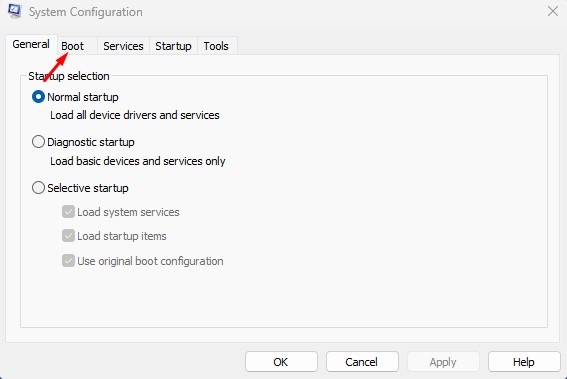
4. Check the Safe boot and select Minimal
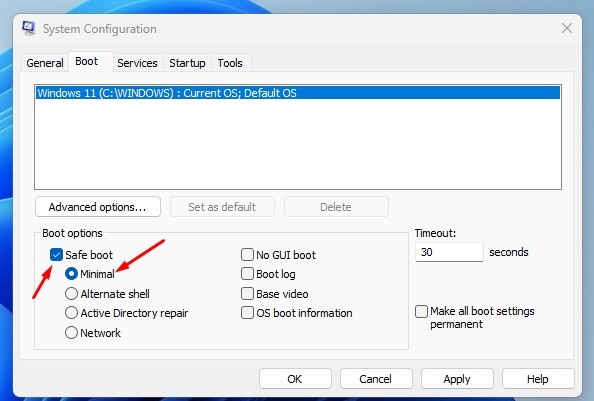
5. Click Apply and then OK.

Restart your computer to boot into Safe Mode. In safe mode, open Command Prompt and execute the sfc /scannow command.
5. Start the Windows Modules Installer Service
If you have disabled your computer’s Windows Modules Installer Service to prevent Windows updates, the SFC Scan won’t work. So, you should rerun the Windows Modules Installer service from the Services and execute the SFC command.
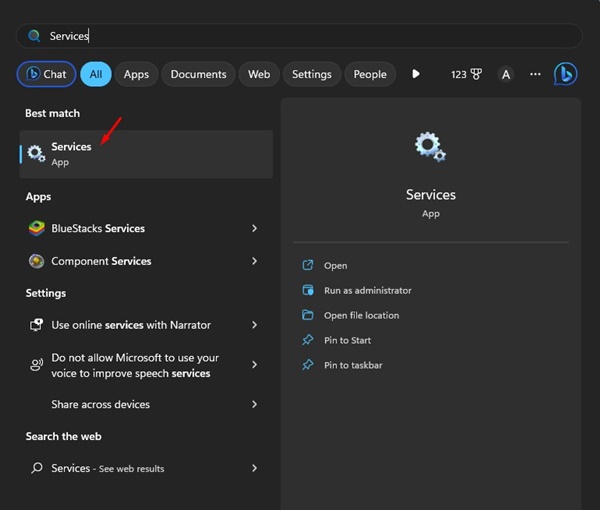
1. Open the Services app.
2. Find the Windows Modules Installer.
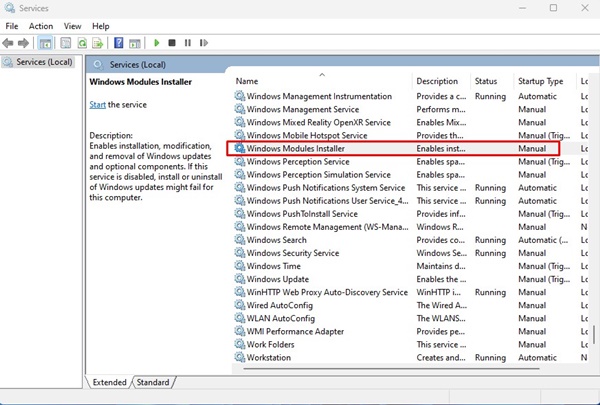
3. Right-click on the Windows Modules Installer and select Properties.
4. Click the Startup type drop-down on the Properties and select Manual.
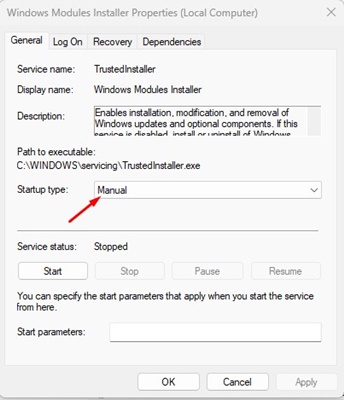
5. Click the Start button on the Service Status.

6. Click Apply and OK.
6. Run the Automatic Repair Tool
Automatic Repair is a part of Advanced Startup that can fix the ‘Windows Resource Protection Could Not Perform the Requested Operation’ error message.
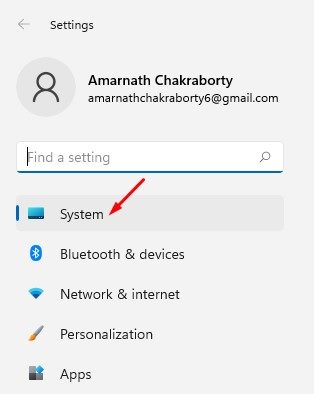
1. Click on the Windows Start button and select Settings.

2. Switch to the System tab.
3. Click Recovery.
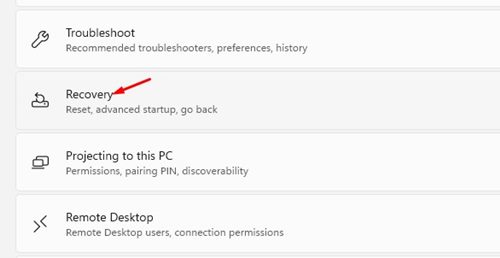
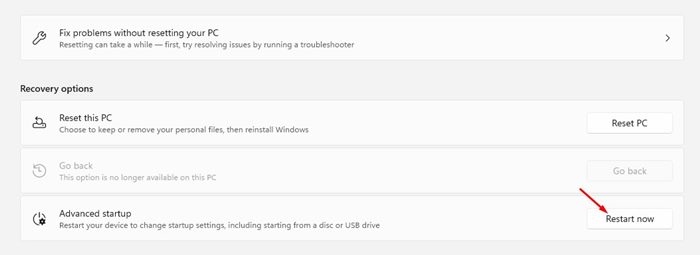
4. Scroll down to the Recovery options and click the Restart Now button beside Advanced Startup.
5. Your PC will restart and open the Advanced Options. Click on Automatic Repair.
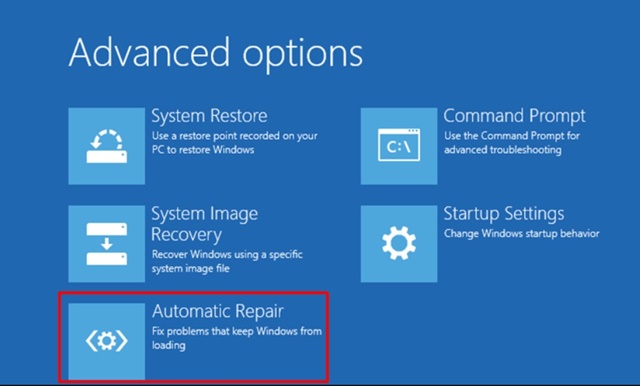
The Automatic Repair tool will run and fix all problems that may prevent the SFC tool from functioning properly.
7. Reset your Windows PC
If nothing worked for you to resolve the error, the best you can do is reset your PC. Before you reset your computer, back up your important files and folders to cloud storage services or an external drive.
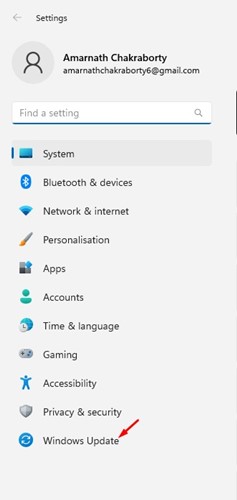
1. Click on the Windows Start button and select Settings.

2. Switch to Windows Update.
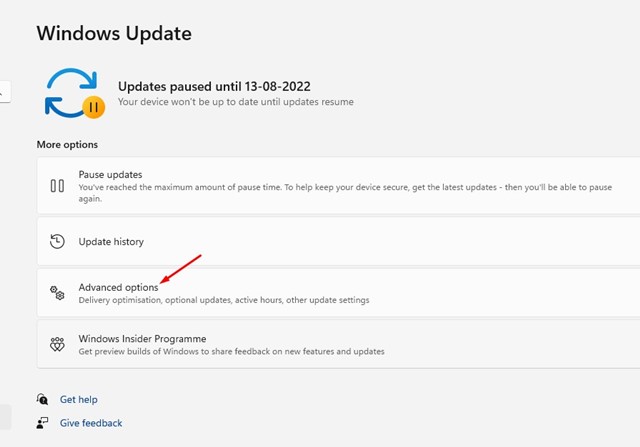
3. Click on Advanced Options.
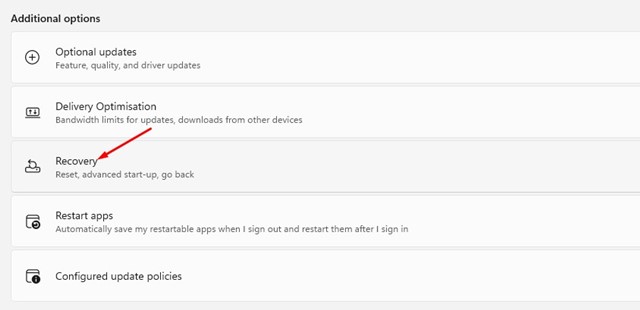
4. Click Recovery.
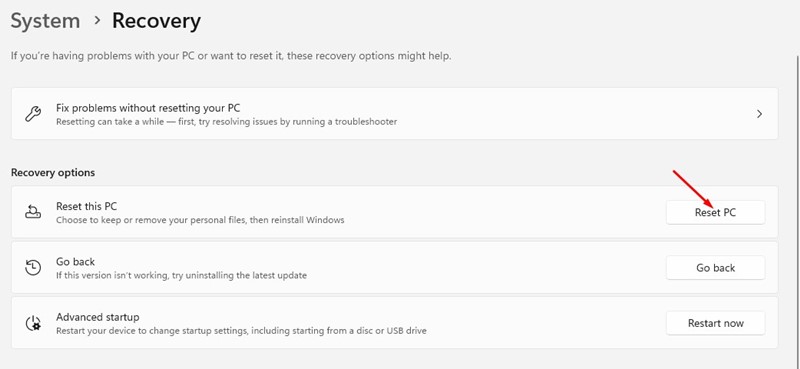
5. Click on Reset PC.
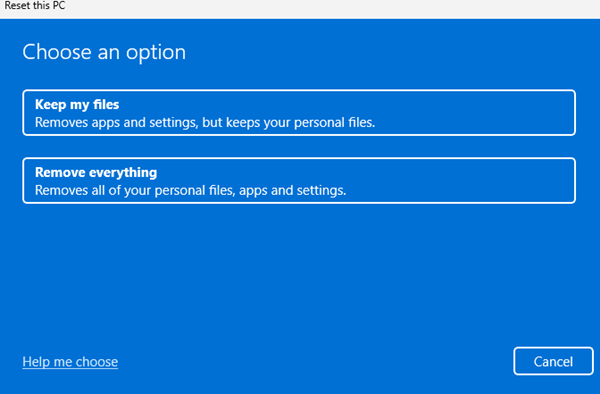
6. On the Reset this PC prompt, select whether you want to keep your files or remove everything. You can choose to keep your files.
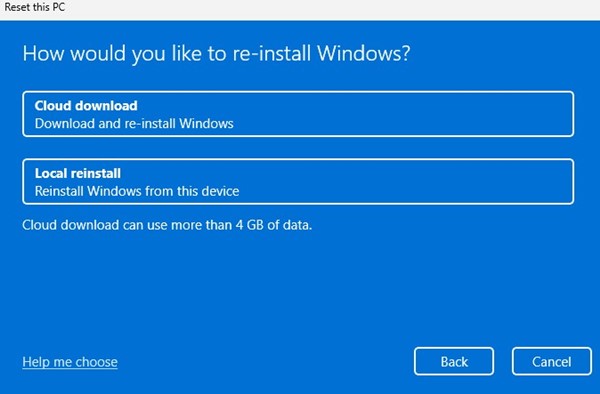
7. On How would you like to re-install Windows? screen, select Cloud Download
8. Click the Reset button to reset Windows 11.
Also read: Windows 11 ISO Download & Install on PC
These are the working methods to resolve the ‘Windows Resource Protection Could Not Perform the Requested Operation’ error message. If you need more help fixing the WRP error, let us know in the comments.
The post How to Fix ‘Windows Resource Protection Could Not Perform the Requested Operation’ Error appeared first on TechViral.
from TechViral https://ift.tt/2OLZ1vk

