

The drawback of automatic driver updates is that Windows 11 may install drivers with bugs, which might cause some issues. Also, if you prefer using a specific driver version, you should disable automatic driver updates on Windows 11.
Below, we have shared the steps to disable the Automatic driver updates in Windows 11.
1. Disable Automatic Driver Updates via System Properties
You can make some changes to the Windows 11 System Properties to disable the automatic driver updates. Here’s what you need to do.
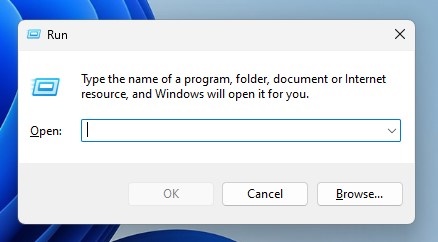
1. Press the Windows Key + R button on your keyboard. This will open the RUN dialog box.
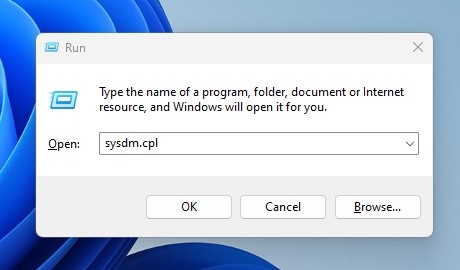
2. On the RUN dialog box, type sysdm.cpl and press Enter.
3. On the System Properties dialog box, switch to Hardware.

4. Click on Device Installation Settings.

5. In the Device installation settings, select No (your device might not work as expected). Once you’ve done this, click the Save Changes button.

2. Disable Automatic Driver Updates via Local Group Policy
You can also use the Local Group Policy Editor to enable or disable the automatic driver updates on Windows 11.
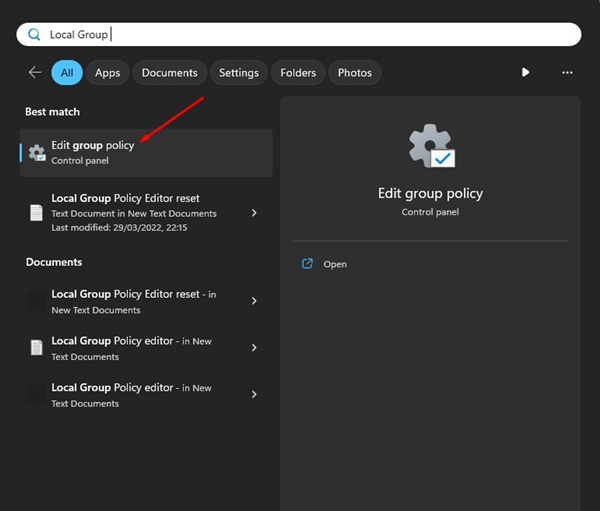
1. Open the Windows 11 Search bar and type in Local Group Policy Editor. Open the Local Group Policy Editor app from the list.
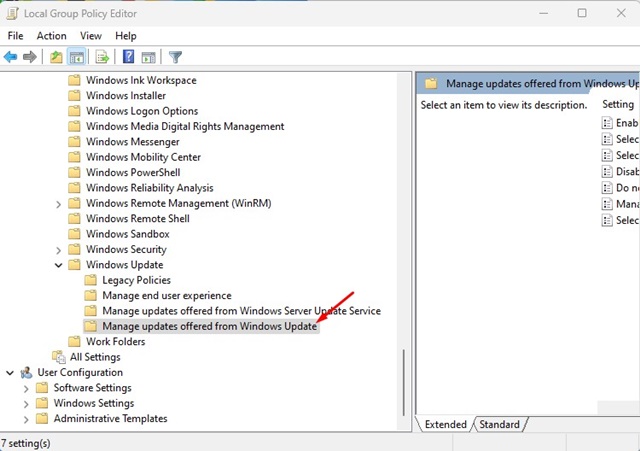
2. When the Local Group Policy Editor opens, navigate to this path:
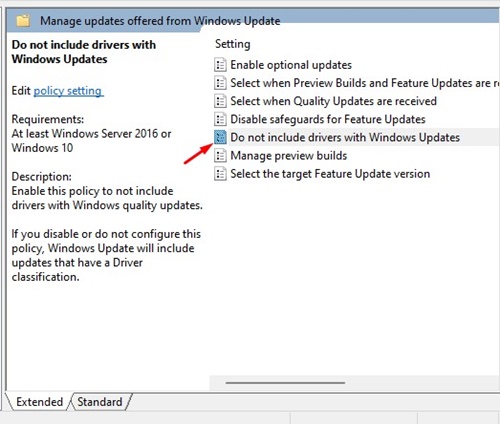
Computer Configuration > Administrative Templates > Windows Components > Windows Update > Manage updates offered from Windows Update.
3. Find and double click on the Do not include drivers with Windows Updates.
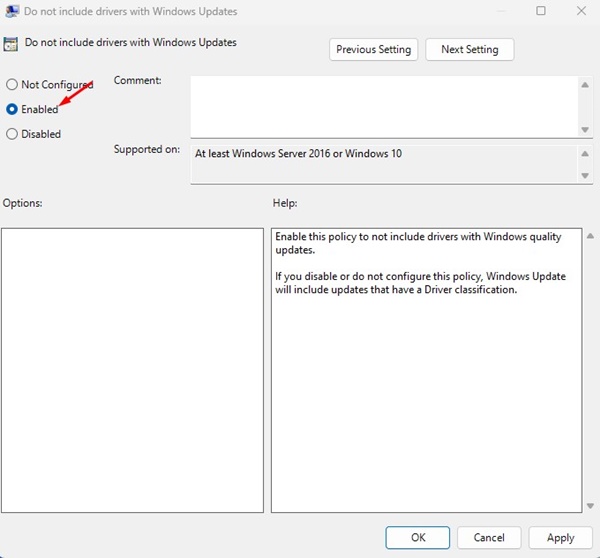
4. On the Do not include drivers with Windows Updates dialog box, select Enabled.
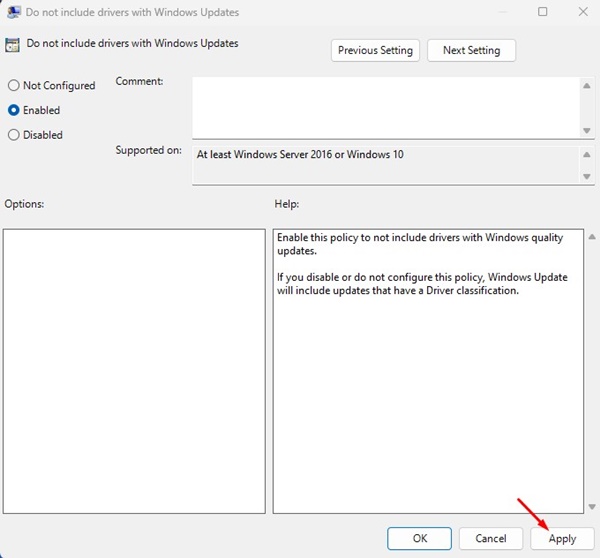
5. Once done, click on Apply.
3. Turn Off Automatic Driver Updates via Registry Editor
If you cannot disable the automatic driver updates on Windows 11, the next best option is to turn off automatic driver updates.
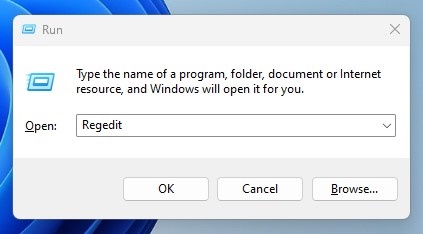
1. Press the Windows Key + R button on your keyboard. On the Run dialog box, type regedit and press Enter.
2. When the Registry Editor opens, navigate to this path:
HKEY_LOCAL_MACHINE \SOFTWARE\Microsoft\Windows\CurrentVersion\DriverSearching
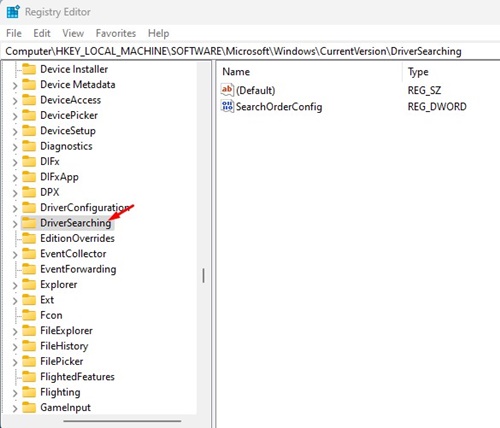
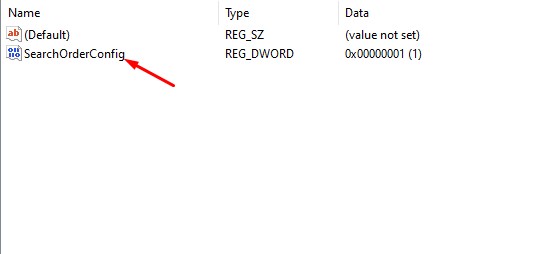
3. Double click on the SearchOrderConfig REG_DWORD key.
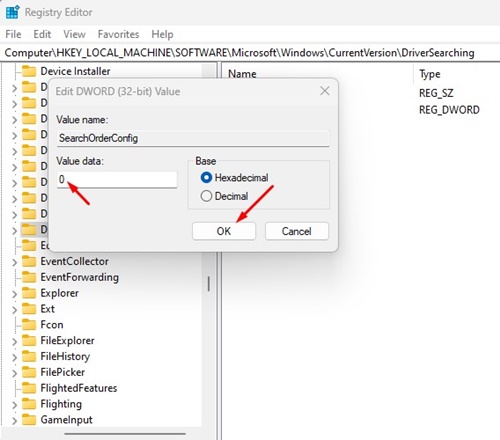
4. On the value data field for SearchOrderConfig, enter 0 and click OK.
Close the Registry Editor and restart your Windows 11 PC. This should disable automatic driver updates in your Windows 11 PC.
How to Uninstall or Roll Back Driver Updates?
While the methods above described how to disable the auto driver update on Windows 11, what if you want to uninstall or roll back an existing driver update?
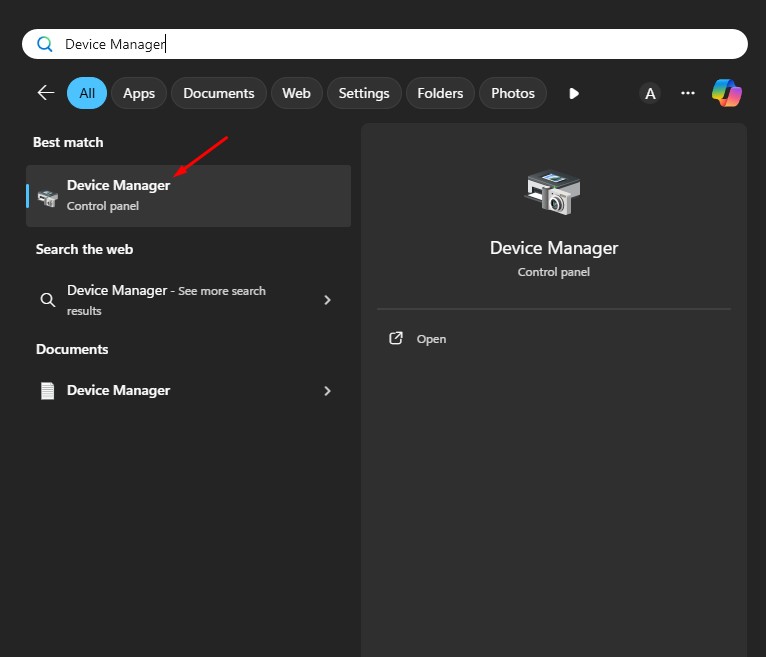
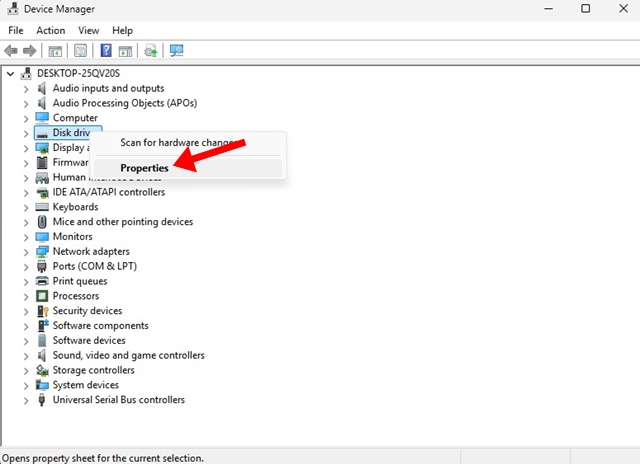
1. Type Device Manager in Windows 11 Search. Open the Device Manager from the list of best match results.
2. When the Device Manager opens, find the target device you want to roll back the drivers.
3. Right click on the device and select Properties.
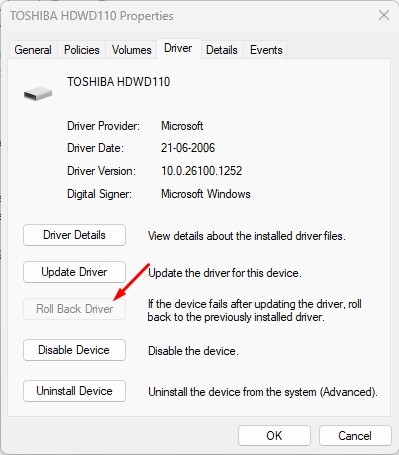
4. Switch to the Driver tab and select the Roll Back Driver.
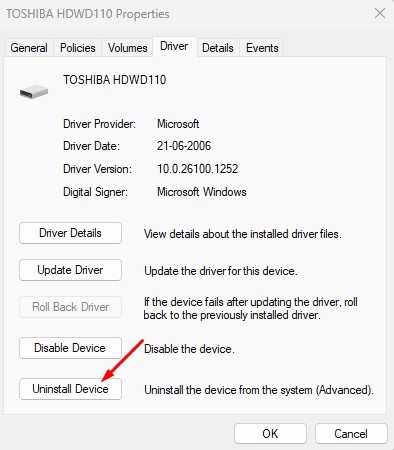
5. If you want to uninstall the driver, click Uninstall Device.
These are the best ways to disable automatic driver updates in Windows 11 computers. If you have followed all methods correctly, automatic driver updates are likely already disabled. Let us know if you need more help with this.
The post How to Disable Automatic Driver Updates in Windows 11 appeared first on TechViral.
from TechViral https://ift.tt/Vtq01ND

