

Screen recording is pretty easy on the iPhone, and you don’t need any third-party app for this purpose. Modern iPhones have a native screen recorder that can record everything displayed on the screen and capture the audio. Here’s how you can record an iPhone screen with sound.
1. Add Screen Recording to Control Panel
The first step is to add the screen recording tool to the iPhone Control Center. Simply follow the steps below to add the tool to the Control Center on your iPhone.
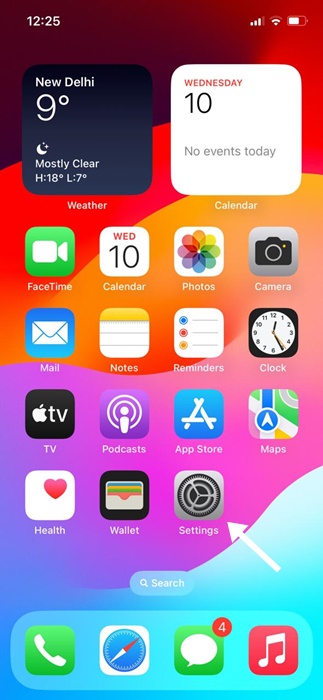
1. Open the Settings app.
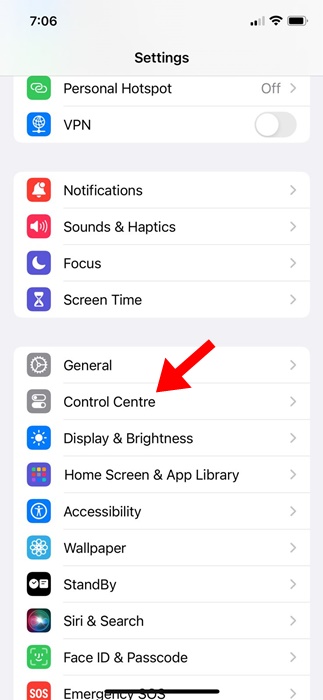
2. Tap on Control Center.
3. Scroll down to the More Controls Section.
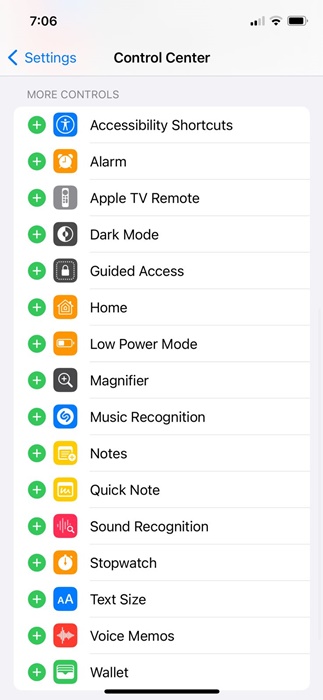
4. Find the Screen Recording and tap the Plus (+) icon next to it.

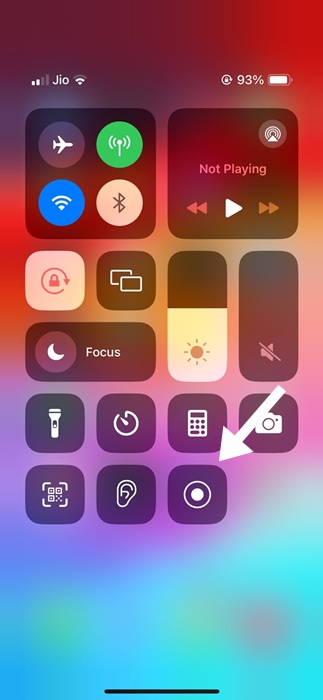
5. Open the Control Center on your iPhone. You’ll find the screen recording icon.
2. How to Record Screen on iPhone with Sound
Now that you have enabled the screen recording tool on your iPhone, it’s time to learn how to screen record an iPhone.
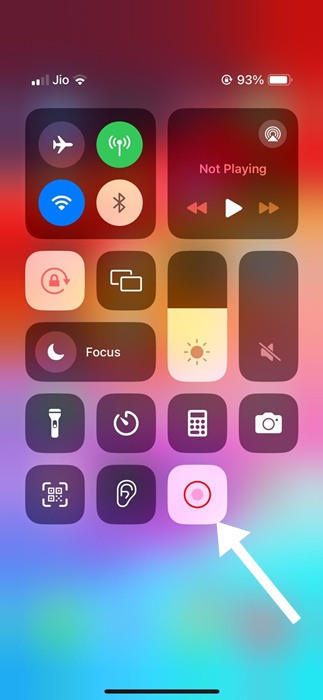
1. Open the Control Center on your iPhone and tap the Screen Recording icon.
2. Once the screen recording starts, the clock in your iPhone’s status bar will become red.
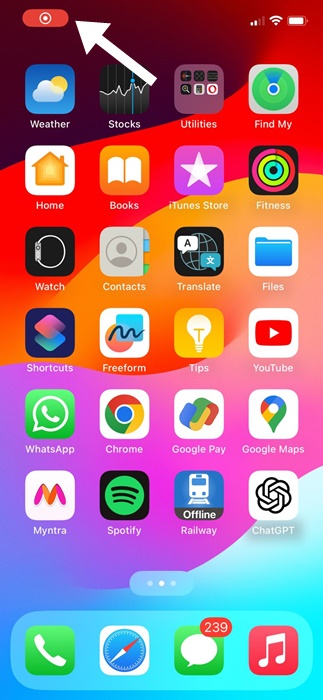
3. The red recording icon at the top left of the Status bar indicates that the screen recorder is running.
4. To stop the screen recording, open the Control Center and tap on the Screen Recording toggle again. This will stop your screen recording.
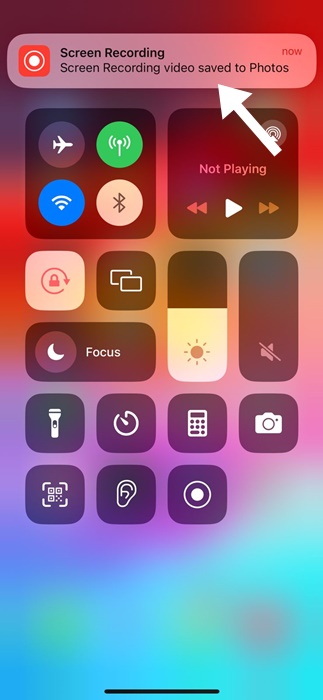
5. Once stopped, you will get a notification informing you that the screen recording has been saved to Photos.
6. If you want to record external audio, long-press the Screen Recording button in the control center. Tap on the Microphone icon to enable external audio recording and then tap Start Recording.
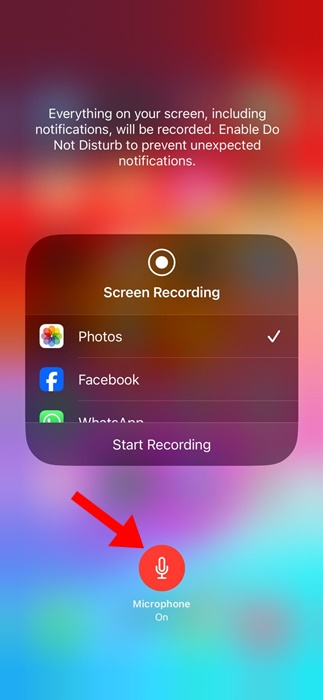
Enabling the Microphone access while screen recording will capture both system and external audio.
3. Use Third-Party Screen Recorder Apps
If you want more control over your screen recording, consider using a third-party screen recorder. You will find plenty of screen recorder apps for iPhone on the Apple App Store; you can use them to record your iPhone screen with additional benefits.
1. Record it!
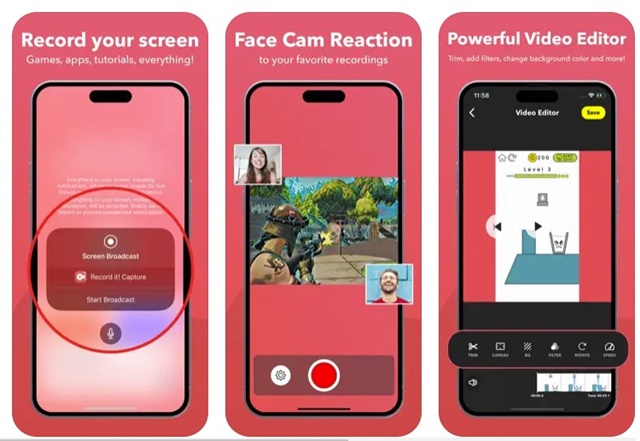
Record it! is a third-party screen recorder you can get from the Apple App Store. The app is great for recording your favorite games & apps.
You can even use this app to record tutorial videos, video demos, and training videos on your iPhone.
If we talk about the controls, the app lets you record your entire screen, add facecam reactions, and more.
What’s more useful is that Record it! has a native video editor that lets you trim your recording, apply video filters, adjust the playback speed, etc.
2. VideoShow Screen Recorder
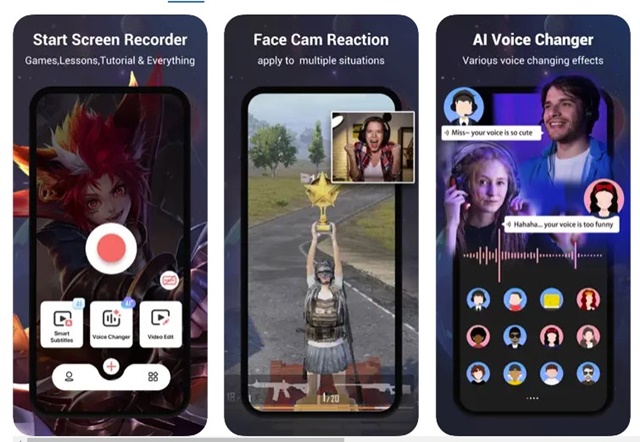
VideoShow Screen Recorder is a multi-purpose iPhone app on the list. This one is basically a video recorder and a video editor app.
Like every screen recorder for iPhone, VideoShow Screen Recorder lets you record your entire screen, add your reaction to the video, add subtitles, transform your voice with the help of AI, and do a lot more.
The video editing features of the app include cutting/trimming/splitting/flipping/reversing the screen recording clips, adjusting the playback speed, applying filters, adding subtitles, and more.
3. DU Recorder
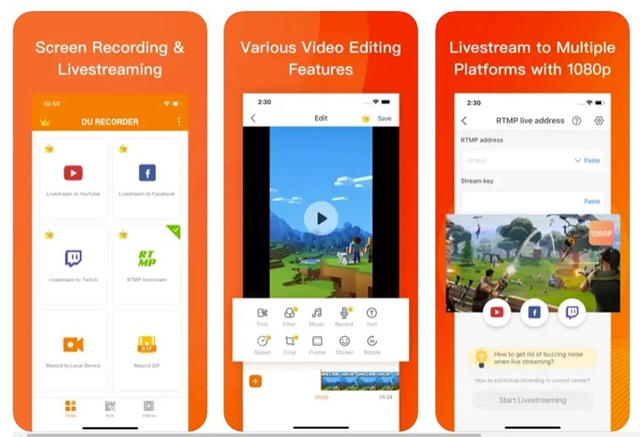
DU Recorder is an iPhone screen recorder and streamer app that lets you record your iPhone screen and live stream directly to YouTube, Facebook, and Twitch.
The app supports simultaneous recording of the microphone & internal audio, supports RTMP address, etc.
Also, DU Recorder offers a handful of video editing options, such as trimming video clips, adjusting their playback speed, adding text/subtitles, applying filters, and more.
This guide explains how to screen record on your iPhone with sound. Let us know if you need more help recording your iPhone screen with sound.
The post How to Record Your iPhone Screen with Sound appeared first on TechViral.
from TechViral https://ift.tt/ojHCnvF

