

Regular users may use the DirectX Diagnostic tool to gather information about their PC’s hardware, such as the motherboard, RAM, processor, GPU, and audio. Accessing the DirectX Diagnostic tool on Windows 11 is pretty easy. Here are the six different ways to open the DxDiag tool on Windows 11.
1. Open DirectX Diagnostic Tool with RUN
This is probably the easiest way to open DirectX Diagnostic Tool on Windows 11. It’s pretty easy to open the DirectX Diagnostic Tool via the RUN command.
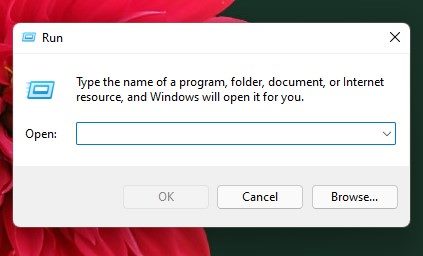
1. Press the Windows Key + R button. This will open the RUN dialog box.
2. Enter dxdiag and hit the Enter button.
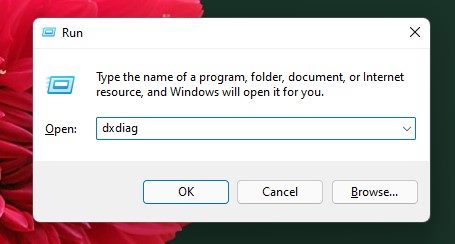
3. Windows 11 will run the DirectX Diagnostic Tool and show you the detailed information.

2. Open DirectX Diagnostic Tool via Windows 11 Search
You can directly open the DirectX Diagnostic Tool on your Windows 11 using the Search feature. This process is more straightforward than the previous one.
- Press the Windows + S key to open the Windows 11 search.
- You can even click the Search button on the taskbar to open the Search panel.
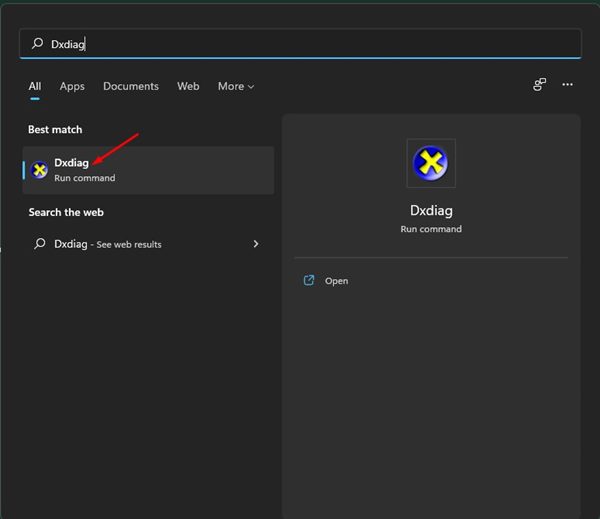
- On the Windows 11 search, type in Dxdiag and open the DxDiag tool from the list.
3. Open DirectX Diagnostic Tool via Task Manager
In the Windows 11 search menu, you can use the Task Manager of Windows 11 to open the DirectX Diagnostic Tool.
1. Press the CTRL + ALT + Delete key on your keyboard. Next, select the Task Manager option.
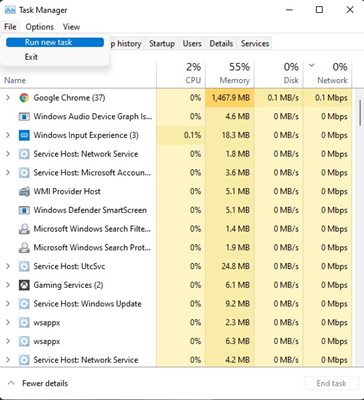
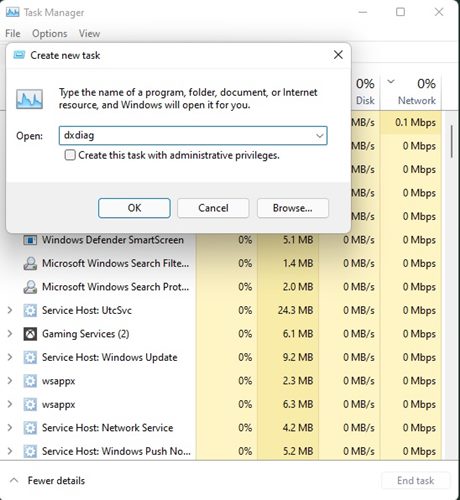
2. Click the File menu and select the Run new task option.
3. Type in dxdiag and hit the Enter button.
4. Open the DirectX Diagnostic Tool via Desktop Shortcut
If you want an even easier way to access the DirectX Diagnostic Tool tool, you need to create a desktop shortcut.
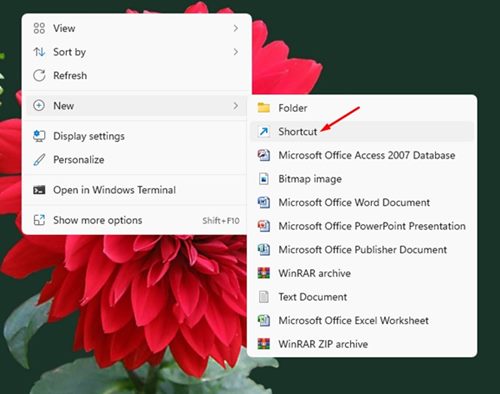
1. Right-click on a blank area on your desktop and select New > Shortcut.
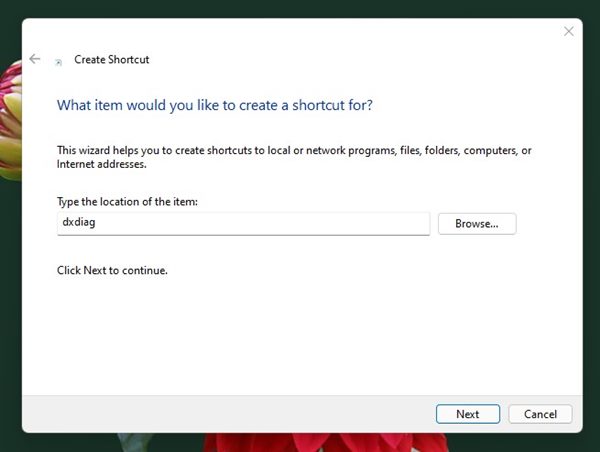
2. On the Create Shortcut window, type dxdiag in the Location field and click the Next button.
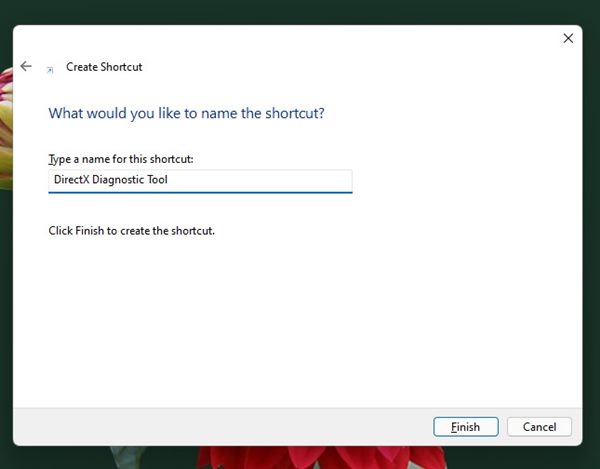
3. You will be asked to enter the name of the new shortcut. Name it DirectX Diagnostic Tool and click Finish.
4. You will find the DirectX Diagnostic Tool desktop shortcut. To access the tool, double-click on it.

5. Open the DirectX Diagnostic Tool from the Taskbar
Running the DirectX Diagnostic tool from the Taskbar could be easier for many users. It’s possible to open the DirectX Diagnostic tool directly from the Taskbar or even the Start Menu.
For that, you need to create a desktop shortcut for opening the DirectX tool. You can follow the steps outlined above to create a desktop shortcut.
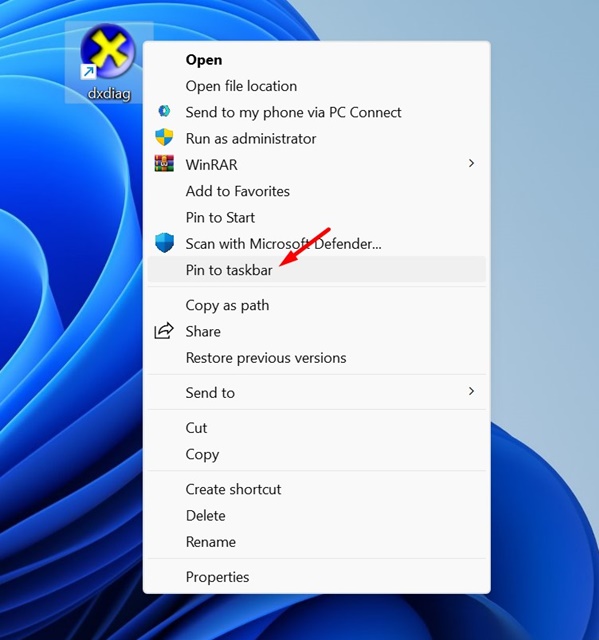
Once you create a desktop shortcut, right-click and select Show more options. On the context menu, choose the Pin to Taskbar option. That’s it! This will immediately add the Dxdiag shortcut to your taskbar.
6. Open DirectX Diagnostic Tool With a Hotkey
You can assign a hotkey if you have created a desktop shortcut for launching the DirectX Diagnostic tool. Here’s how you can assign a Hotkey.
1. If you haven’t yet created a desktop shortcut for opening the DirectX Diagnostic Tool, create it by following the fourth method.
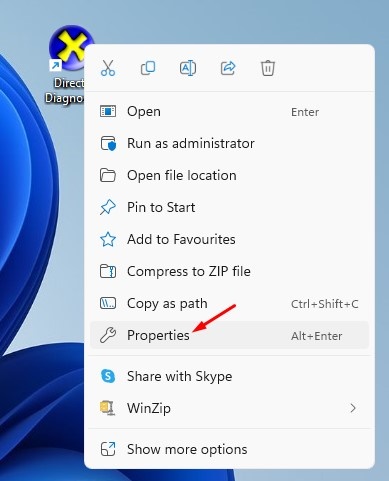
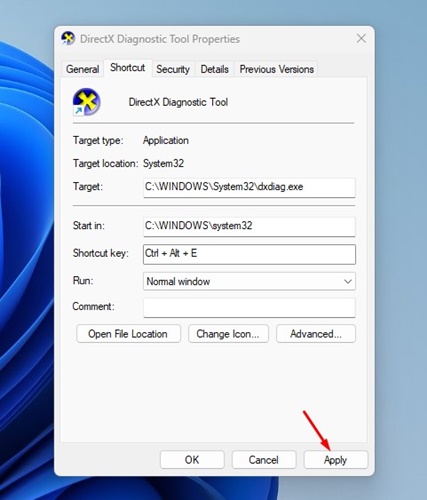
2. Right-click on the Dxdiag desktop shortcut and select Properties.
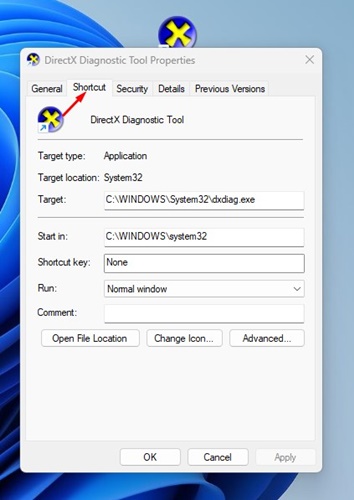
3. Switch to the Shortcut tab.
4. On the Shortcut key, establish a keyboard shortcut.
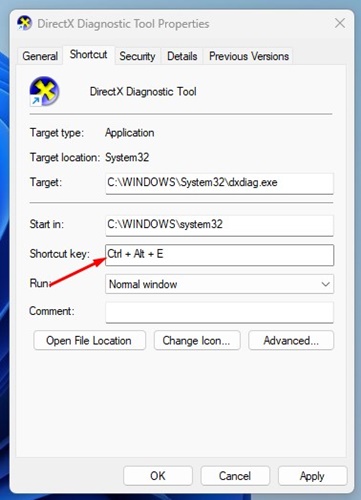
5. Click on the Apply button.
7. Open DirectX Diagnostic Tool from the Context Menu
Since Windows 11 allows you to customize the right-click menu, you can customize the right-click menu and add the DirectX Diagnostic Tool. Here’s how you can do it.
1. Press the Windows Key + R button on your keyboard. This will open the RUN dialog box. On the RUN dialog box, enter Regedit and hit the Enter button.
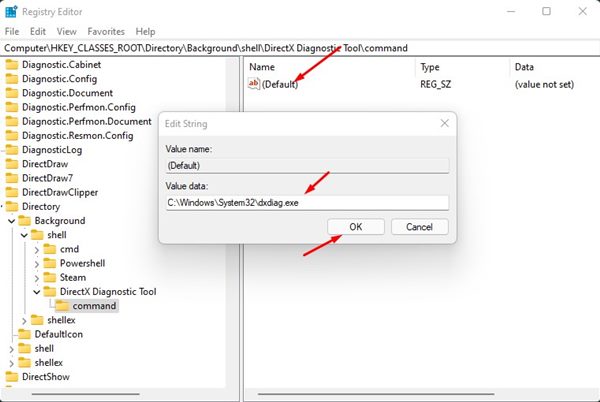
2. On the Registry Editor, navigate to the path:
Computer\HKEY_CLASSES_ROOT\Directory\Background\shell
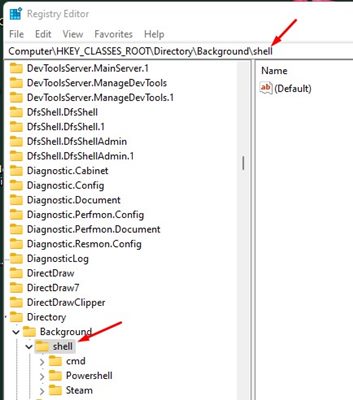
3. Right-click on the Shell key and select New > Key.
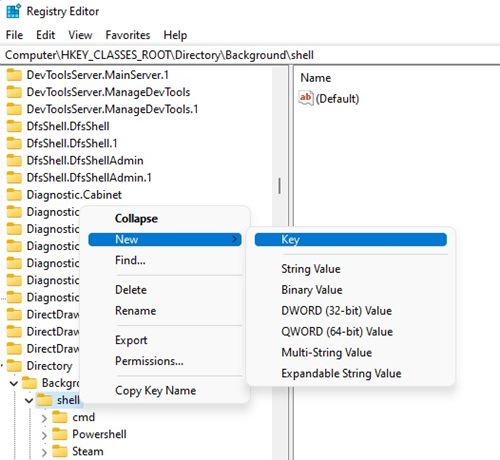
4. Name the new key DirectX Diagnostic Tool. Now, right-click the DirectX Diagnostic Tool key and select New > Key.
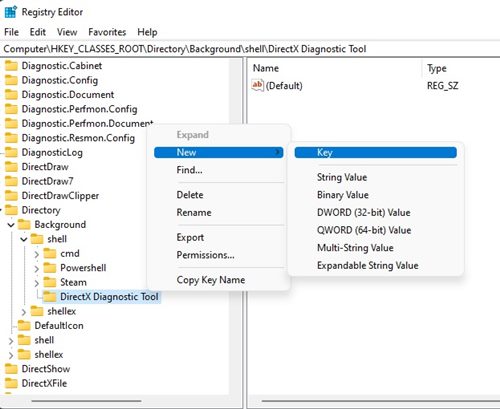
5. You need to name the new key command.
6. On the right, double-click on the (Default) string, and in the Value Data field, enter C:\Windows\System32\dxdiag.exe. Once done, click OK.
7. Right-click anywhere on your desktop to find the DirectX Diagnostic Tool in the context menu.

8. Run DirectX Diagnostic Tool via CMD/PowerShell
The method to run the DirectX Diagnostic tool is the same for both CMD and PowerShell. You need to run both utilities with administrative rights and execute a command.
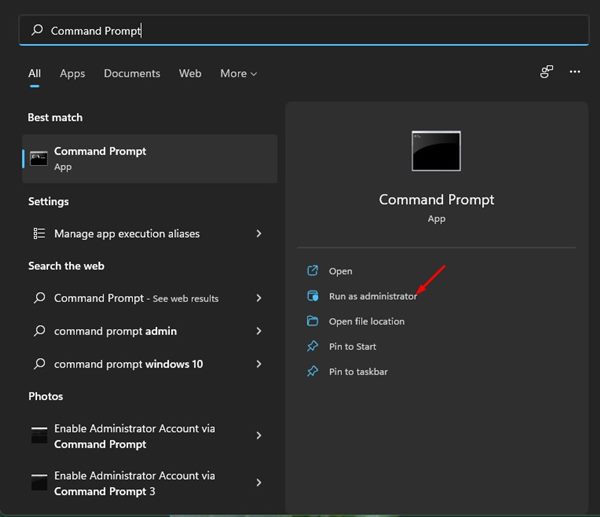
1. Click on the Windows 11 search and type in CMD or PowerShell. Then, right-click on the CMD/PowerShell and select Run as administrator.
2. Type in dxdiag and press the Enter button.
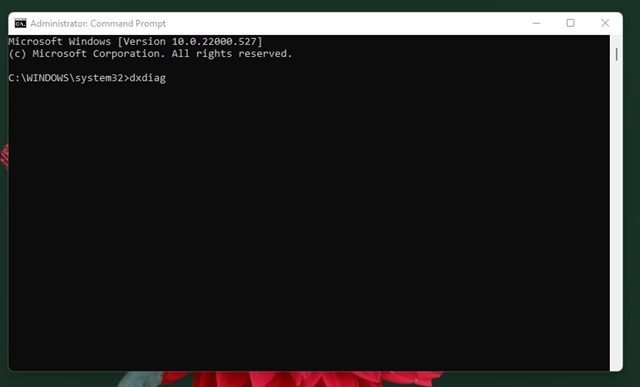
3. This will immediately launch the DirectX Diagnostic Tool on your PC.
Also read: How to Enable Administrator Account on Windows 11
These are the best ways to run the DirectX Diagnostic Tool on the Windows 11 operating system. If you have any doubts, let us know in the comment box below.
The post How to Open DirectX Diagnostic Tool on Windows 11 appeared first on TechViral.
from TechViral https://ift.tt/KuxCjN8

