

Compared to third-party backup apps, the File History of Windows 11 is easier to set up and use. Once you configure Windows 11 File History, you need to connect your USB drive to your computer, and Windows 11 will automatically back up the file to that drive. You can even schedule a backup feature to run on a schedule.
Use Windows File History To Back Up Windows 11 Data
This article will provide a step-by-step guide on using Windows File History to back up your data.
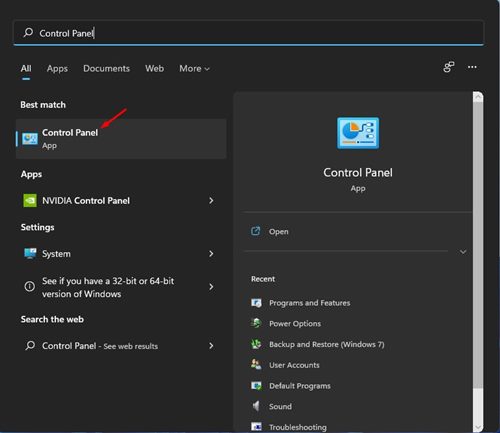
1. Type Control Panel on Windows 11 Search and open it.
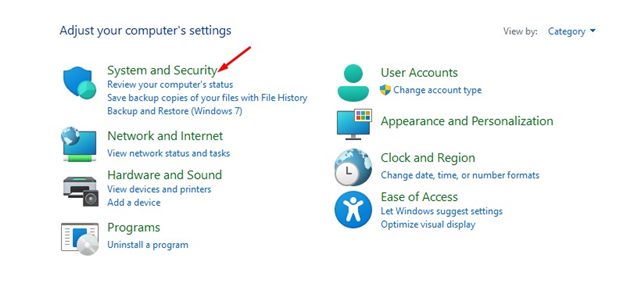
2. Click on System and Security.
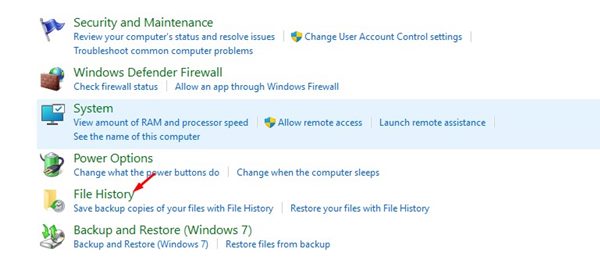
3. On the next page, select File History.
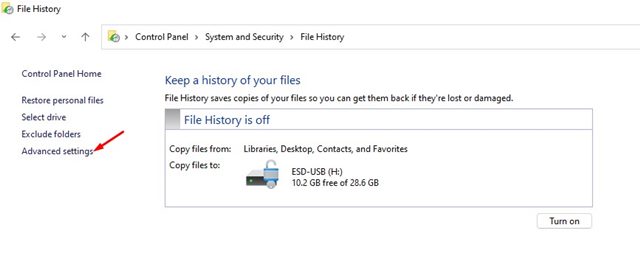
4. Connect an external drive and refresh Windows. Click on the Advanced Settings on the left sidebar.
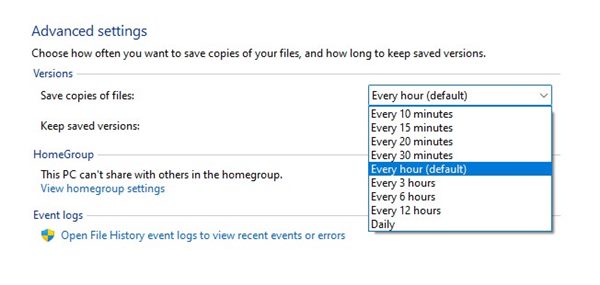
5. You must set a schedule to run the File History on the next screen. The default is Every Hour; you can change the time frame from the drop-down menu.
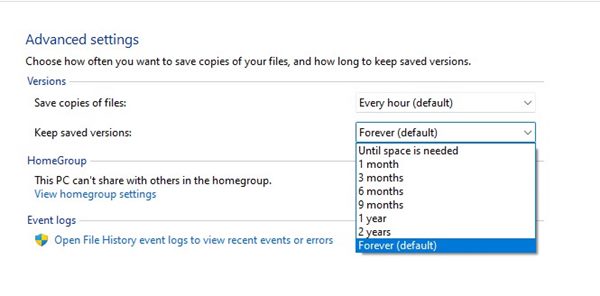
6. Select the dropdown for Keep saved versions and change it to your preference.
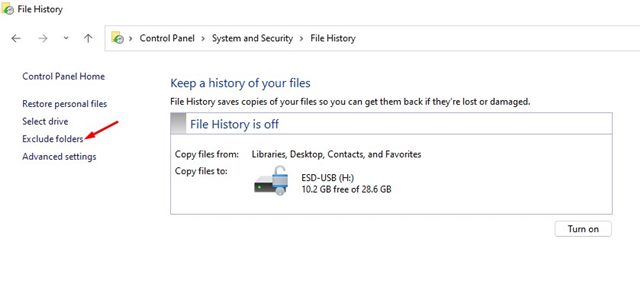
7. If you want to exclude any folder, click the Exclude folders option and add the folder you don’t want to backup.
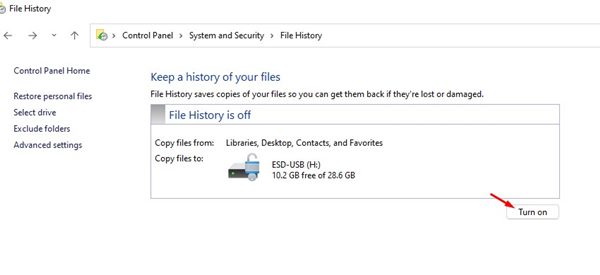
8. You need to return to the main File History screen and click the Turn on Button to enable the feature.
9. To disable the File History, click on the Turn off button as shown below.
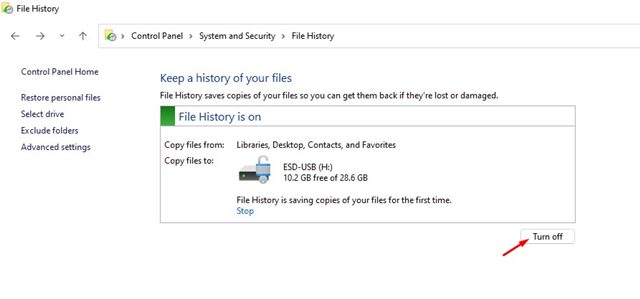
Important: The File History will only back up files from Libraries, Contacts, Desktop, and Favorites folders.
Windows 11 File History vs Backup
On Windows 11, you get two or more backup options. File History and Backup & Restore are different things and serve different purposes.
Windows 11’s file history feature backs up essential folders such as documents, music, pictures, videos, and desktop folders. It’s not a full-fledged backup tool, but it is excellent for backing up essential folders.
The other option is a System Restore point or Backup & Restore which creates a restore point when you install a new driver, app, or Windows Update. Once a restore point has been created, it can revert the system state to resolve the problems.
The System Restore point won’t affect the files but removes all Settings, Apps, Drivers, and Updates installed after the restore point was created.
We already have a detailed guide on How to Backup Windows 11. In that guide, we have shared all the ways to back up the data stored on a Windows 11 PC.
Setting up File History on Windows 11 is pretty straightforward. This feature allows you to back up your Windows 11 to an external drive. If you have any doubts, let us know in the comment box below.
The post How to Use Windows File History To Back Up Windows 11 Data appeared first on TechViral.
from TechViral https://ift.tt/LEjTl8k

