

With the USB ports disabled, you don’t have to worry about unauthorized devices, such as USB drives, Keyloggers, etc., accessing your laptop/computer. Doing so will prevent the unauthorized exchange of data in your absence. If you want to prevent unauthorized exchange of data, here’s how you can disable the USB Ports on Windows 11.
1. Disable USB Ports via Device Manager
We will use the Device Manager of Windows 11 to disable the USB Ports in this method.
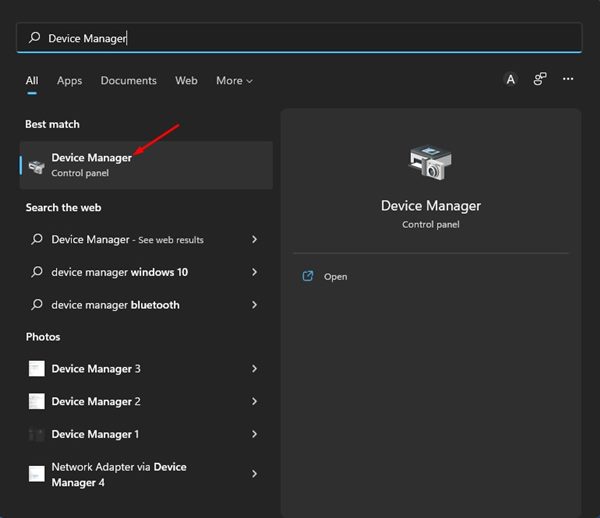
1. Open Device Manager from the Windows Search.
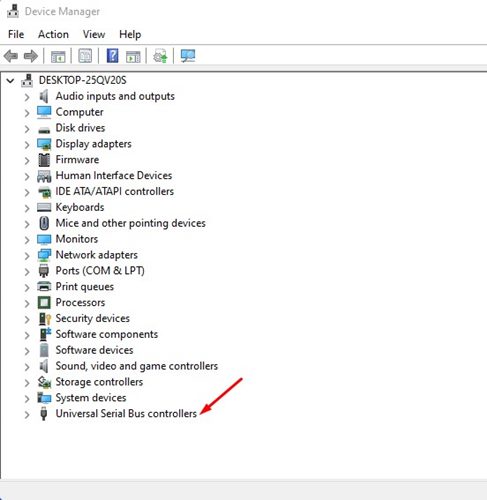
2. Scroll down and expand the Universal Serial Bus Controllers list.
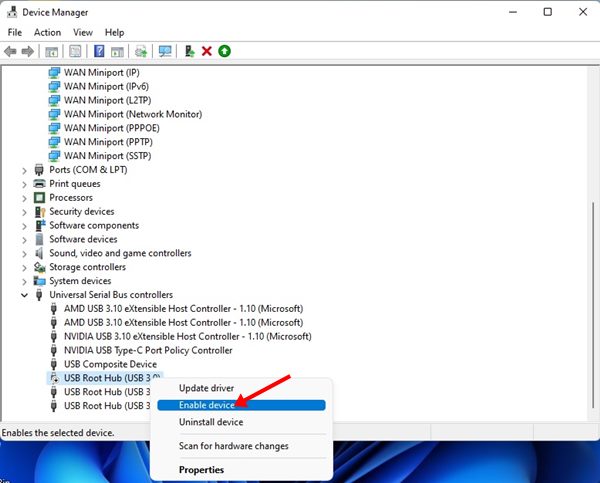
3. Right-click on the USB Port and select the option Disable device.

4. Right-click on it and select Enable Device.
2. Disable USB Ports on Windows 11 via Registry Editor
We will use the Registry Editor to disable USB Ports in this method.
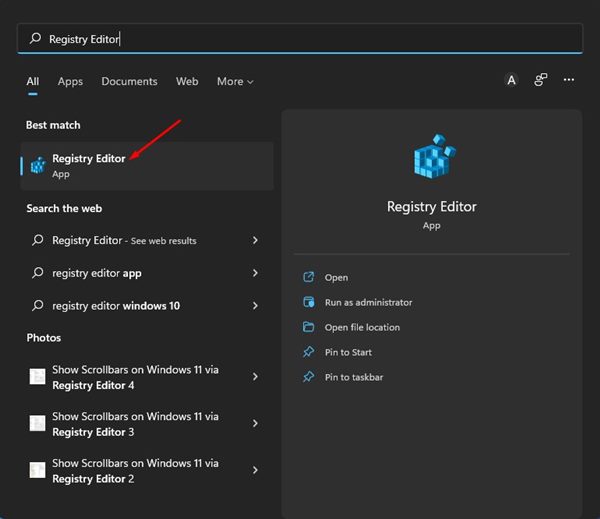
1. Open Registry Editor from the Windows Search.
2. Navigate to the following path:
HKEY_LOCAL_MACHINE\System\CurrentControlSet\Services\USBSTOR
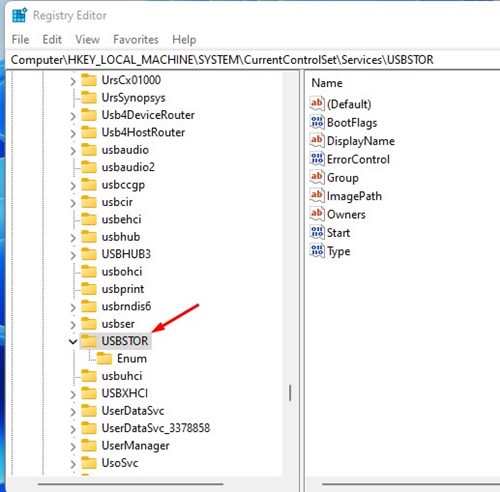
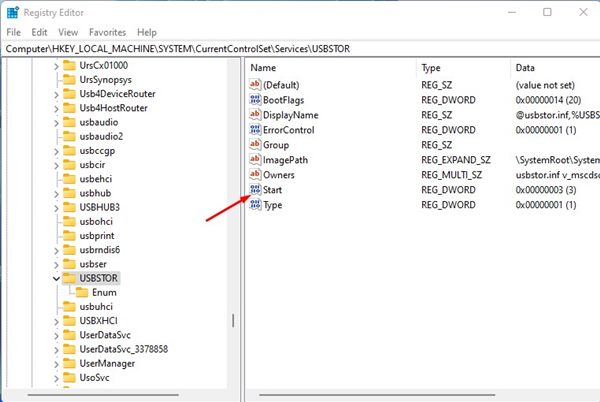
3. Double-click the Start DWORD key on the right pane.
4. Enter 4 in the Value Data field and click OK.
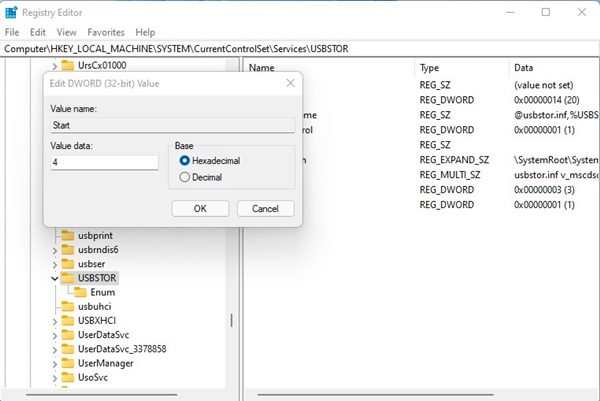
If you wish to enable the USB Ports again, repeat the steps and set 3 on the Value Data field in Step 4.
3. Disable USB Ports via the Local Group Policy Editor
We will use Windows 11’s Local Group Policy Editor to disable the USB Ports.
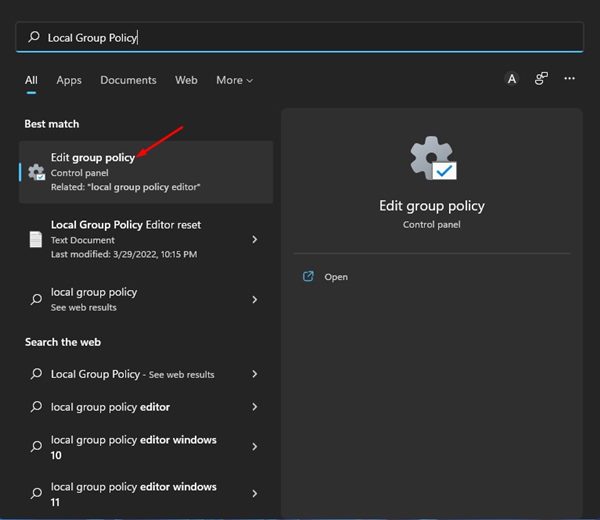
1. Open the Group Policy Editor from the Windows 11 Search.
2. Navigate to the path:
Computer Configuration > Administrative Templates > System > Removable Storage Access
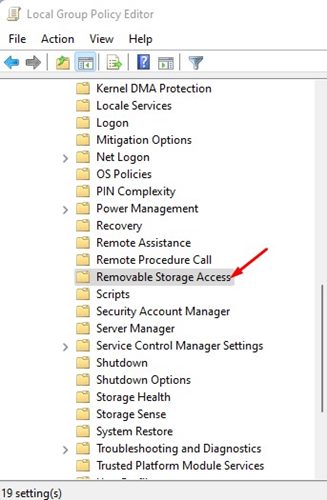
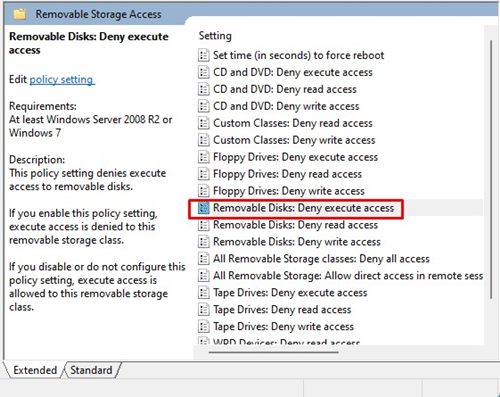
3. Double click on the Removable Disks on the right pane: Deny execute access.
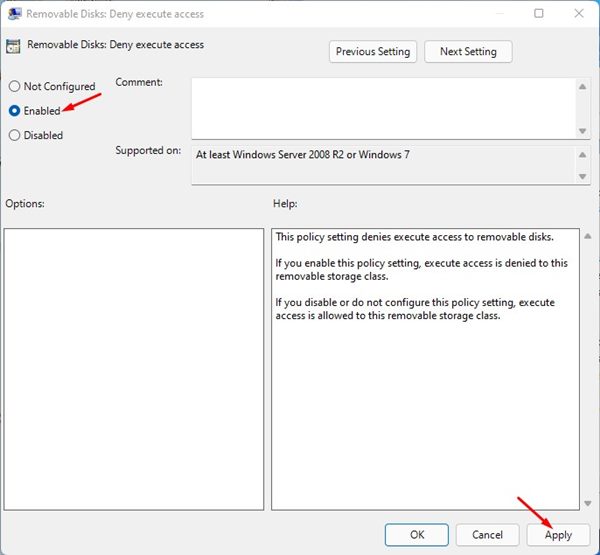
4. Select Enabled and click Apply > OK.
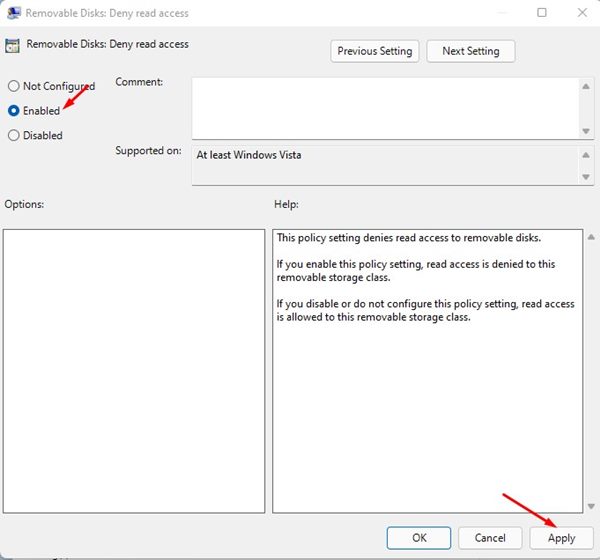
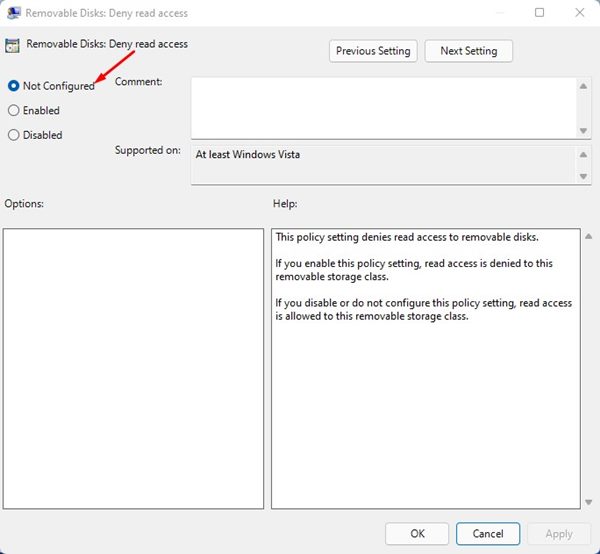
5. Double-click on the Removable Disks: Deny read access, and select the Enabled option.
6. To re-enable the USB Ports, select Not configured for both settings.
You can disable USB Ports to prevent malware infection on Windows 11 via the Local Group Policy editor.
4. How to Disable USB Ports via CMD
This method will use the Command Prompt utility to disable USB Ports in the Windows 11 operating system.
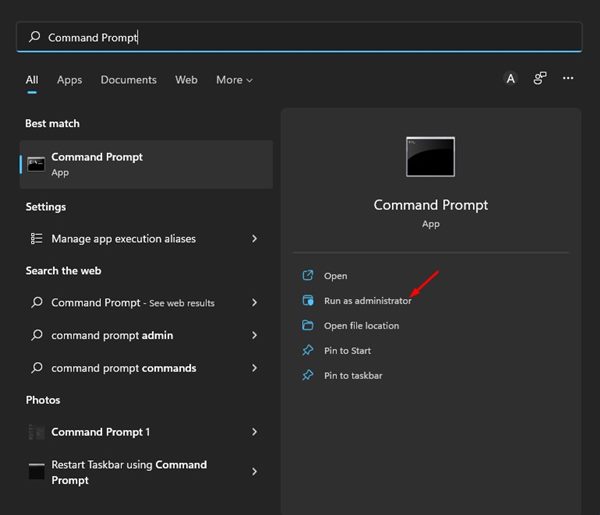
1. Open the Windows 11 search and type in Command Prompt. Right-click on the CMD and select Run as administrator.
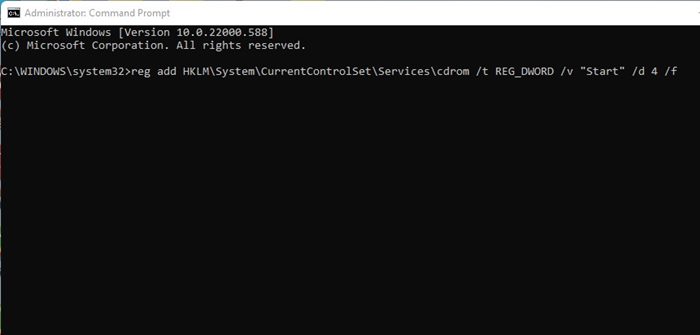
2. Execute the command shared below and press Enter.
reg add HKLM\System\CurrentControlSet\Services\cdrom /t REG_DWORD /v "Start" /d 4 /f
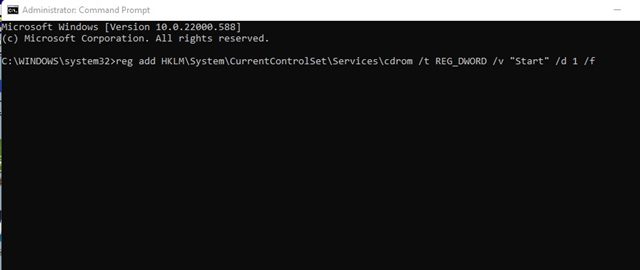
3. This will disable the USB Ports on your Windows 11 computer. If you wish to re-enable the USB Ports, execute the command:
reg add HKLM\System\CurrentControlSet\Services\cdrom /t REG_DWORD /v "Start" /d 1 /f
5. Disable USB Ports in BIOS or UEFI
You also have another option to enable or disable Windows’ front/rear USB ports. To do so, you need to utilize the BIOS or UEFI. All you need to do is access the BIOS or UEFI by pressing the boot menu key. Once you access the BIOS/UEFI, you can choose which USB Ports to enable or disable.
Finding the option could be difficult since many options are available on the BIOS/UEFI menu. But you can scan through all available settings to find the option to disable the USB Ports.
How to manage USB devices on Windows 11?
You can use the Device Manager utility to manage USB devices. To do so, click on the Windows 11 Start Button and type Device Manager.
Open Device Manager from the list of best match results. The USB devices will usually appear under the Universal Serial Bus Controllers tree. You also need to check the Keyboards, Mice and other pointing devices, Sound, Video, and game controllers tree.
From the Device Manager, you will be able to update the USB drivers, uninstall a USB device, change the USB security settings, etc.
These simple methods are to disable USB Ports on Windows 11 to prevent malware infection. If you have any doubts, let us know in the comment box below.
The post How to Disable USB Ports on Windows 11 PC/Laptop appeared first on TechViral.
from TechViral https://ift.tt/ubkxgAe

