

If you have multiple devices at home, like a desktop, smartphone, tablet, or laptop, and connect them to the wireless network, you can change the computer name for easy identification on a network.
1. Change Computer Name Using Settings (Windows 10)
You can use the Windows Settings app to change the Windows computer name.
1. Press Windows Key + I on your computer to open Settings.

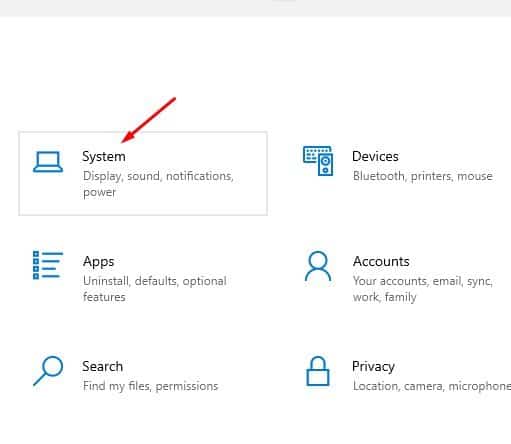
2. On Settings, click System.
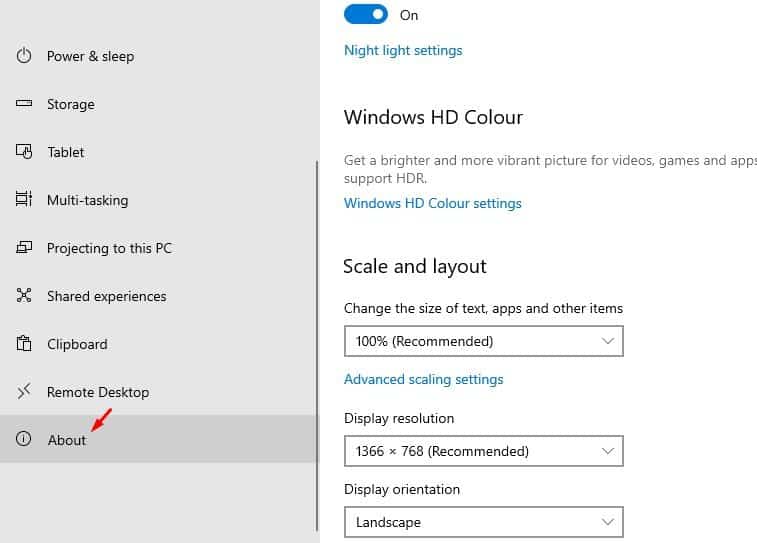
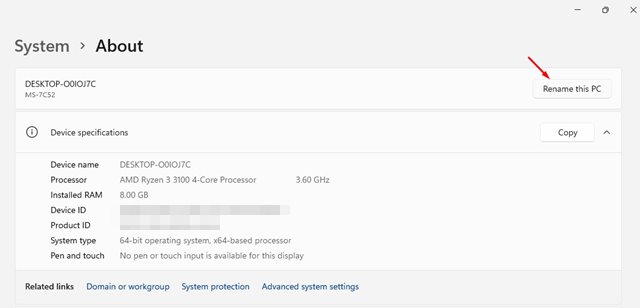
3. On the left-hand side pane, select About.
4. Click on the Rename this PC.
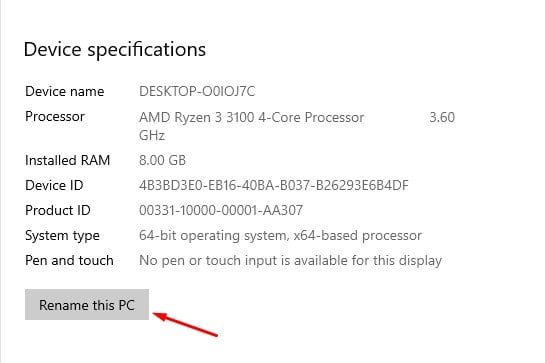
5. Enter the new computer name and the admin account password.

Change Your Computer Name in Windows 11?
The steps to rename a Windows 11 PC is a bit different. If you’re using Windows 11, follow these steps.
1. Launch the Settings app and switch to the System.

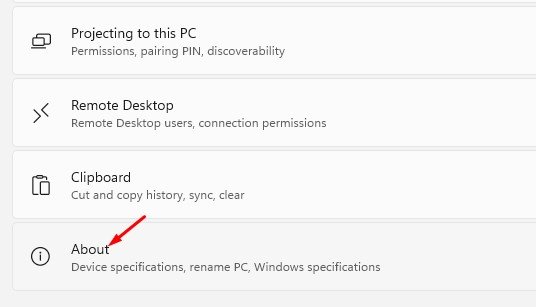
2. On the right side, click About.
3. Click the Rename this PC.
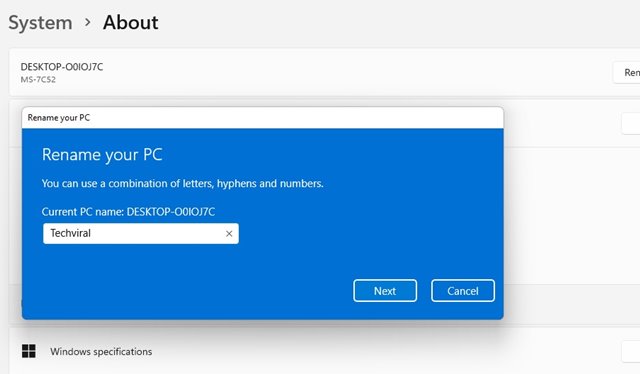
4. Enter the name you want to set. Once done, click Next.
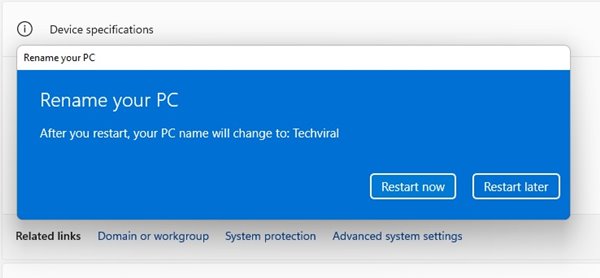
5. You will have to restart your PC to change your Windows 11 PC name.
2. Using System Properties
If you are unable to change the computer name from the Windows settings, you can use the System Properties.
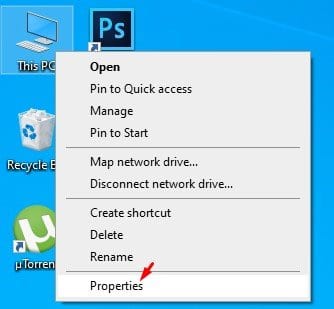
1. Right-click on This PC and select Properties.
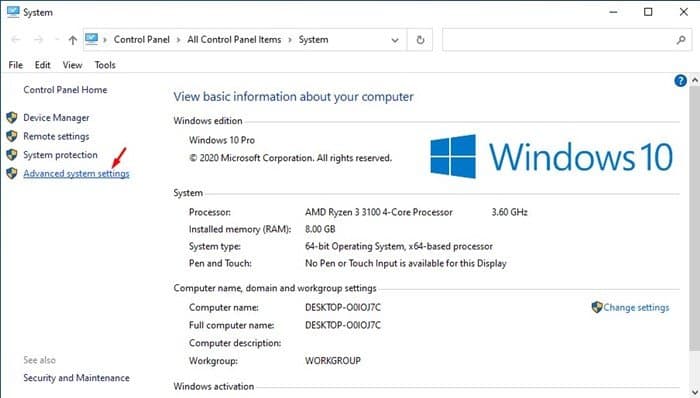
2. Select Advanced System Settings.
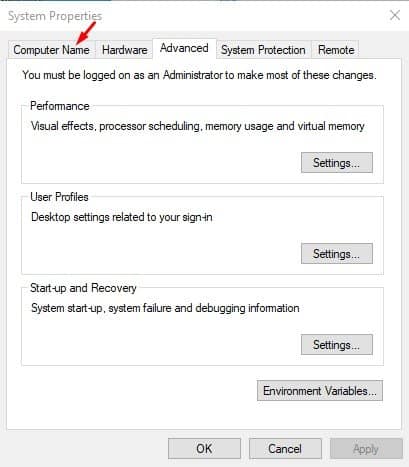
3. Select the computer name.
4. Click Change.
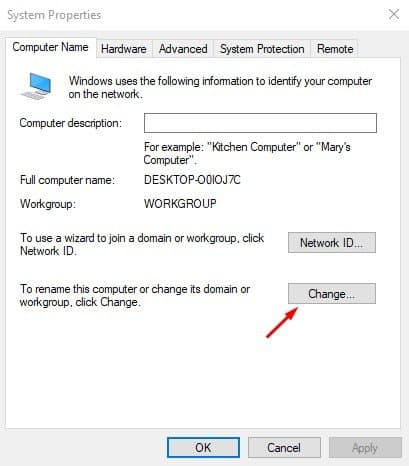
5. Enter the new name and click Ok.

Reboot the computer, and the system name will be changed.
3. Using Command Prompt
You can also use the Windows command prompt to change the system name.
1. Search for CMD in the Start menu. Right-click on CMD and select Run as Administrator.

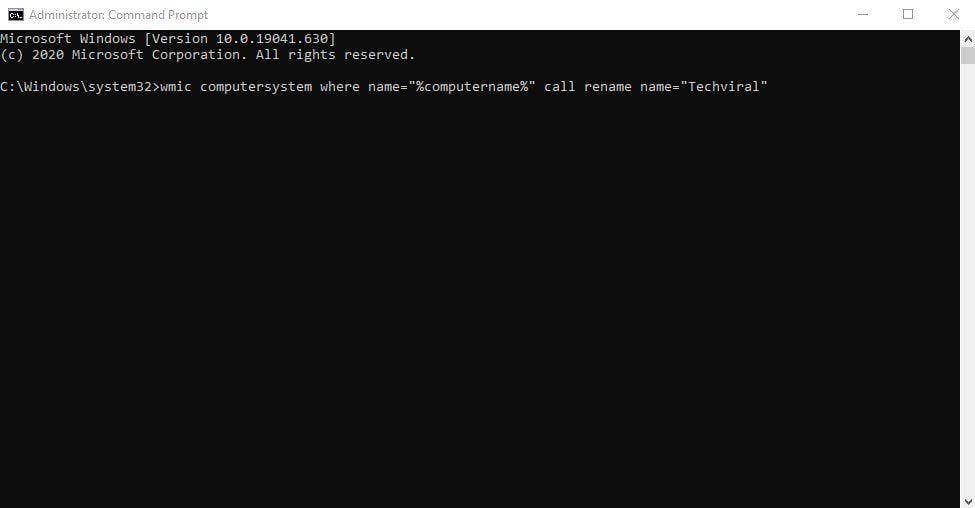
2. On the Command Prompt, enter the given command. However, make sure to replace the ‘Computer-Name’ text with the name you want to assign.
wmic computersystem where name="%computername%" call rename name="Computer-Name"
Once done, reboot the computer to implement the changes. After the restart, you will see the new Windows name.
4. Rename your Windows PC via PowerShell
You can also use the PowerShell utility to rename your Windows PC.
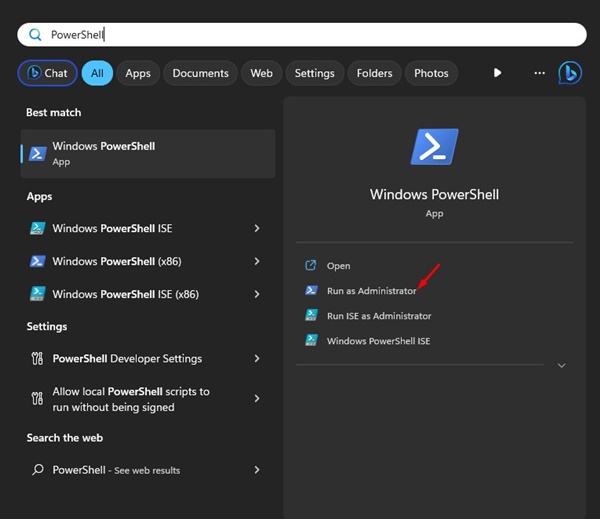
1. Open the Windows Search and type in PowerShell. Right-click on the PowerShell and select Run as Administrator.
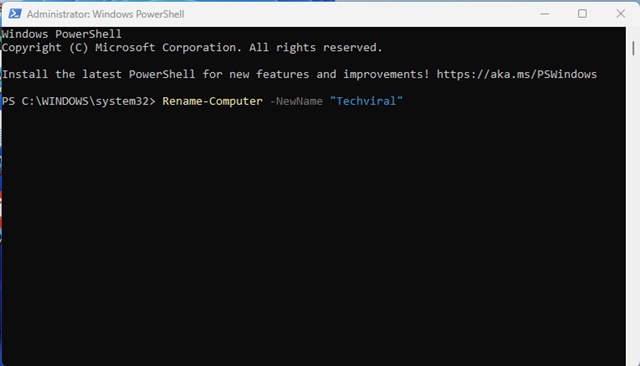
2. Execute this command:
Rename-Computer -NewName "Newname"
Important: Replace the NewName with the name you want to set.
3. The above command will rename your Windows PC. After the rename, execute this command to restart your computer and apply the changes.
Restart-Computer

These are the best methods to change the computer name in Windows. If you need more help on this topic, let us know in the comments.
The post 4 Best Ways to Change Your Computer Name in Windows appeared first on TechViral.
from TechViral https://ift.tt/vRnkmH9

