

While this reserved storage is useful and you shouldn’t disable it, if you urgently need additional storage and cannot think of any files to delete, you can disable the reserved storage.
Once you disable it, Windows will release the amount of reserved storage on the drive where the OS is installed.
How to Disable Reserved Storage on Windows 11?
If you urgently need additional storage space, you should disable the reserved storage.
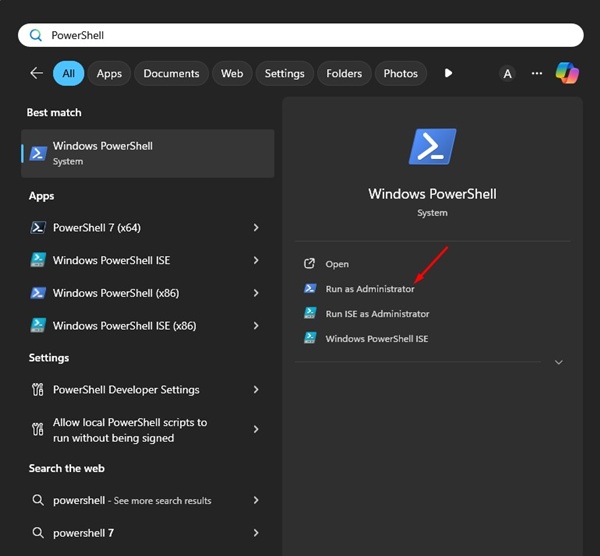
1. Type PowerShell in the Windows 11 Search bar. Right-click on it and select Run as administrator.
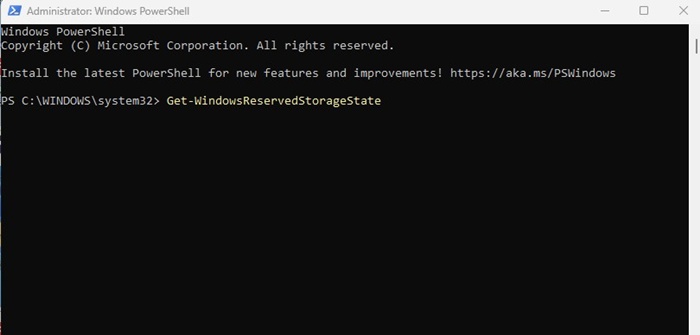
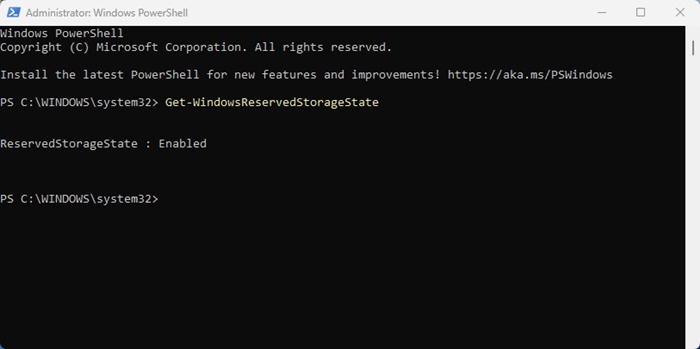
2. Execute this command to check the status of reserved storage:
Get-WindowsReservedStorageState
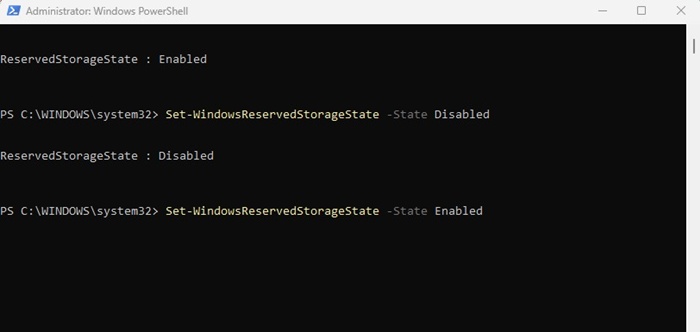
3. If it shows enabled, you can free up the storage space. To free up the reserved storage, execute this command:
Set-WindowsReservedStorageState -State Disabled
4. If you get an error, you should install the pending Windows update before disabling the reserved storage.
5. You should enable the reserved storage once your storage needs are met. To enable it, execute this command:
Set-WindowsReservedStorageState -State Enable
This guide explains how to disable reserved storage on Windows 11 and free up space. If you need more help on this topic, let us know in the comments.
The post How to Disable Reserved Storage on Windows 11 appeared first on TechViral.
from TechViral https://ift.tt/YK6bWDt

