

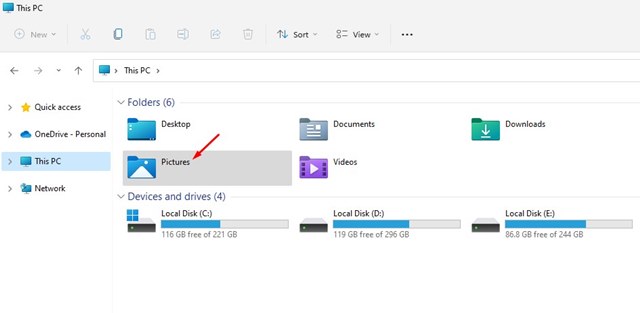
If you rely on the Windows + Print Screen shortcut to take a screenshot, you might know that the screen captures are saved in the ‘Screenshots’ folder inside the ‘Pictures’ folder. If you find it difficult to access the default location, you can change it as per your needs. Here’s how you can change the screenshot folder location in Windows 11.
Change the Screenshot Folder Location in Windows 11
1. Open the File Explorer of your PC and navigate to the C:\Users\<username>\Pictures folder.
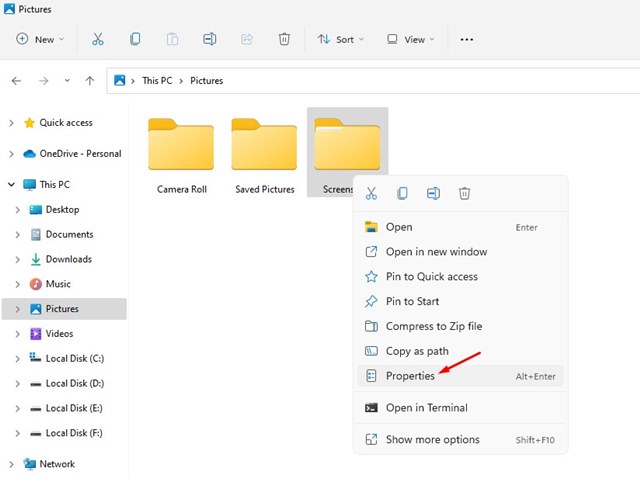
2. Right-click on the Screenshots folder and select Properties.
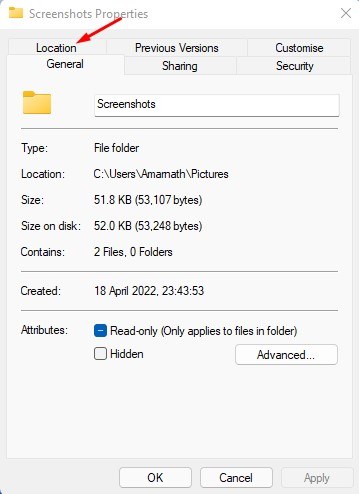
3. Switch to the Location.
4. Click on Move.
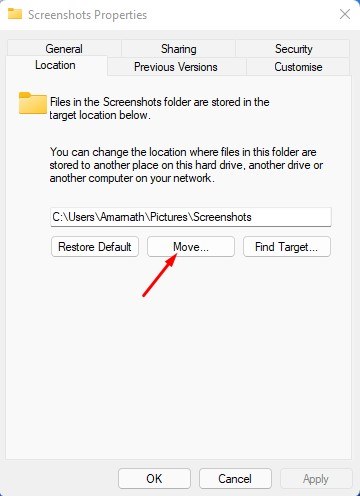
5. Select the new folder where you want to store your screenshots. Once done, click on Select Folder.
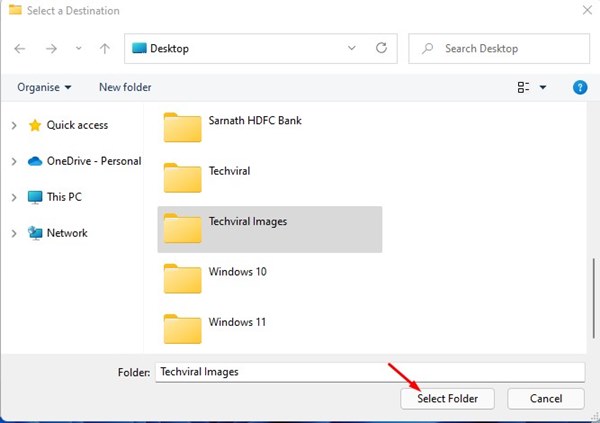
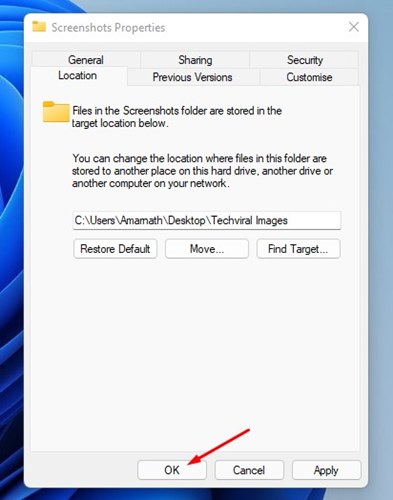
6. This will change the default screenshot folder location on your Windows 11. You just need to click on Ok.
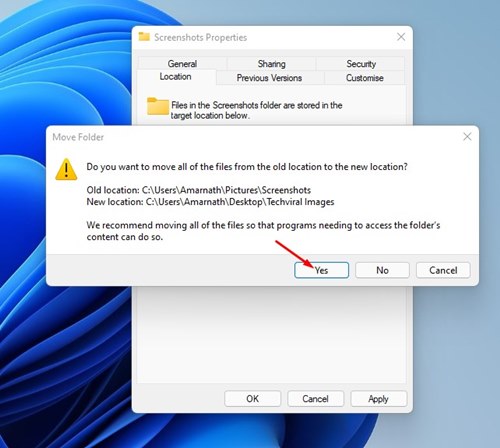
7. You will see a prompt asking you to move all the screenshots to the new folder. To move all screenshots to a new folder, click Yes.
Managing Screenshots in Windows 11
While capturing screenshots is easy on Windows, if they are getting stored in the wrong location, you should change the location by following these steps.
You can even manage screenshots from a dedicated photo manager app for Windows. Let us know if you need more help on this specific topic in the comments.
The post How to Change the Screenshot Folder Location in Windows 11 appeared first on TechViral.
from TechViral https://ift.tt/48lbRgX